Set up Body Pose Estimation (BPE)
Body Pose Estimation allows an accurate live estimation of the pose and position of a human body directly from a video image, using an AI powered framework from NVIDIA. It provides a real-time set of 3D data points corresponding to a skeleton with bones and body parts.
With it you can:
position the VS compositing plane, allowing the talent on the green screen set to freely move towards and away from the camera
render shadows and reflections more accurately and even render footprints
allow the talent to interact with the virtual environment using
physics
trigger boxes
hand actions
or a clicker control for pick up & place logic
Limitations for the current NVIDIA AR SDK
Only a single person is allowed within the camera field of view (including humanoids like mannequins)
if a full person cannot be seen, it will try to infer and extrapolate bone positions
The resolution of the fingers is poor or erratic, so hand poses cannot be determined
In complex scenes, the GPU processing overhead can be high and could affect rendering performance
See Share Body Pose Estimation with other engines below to overcome this
It is likely that the skeleton position is always one frame behind the actual position
Only NVIDIA GeForce RTX 30 and 40 Series or NVIDIA RTX professional GPUs are supported
Use NVIDIA GPUs with Tensor Cores, ideally Tensor 2 Cores
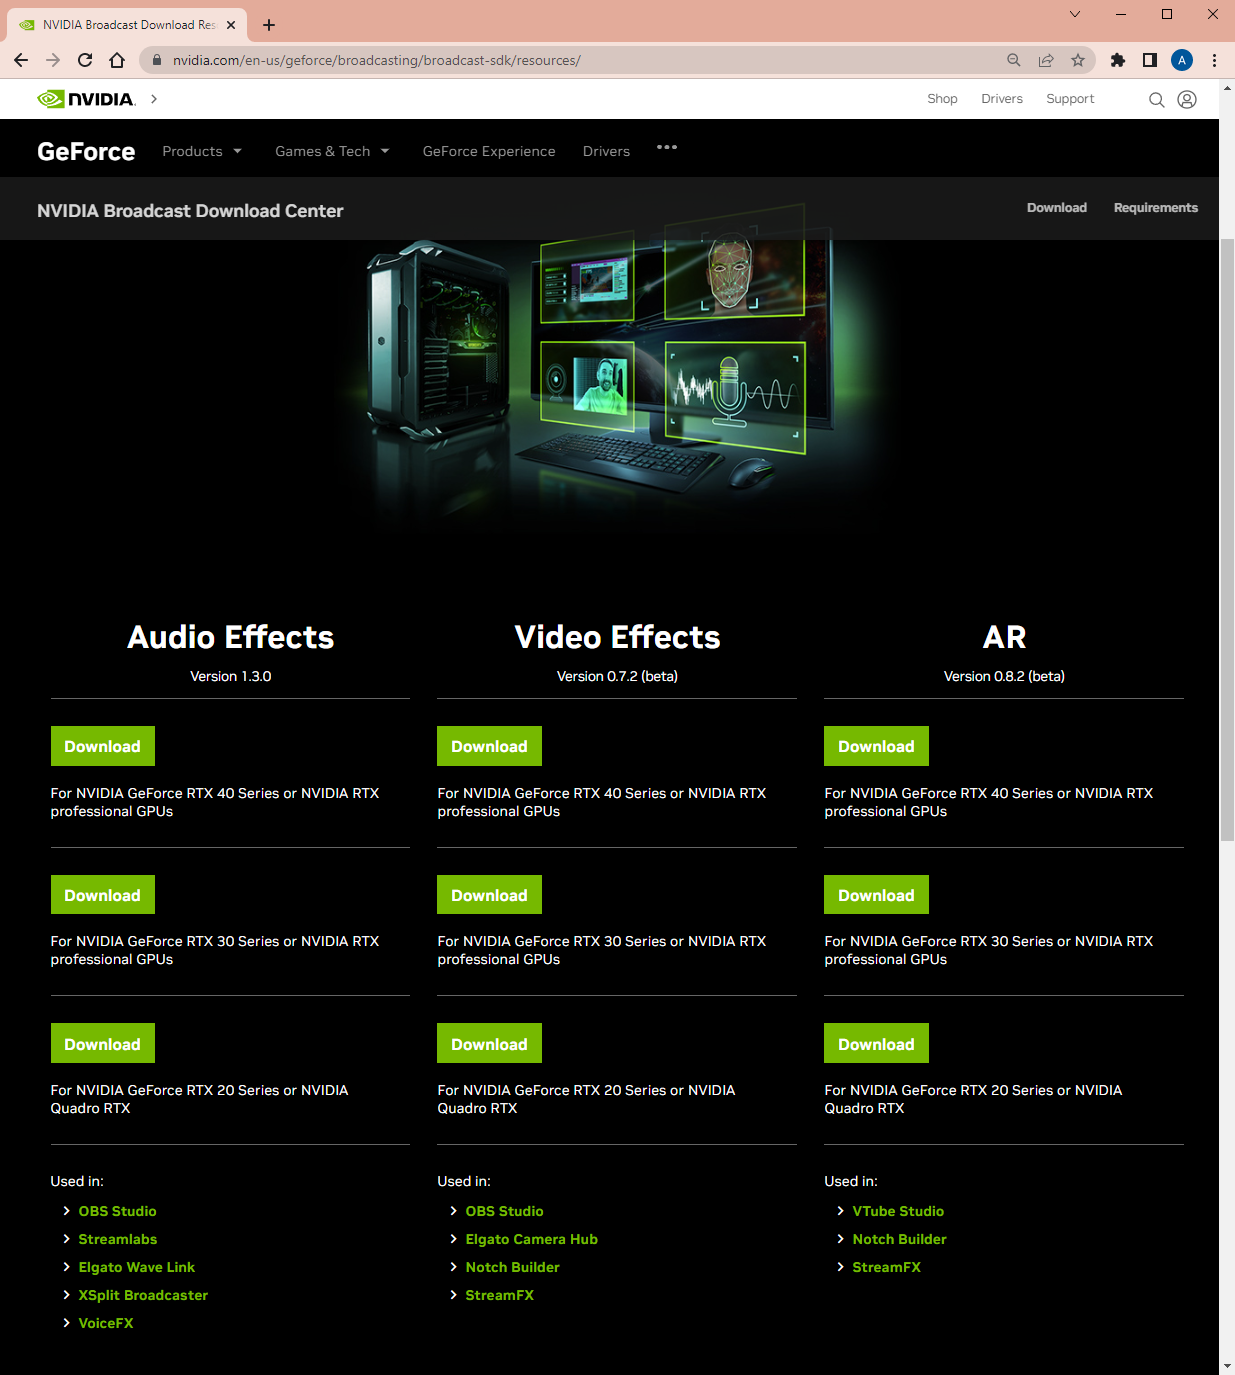
Install NVIDIA AR SDK
Install the AR SDK from
https://www.nvidia.com/en-us/geforce/broadcasting/broadcast-sdk/resources/
Restart Pixotope
NVIDIA GeForce RTX 30 and 40 Series or NVIDIA RTX professional GPUs are supported
Enable Body Pose Estimation
In Director
Go to PRODUCTION > Adjust > IO Effects
Enable Body Pose Estimation for the video input which should be analyzed
The Active checkbox allows to toggle the feature without the videoIO service needing to restart. To completely turn off the effect uncheck the Enable checkbox.
Use the Show skeleton checkbox to enable showing an overlayed skeleton
Use Body Pose Estimation in level
In Editor
Go to Place Actors > Pixotope
Add the "BPE & Plane" actor to the level
Dropping this actor into the scene creates:
a "BPE Compositing Mesh"
and a "VS Internal Compositing Plane" which follows the "BPE Compositing Mesh" in position and scale
Rotate with Camera is enabled
Choose if the plane should auto-size with "Use Body Pose Estimation for scale"
TPose - always provide enough space for handling fast movement and hand action covering the maximum extent of the body
Tight - closely follow the detected body with a small margin around to ensure it doesn’t clip (for smaller greenscreens)
Off - no autosizing, manual sizing
Learn more about the BPE Compositing Mesh
The same setup as the BPE & Plane actor can be achieved by adding
a "BPE Compositing Mesh"
a "VS Internal Compositing Plane"
with "Use body pose estimation for position" enabled
and linking "Position Scale" of both actors
Share Body Pose Estimation with other engines
It can be useful to share the Body Pose Estimation data with other engines if:
The rendering overhead is too high to generate Body Pose Estimation on the same machine rendering the scene
The main camera is moving in too tight on the presenter, and the Body Pose Estimation cannot resolve the skeleton
You are in a multi-cam environment where multiple cameras need to use the Body Pose Estimation data
Scenario 1 - Single Camera, Second Engine
Use a separate Pixotope engine with a camera input from the main camera to generate the Body Pose Estimation data.
On the source engine - generates the Body Pose Estimation data
Set the console command
r.BPE.Undistortto 1Set the console command
r.BPE.IncomingDistortionto 0
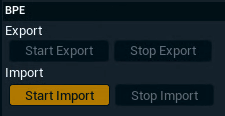
Learn more about Useful console commandsOpen the "Utilities" panel and go to BPE > Export
Click "Start Export"
this stores the Body Pose Estimation data in the Store and makes it accessible for all connected engines
On the target engines - uses the generated data
Set the console command
r.BPE.Undistortto 0Set the console command
r.BPE.IncomingDistortionto 1
Learn more about Useful console commandsOpen the "Utilities" panel and go to BPE > Import
Click "Start Import"

To assure that the importing/target machine does not accidentally also generate BPE data (which would cause the doubling of data) we will disable BPE on the target machine.
The Body Pose Estimation data will be 1 frame delayed from real-time.
The target engines do not need to have the same high powered GPU to use the Body Pose Estimation data.
Scenario 2 - Witness Camera, Second Engine
Use a separate camera to provide the images for the Body Pose Estimation source engine.
Set up witness camera and engine
The “witness” camera should
be setup to view the talent on screen wherever they are on the green screen set
be free from occlusions from other camera’s motion or set elements
not capture any people to the edge or off-set
the engine creating the Body Pose Estimation requires a high performing GPU - the target systems do not
Set up Body Pose Estimation sharing as shown in Scenario 1
Advanced
Use Body Pose Estimation in blueprints
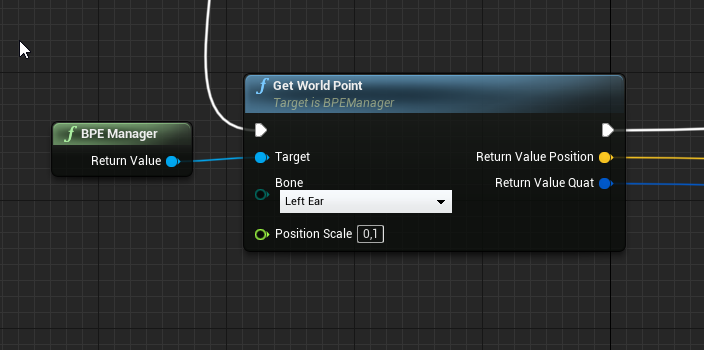
All Body Pose Estimation points can be directly accessed in blueprints via the BPE Manager.

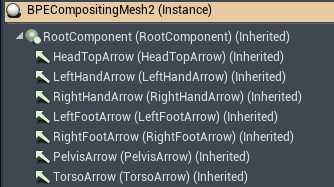
In addition, the Procedural Composite Mesh has multiple “attachment” points that can be used.


