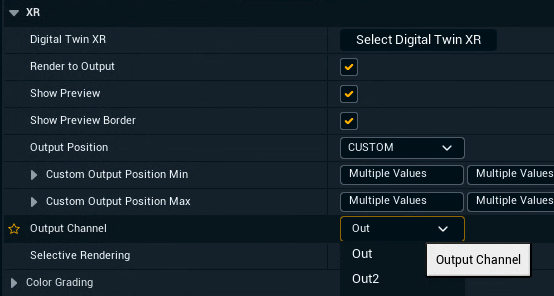
Create mappings - Digital Twin XR
A mapping defines which XR walls/which parts of your LED wall are being outputted together. If your LED wall resolution is larger than your output resolution, you will need either
Multiple render machines
OR Multiple outputs
NOTE: This option needs an "Additional output" licenseOR Select “Scale to Fit” under Graphics Scale while creating the Mapping
NOTE: This will not use the full resolution potential of your wall
Create mappings
Create all mappings
This option is only available for manual twins.
You can create all mappings at once or one at a time.
Open the Details panel of the Digital Twin XR Actor
Click "Create All Mappings"

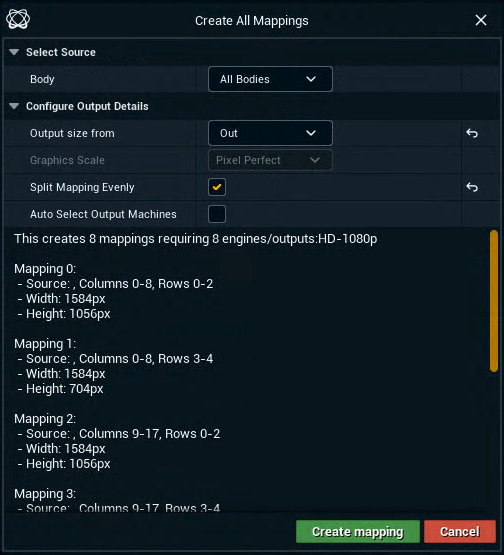
Select the LED Body you want to creating a mapping for
All Bodies is selected by default
Select a routed output to specify the mapping size
The graphics scale is fixed to Pixel Perfect
Enable Split Mapping Evenly to balance the distribution of rows and columns between mappings
By default a single mapping would cover as many rows as possible
Enable Auto Select Output Machines to automatically assign outputs of machines to the output channel of the created XR walls/mappings
To change this later see Select output machines below
Click "Create mapping"
Create single mapping
Click "Create Single Mapping"
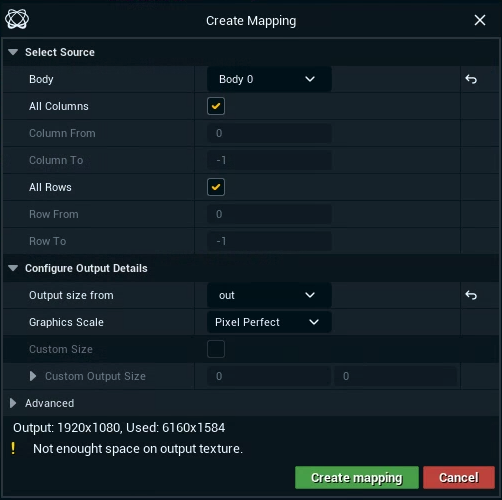
Select the LED Body you are creating a mapping for
Specify how many columns and rows it should cover
To only select a specific range, uncheck "All Columns" and enter From and To values
Columns and Rows start with
0. You can use-1to indicate the maximum value.
NOTE: The pixel size available vs needed for the selected range can be seen on the bottom of the dialog after you have selected “Output size from”
Select a routed output to specify the mapping size
Select the graphics scale
Use the Scaled option only for testing as it reduces the picture quality
Click "Create mapping"
Repeat this step to create more mappings, if your LED wall resolution is larger than your output resolution.
Specify mapping/output position manually
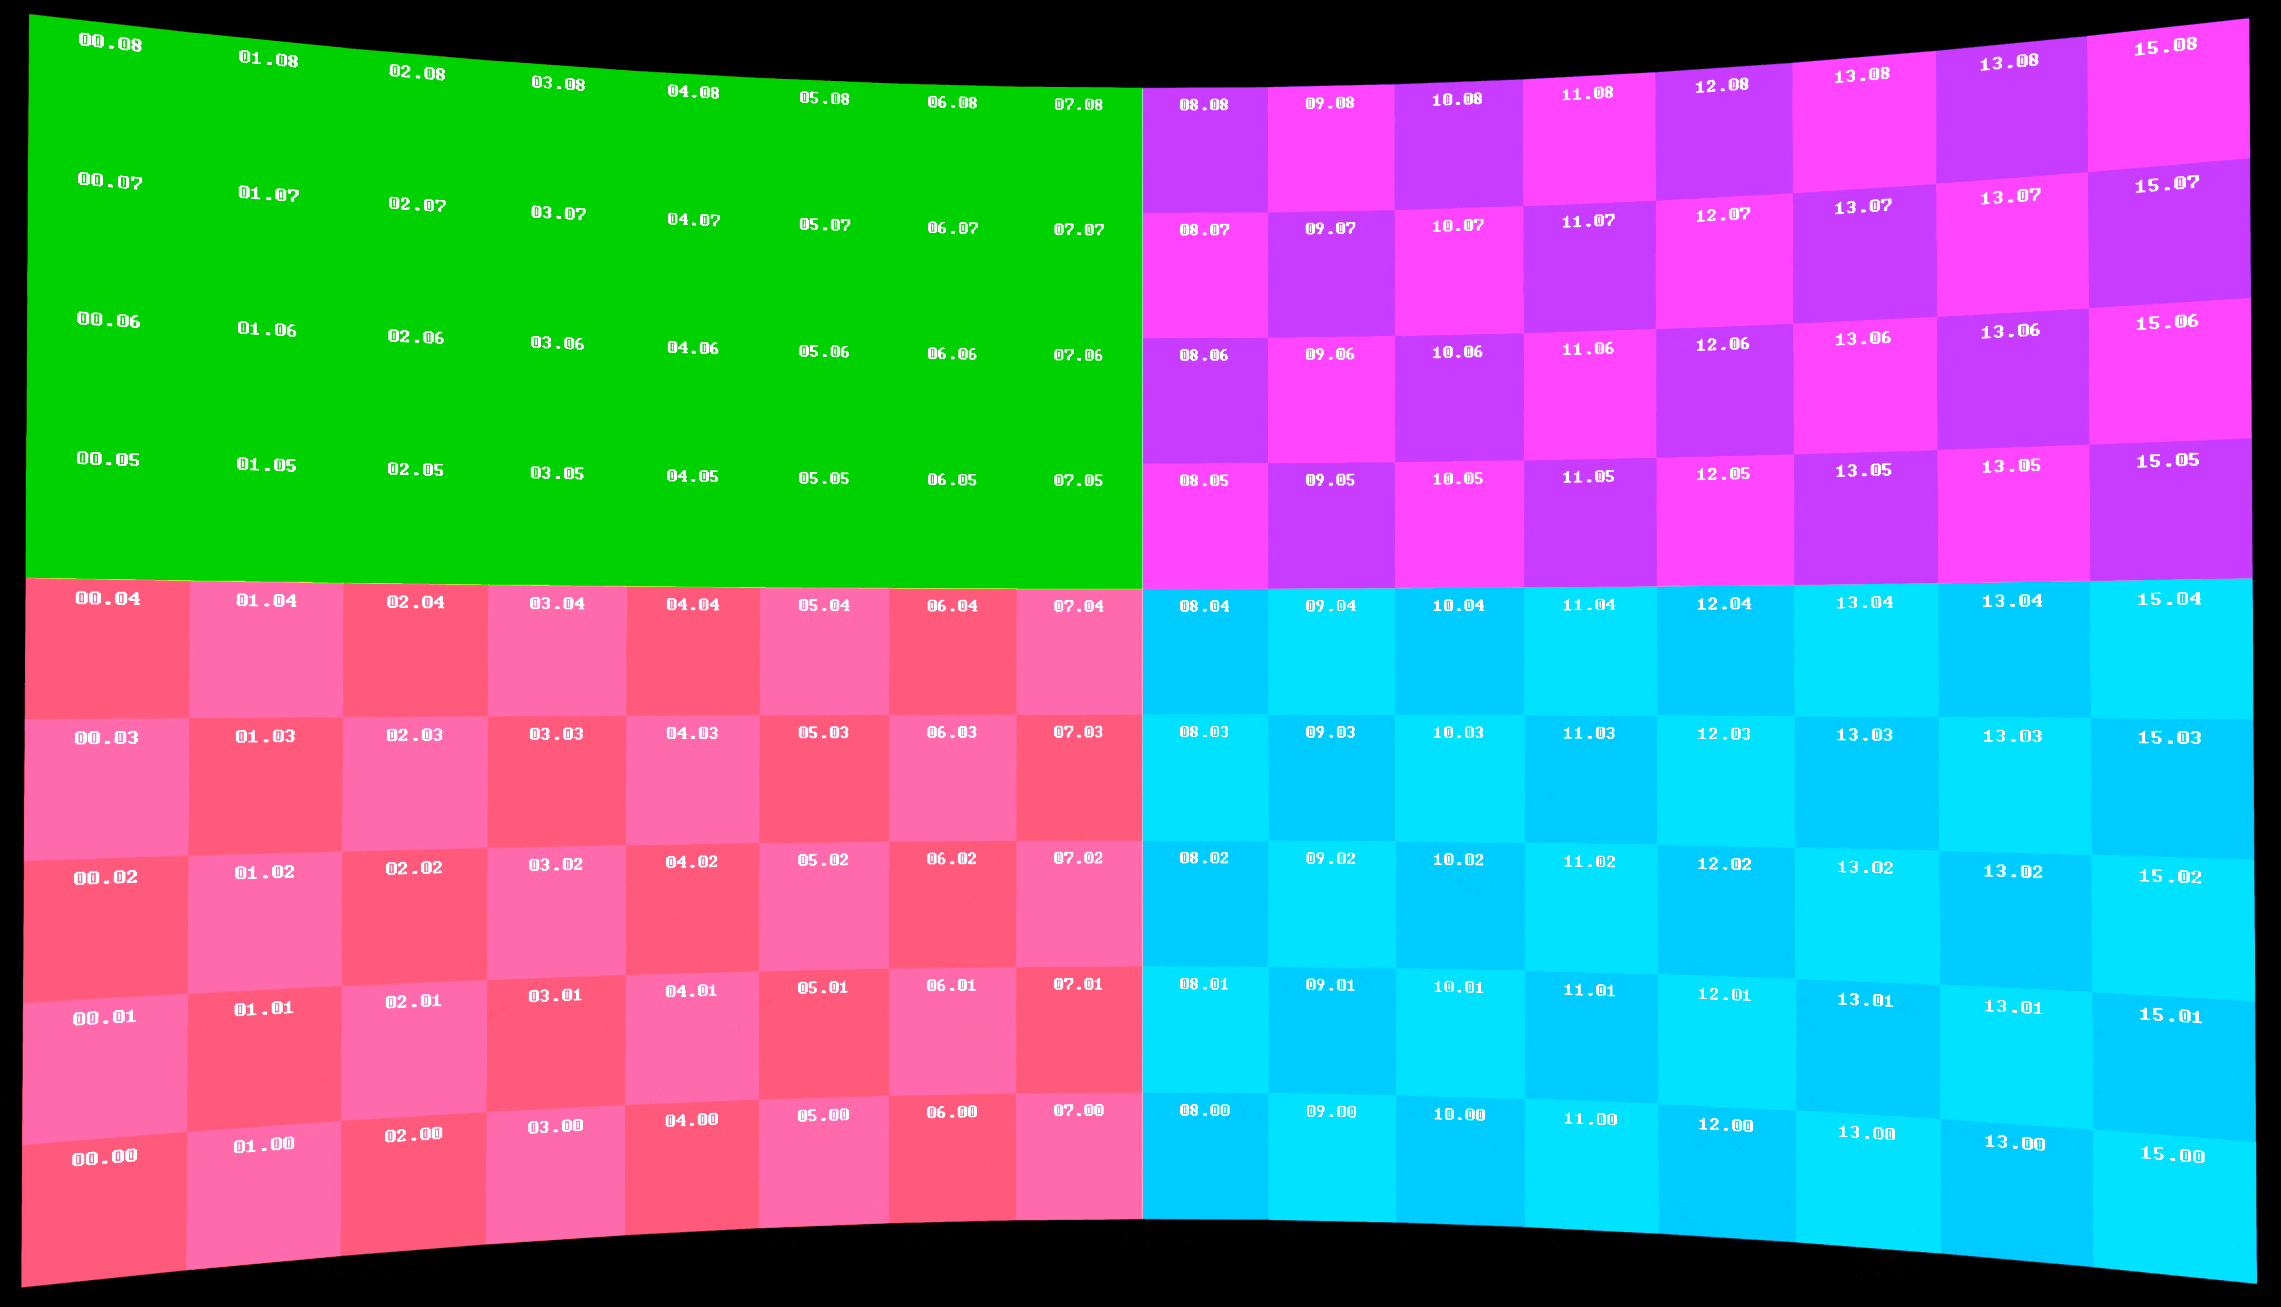
Identify your mappings
To check that your mappings have been setup and output correctly.
Expand Display Mode
Choose "Identify" for the XR Wall Texture

Select output machines
In a multi-machine setup you can specify which mapping should be rendered by which machine.
All outputs need to have different names. They can not be the same
Selective rendering needs to be disabled
From Director
Go to the "XR wall settings" tab in PRODUCTION > Adjust > XR
Select the mapping/XR walls to specify the machine and output for
Enable Selective rendering
Select the machine this mapping should be output on
Choose the correct output from Output destination > Outputs
From Editor
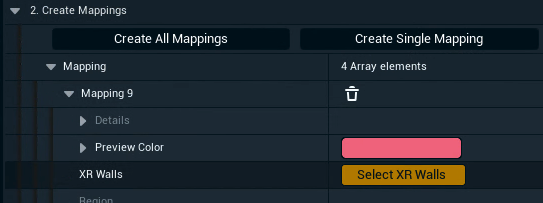
Expand the details of a specific mapping and click on "Select XR walls"
The detail view switches to the XR walls related to this mapping
Click on the
+icon to add an element to the Selective Rendering array
Type in the windows name of the machine this mapping/these XR walls should be output on
Select the correct output from Output channel
