Render UMG widget
Widgets can be useful when you want to show some stats for debugging or make an animated picture/text on the viewport/output. In this guide we will show you how to use Pixotope Widget renderer.
Create widget
Right click in the Content Drawer
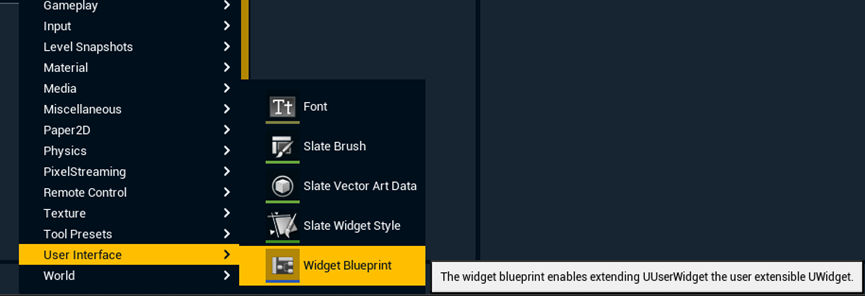
Add a "Widget Blueprint" under User Interface
Note: the "Editor widget blueprint" under Editor Utilities does not work in Live mode, if there are animations involved
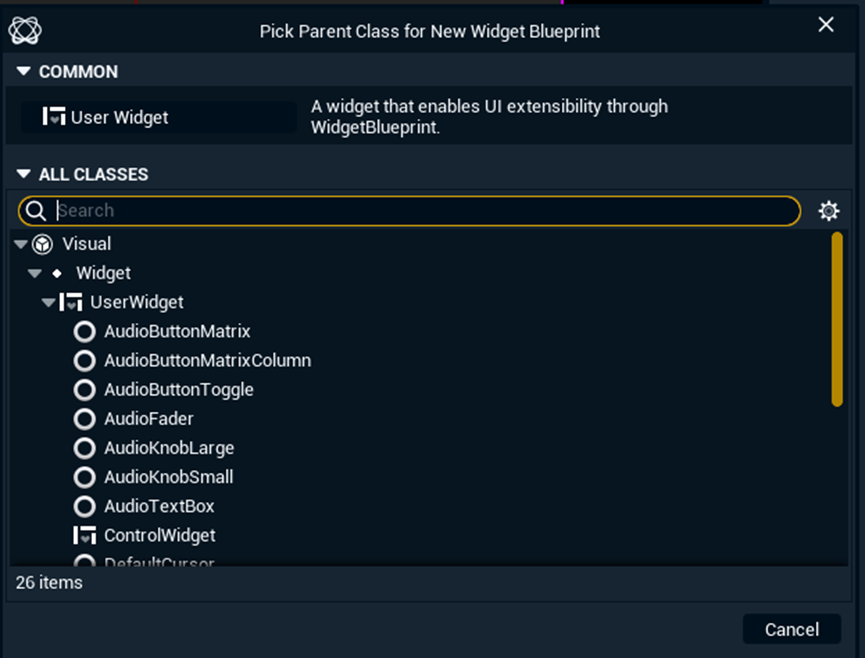
Select "User Widget" in the upcoming dialog
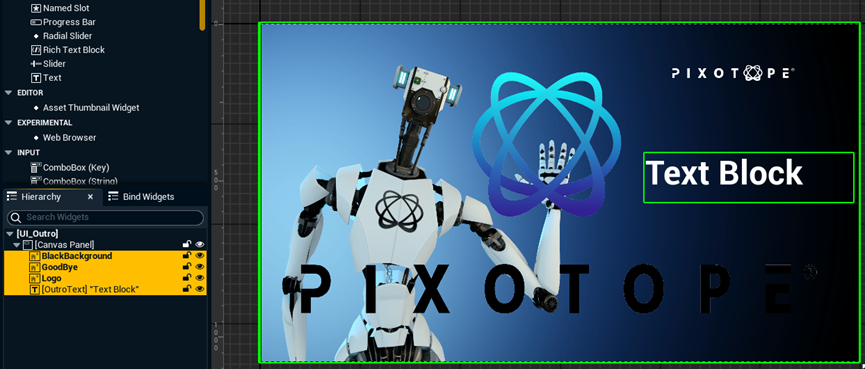
Rename it, in our case UI_Outro
Create the widget you like
Learn more about how to create user interfaces → https://dev.epicgames.com/documentation/en-us/unreal-engine/creating-user-interfaces-with-umg-and-slate-in-unreal-engine
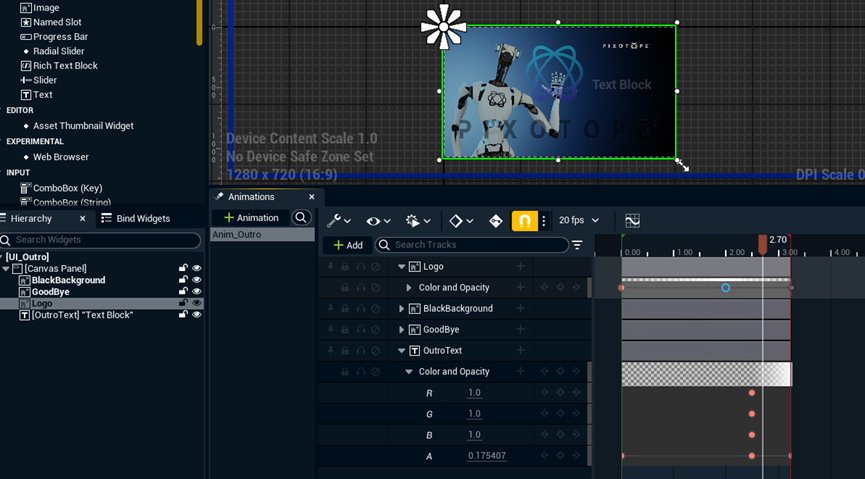
Optionally create Animations for those widgets, in our case Anim_Outro
Note: If you want to control the visibility set the opacity of a widget to 0 to hide it.
Click "Create Binding" on a widget so that we can tweak it in another Blueprint

This creates a function and switches to the Graph page
In the graph view, click the Return Value and select Promote to variable
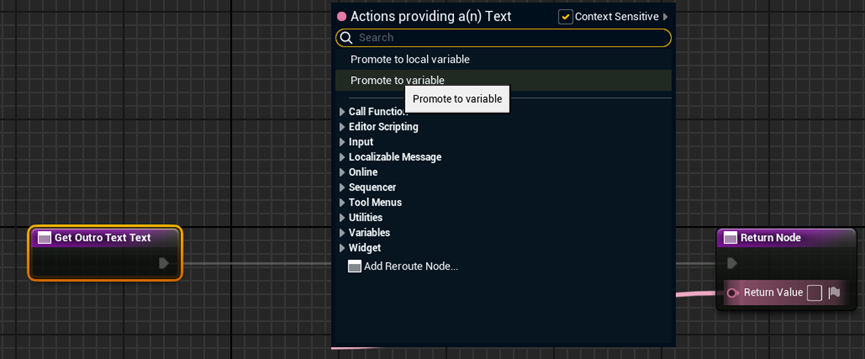
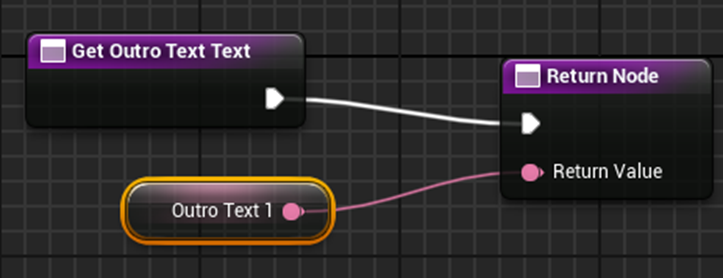
Compile and save the widget blueprint
Repeat this process with other widgets that you want to control from another Blueprint.
Control variable
Fine tune the widgets in the widget blueprint
Add "Pixotope Widget Renderer" into the scene and select the widget blueprint we just made as Widget asset
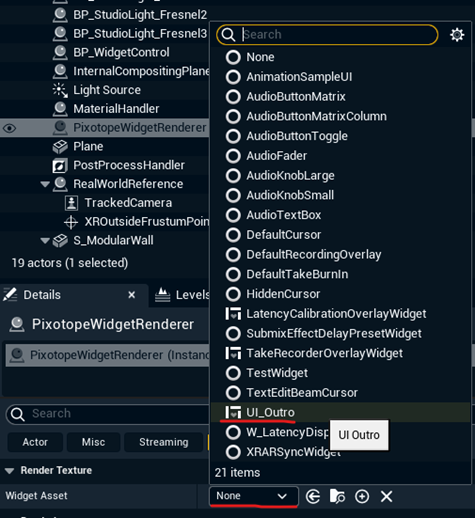
Optionally you can leave this empty and assign the widget blueprint in another Blueprint with this node (Set widget asset)
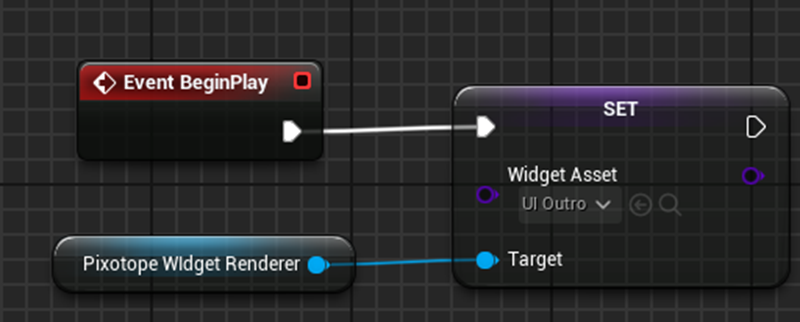
Create an actor Blueprint and rename it (in this case BP_WidgetControl)
Create logic for animation control
Be sure to uncheck the "Top Level Only"
"AnimOutro" is the animation name set in the widget blueprint (See step 6)

Create logic for text control
"OutroText1" is the text variable we promoted from the Text widget binding (See step 8)

You can build complex logic to drive this text widget. For example, use a custom event to send text from an Array one by one to Text widget.
A test project can be downloaded here PixotopeWidget.zip
