Set up a virtual camera move
Check out the following examples:
LVL_PixotopeVSSample level in the PixotopeCalibration project included in the installer
Pixotope example projects, which can be downloaded from the Pixotope cloud → login.pixotope.com
For functionality specific to the Unreal Editor and some in-depth knowledge, check out https://docs.unrealengine.com/en-us/Engine/Editor.
Creating Blueprint to Control Virtual Camera Move
Blueprint Window Interface Overview
Creating Variables
Create Events
Tracked Camera Reference
Pixotope Switch Camera Nodes
Logic for Playing a Level Sequence
Assigning Assets to Blueprint
Using Virtual Cameras
Creating and Using a Level Sequence
Example setup
See the level Blueprint of the level LVL_PixotopeVSSample of the project PixotopeCalibration
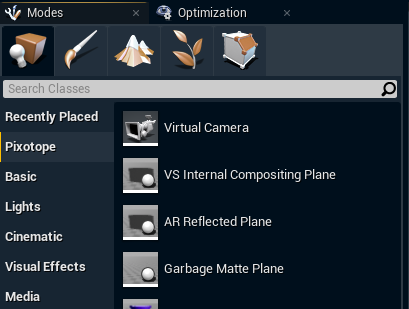
Create a virtual camera
Create a virtual camera in your level:
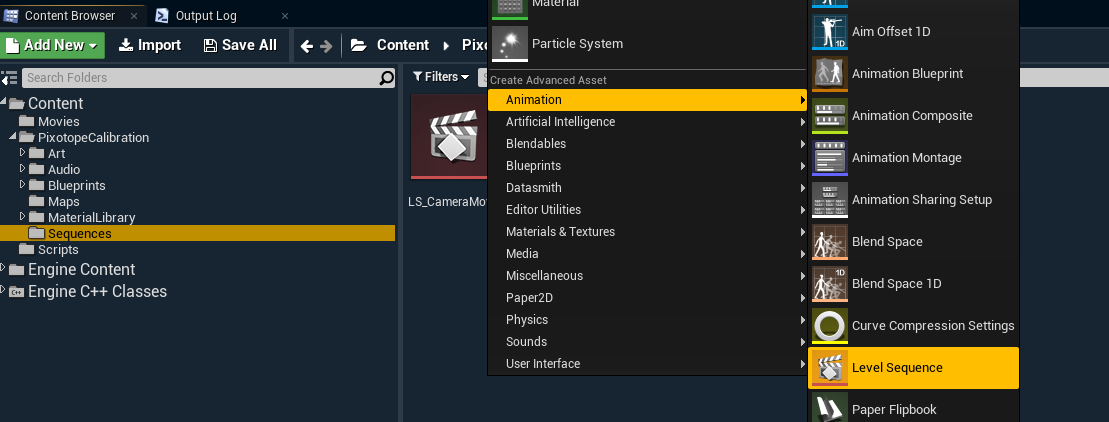
Create level sequence
Create a new level sequence:
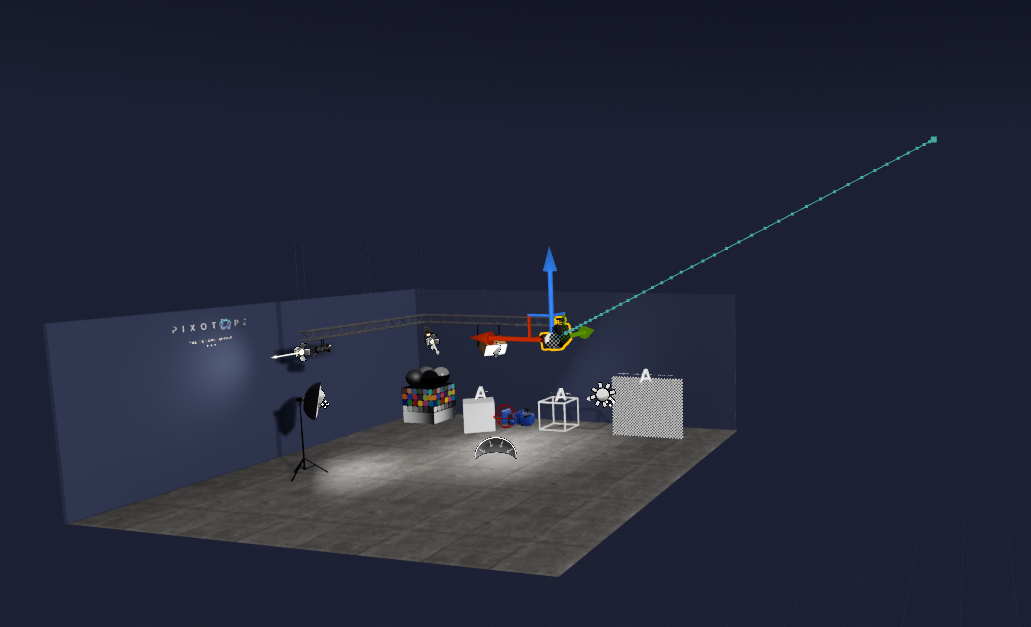
Animate virtual camera
Animate the virtual camera in the sequence:
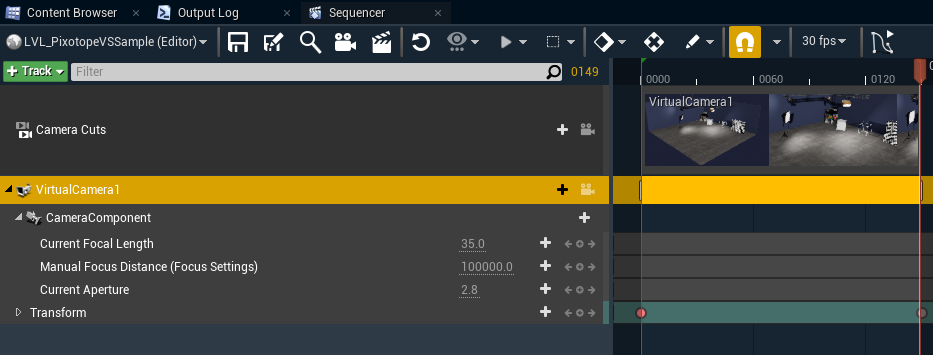
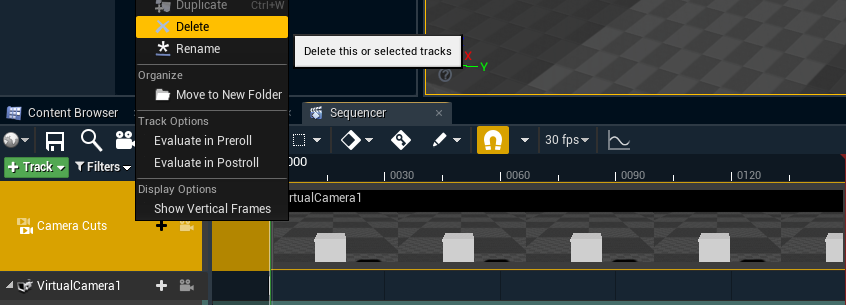
Delete the Camera Cuts track
Remove the cut track, as we will be blending, not cutting to our virtual camera:
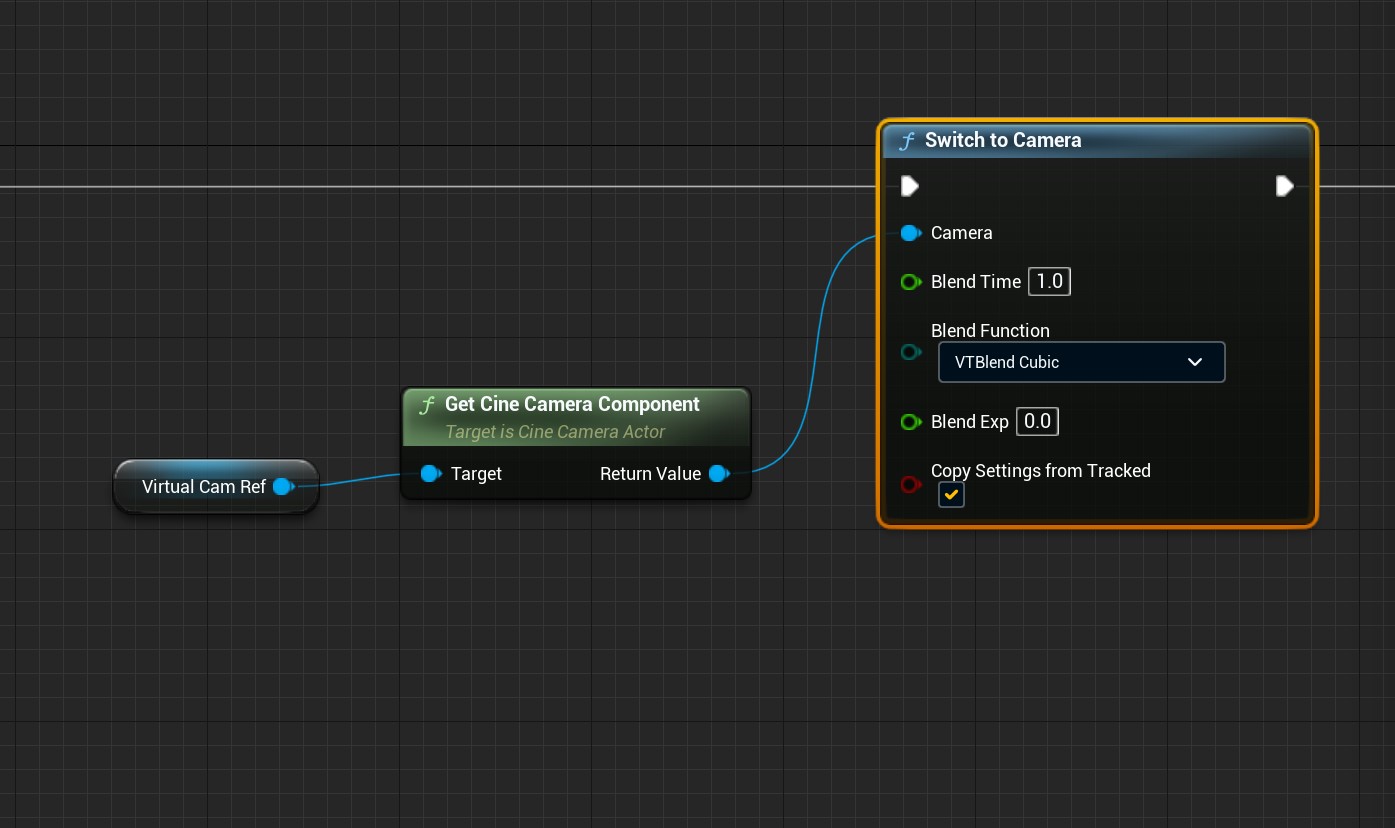
Create Blueprint logic
Create Blueprint logic for triggering the sequence:
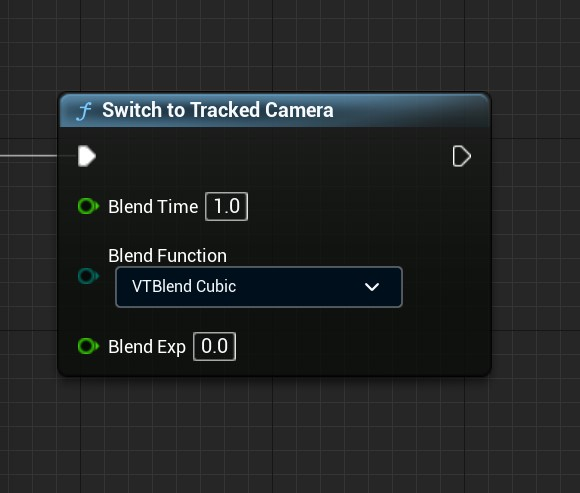
Create Blueprint logic for going back to the tracked camera:
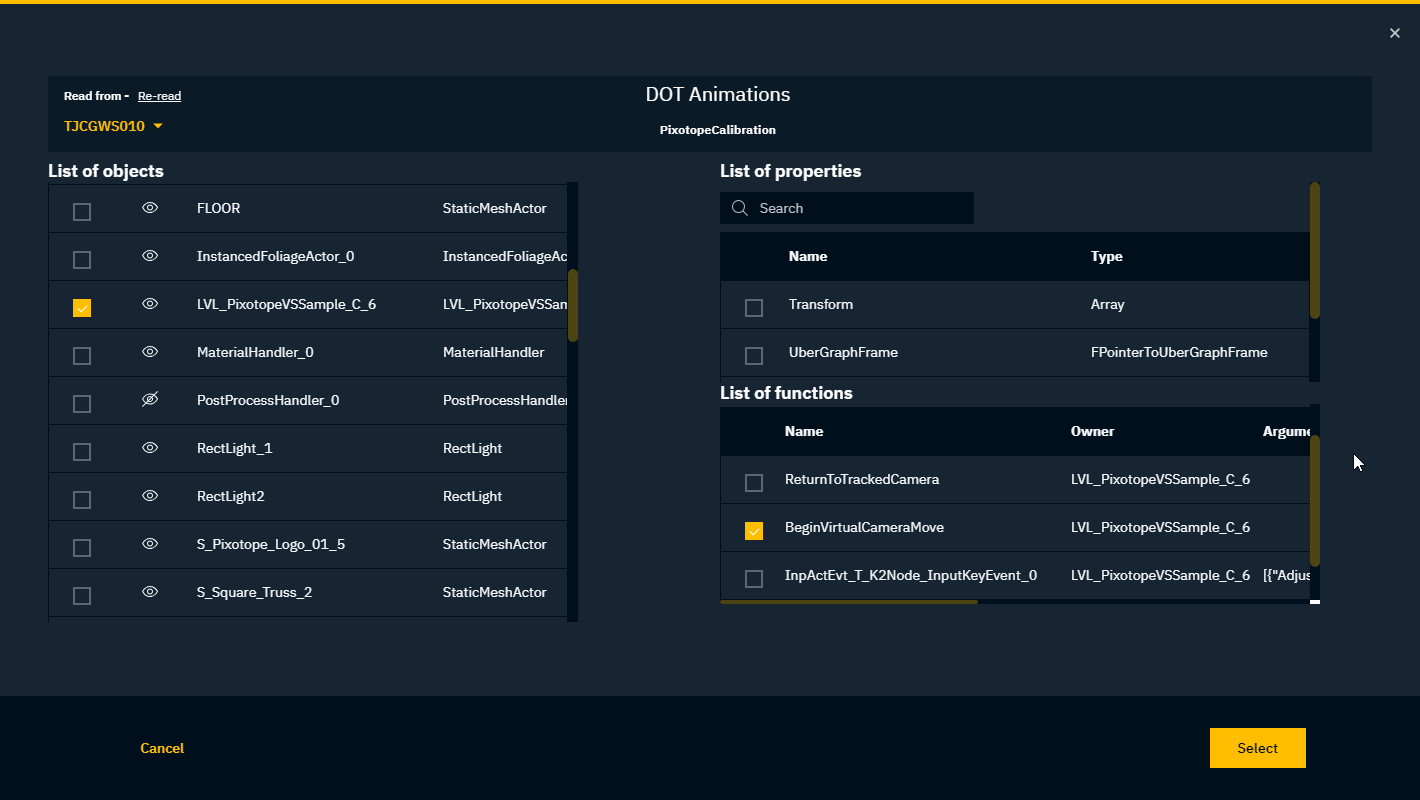
Create triggers in the control panel
Create triggers in the control panel and link them to the 2 Blueprint functions to trigger the animation between the virtual and the tracked camera from the control panel:
Check out the following examples:
LVL_PixotopeVSSample level in the PixotopeCalibration project included in the installer
Pixotope example projects, which can be downloaded from the Pixotope cloud → login.pixotope.com
For functionality specific to the Unreal Editor and some in-depth knowledge, check out https://docs.unrealengine.com/en-us/Engine/Editor.
