Link predefined data queries to widgets so they update dynamically.
Supported widgets
-
All widgets with an Options property
-
Button Grid
-
Dropdown
-
Tabs
-
Available queries
|
Name |
Description |
Available properties (defaults/filter) |
|---|---|---|
|
SubscribeToWebcamSources |
Returns all Webcam sources per machine |
|
|
SubscribeToNdiSources |
Returns all NDI sources |
|
|
SubscribeToVideolnputs SubscribeToVideOutputs |
Returns all routed video inputs and outputs per machine |
|
|
SubscribeToMachines |
Returns all connected machines |
|
|
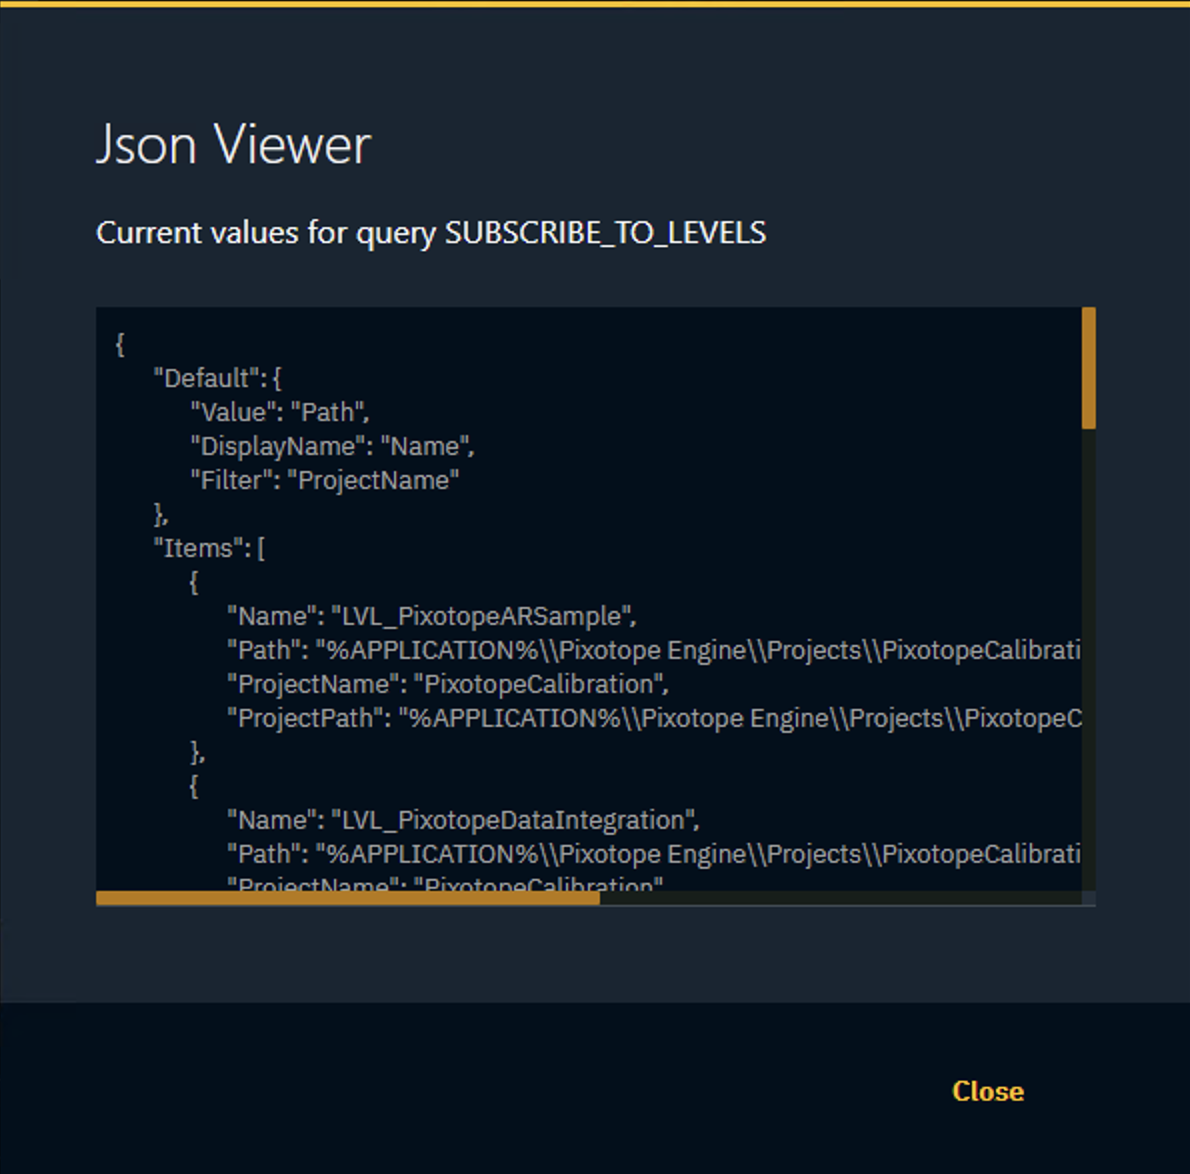
SubscribeToLevels |
Returns all levels per linked project |
|
|
SubscribeToCameras |
Returns all camera systems |
|
|
SubscribeToProjects |
Returns all linked projects |
|
Examples control panel
This way you can, for example, build a custom launch panel or a panel to switch your NDI sources.
Check out the Example Control Panel in the Calibration project included in the Pixotope installation.
Set up dynamic data query
-
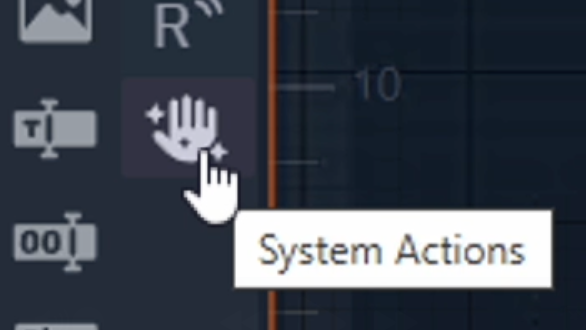
Click the System Actions icon in the Widget Toolbar on the left
-
Scroll down and drag the DynamicData action onto
-
the canvas to link its action to a widget (for example a Button)
-
the System > STARTUP ACTIONS in the Actions panel to trigger it when going into Live mode
-
-
Select a Query from the list of available queries in the DynamicData action
-
Click the Eye icon to the right of the Query to check if data is coming in
-
-
Add a Button Grid, Dropdown or Tabs widget to the canvas
-
Select the newly created widget
-
by clicking the Search icon

-
OR double clicking the text to right to enter the widget name manually
-
-
Select the Auto Populate checkbox

-
Optionally change the properties used as Display name and Value

Filter query
Some of the queries can be filtered by a specified property. See above list for available filters.
These filters can either be static or dynamic.
Set up static filter
-
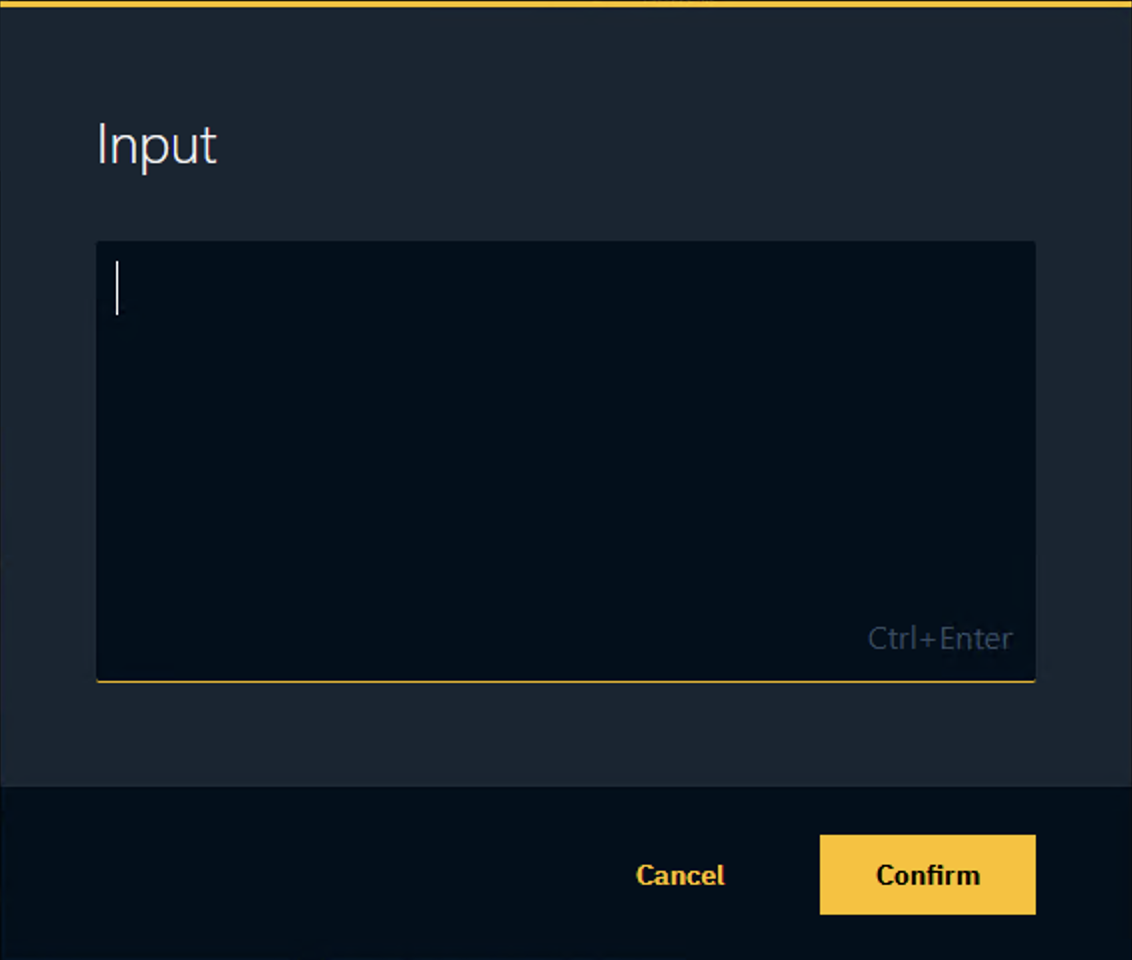
Double click into the field to the right of the filter name
-
Enter a filter string in the Input dialog
-
Click Confirm
The query now only shows results which match the filter string.
Set up dynamic filter
-
Drag a property into the Filter field
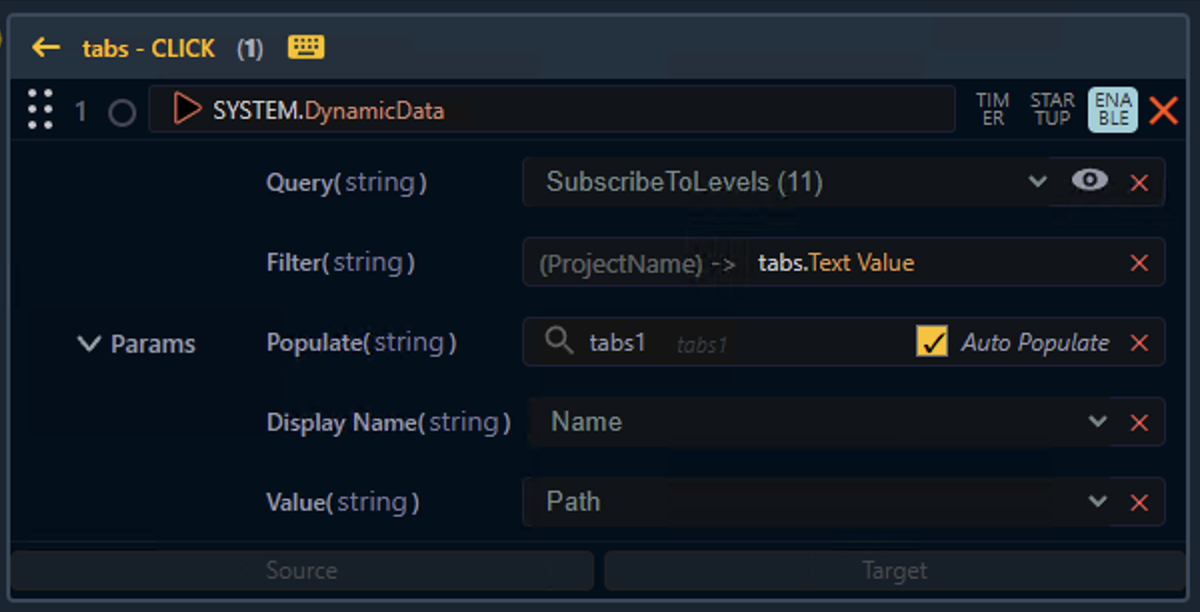
For a query to update when the filter value changes, the DynamicData query needs to be re-triggered after the value has changed. The simplest way to achieve this is to add the query directly to the widget triggering the value change.
In the above image we use the Text Value of the tabs widget as a filter. On the same widget the query was added.