-
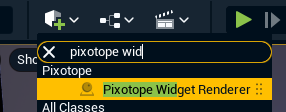
Search for Pixotope Widget Renderer in the Spawning Mode and add it to your level.
-
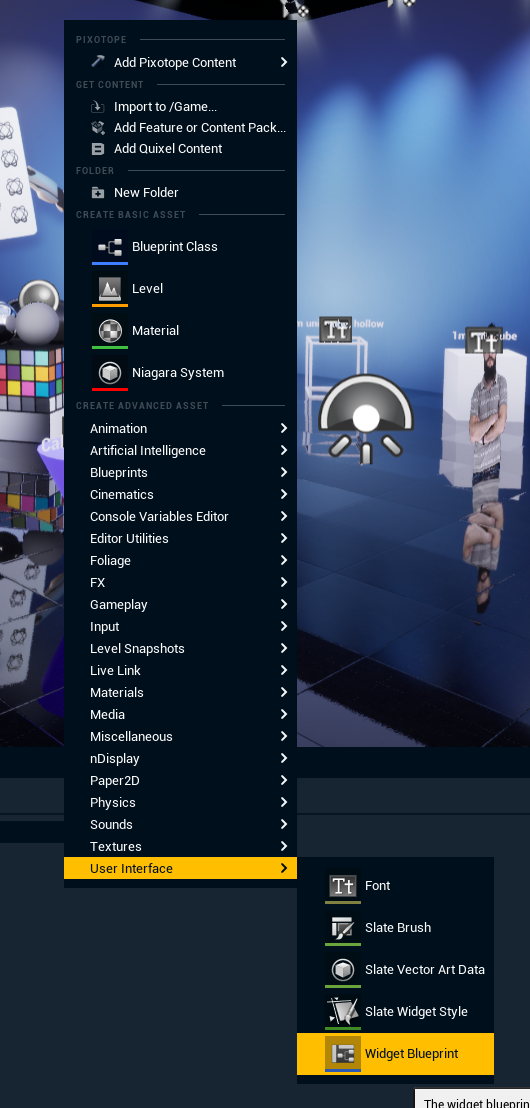
Create a Widget Blueprint
-
Select the Pixotope Widget Renderer actor you spawned in step 1.
In the “Details” tab, assign the widget class and widget you want to use.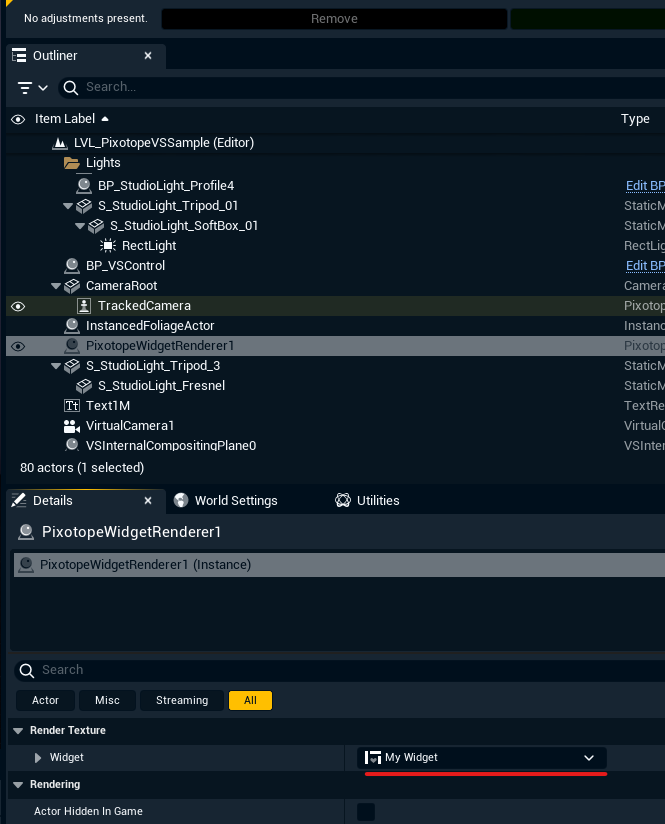
-
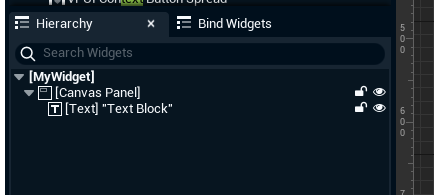
Double click on the Widget Blueprint you created in step 2.
Add a Canvas Panel and Text from Pallete. -
-
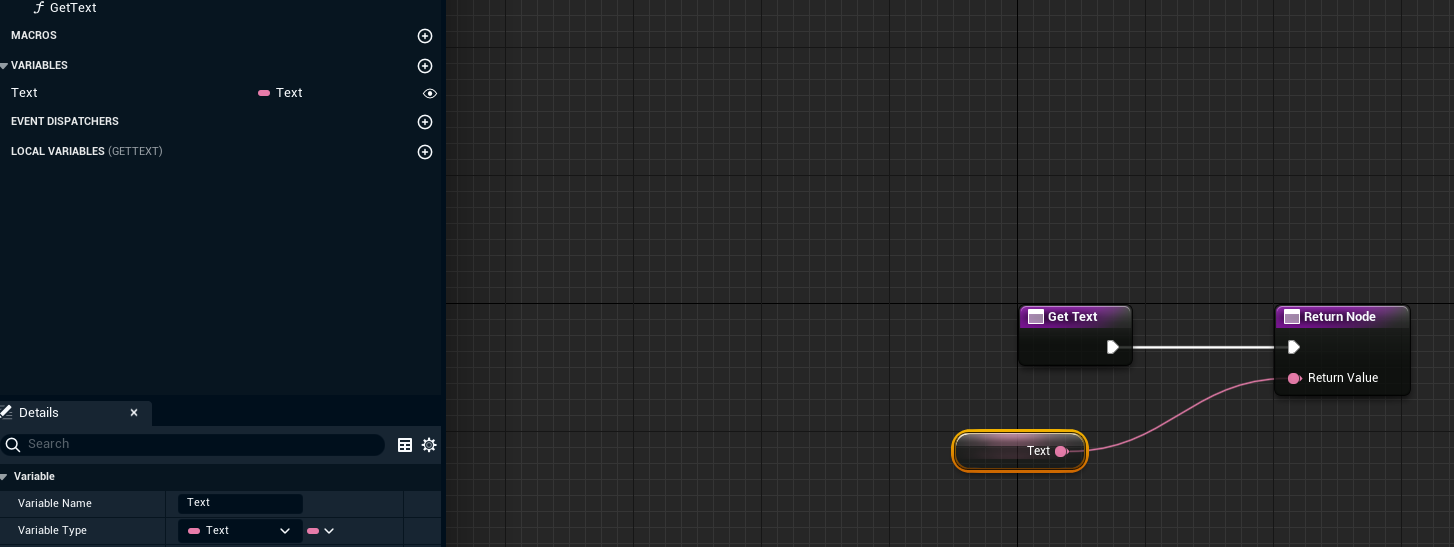
Now you can create a binding to drive the text data.
Click Bind next to the text field on your Text element and select Create Binding.
-
Create a variable of type Text, make it public (by toggling the eye icon next to your variable on the left), and plug it into the return value of the return node
-
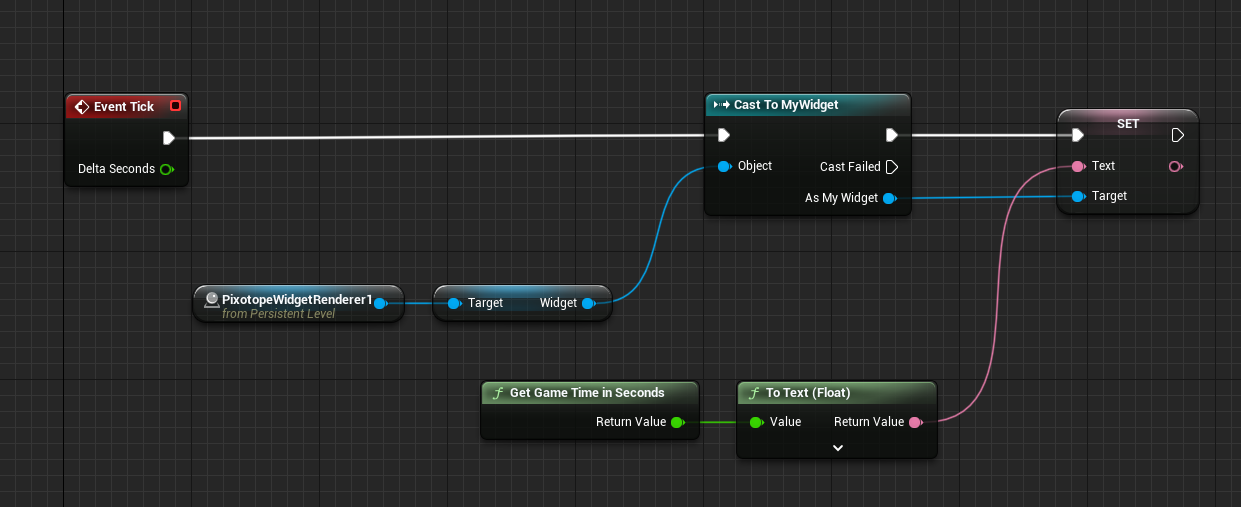
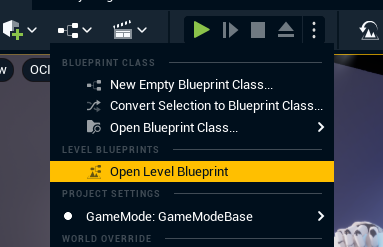
Open your Level Blueprint.
-
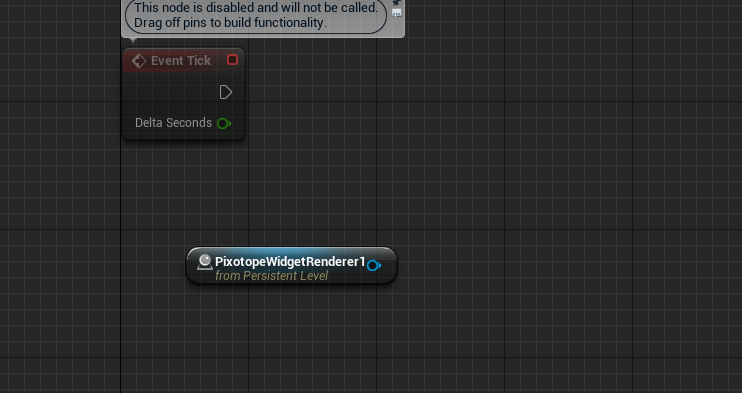
Drag and drop the your Pixotope Widget Renderer actor from the Outliner onto the Event Graph to create a reference.
-
Get a Widget out of your Pixotope Widget Renderer actor, cast it to your own Widget Blueprint type.
Now you can drag out the Set function for you Text variable and change it on Tick.
As an example this is how you would set it to show current Game Time in seconds.