Academy Tutorial - Pixotope Director Walkthrough - START View
-
Step by Step Walkthrough of the START View in Director
Start Pixotope
-
Double-click the "Pixotope [version number]" icon on your desktop
This launches Pixotope Daemon, which will start all necessary Pixotope services including the Pixotope Director.
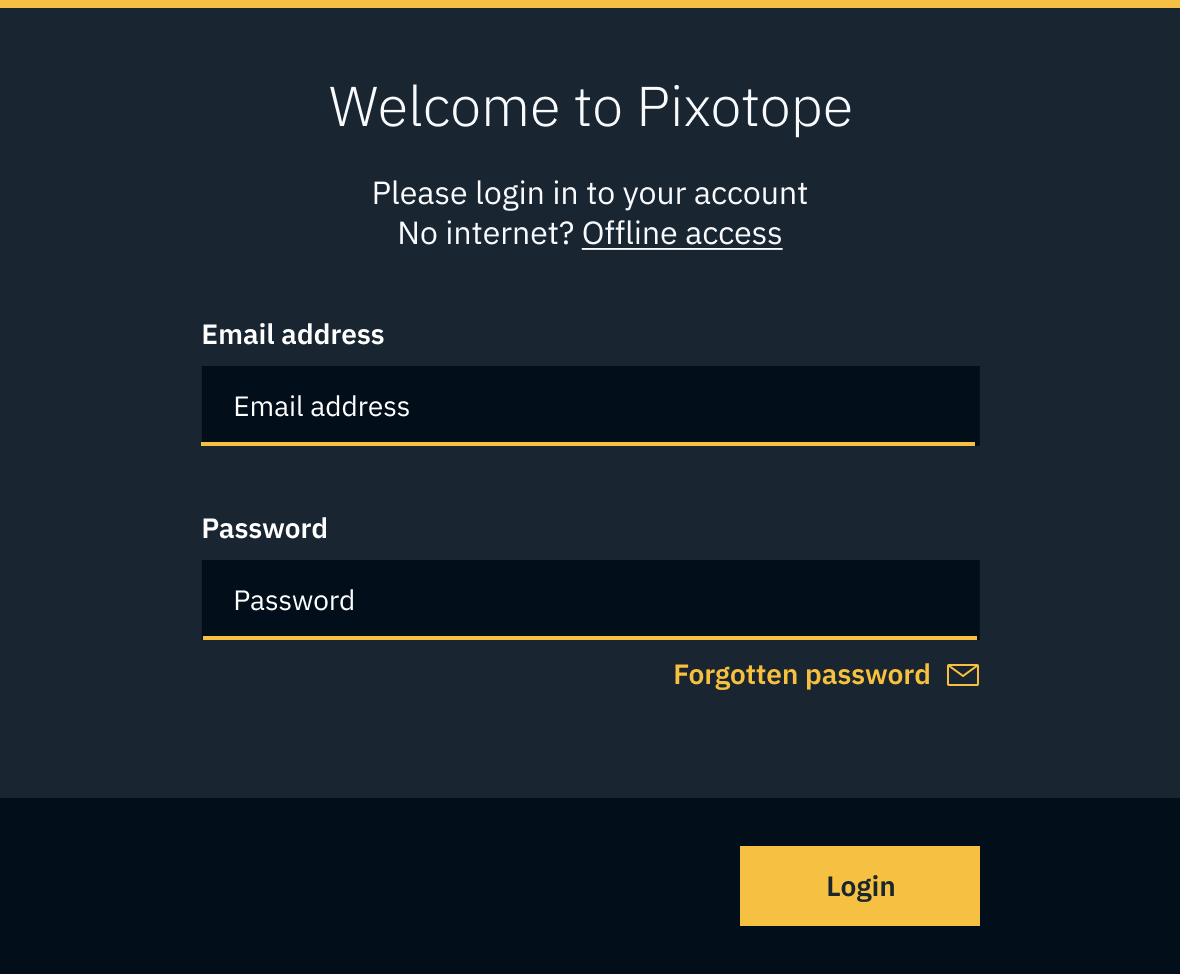
Log in
For accessing offline machines, check out Get a license for an offline machine (air-gapped)
Choose a license
Check out which license type fits your needs: License types - AR/VS, XR, Control, Artist and more
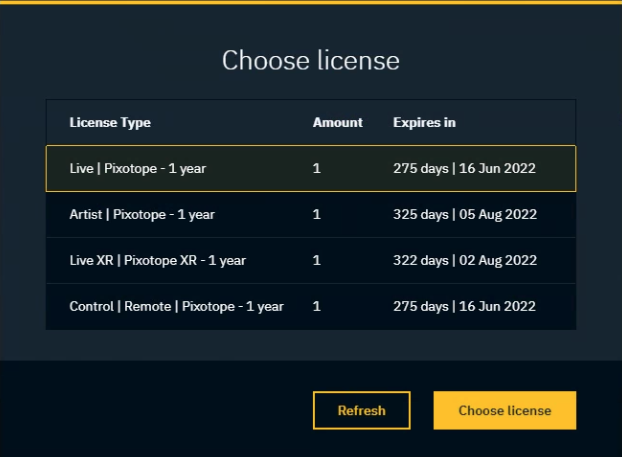
You can change the license type later in the User menu (top right when logged in)
-
If the list of licenses is empty, contact your account admin to assign licenses to your user account via the cloud.
-
If the license appears, but shows "0" available, this means that license is being used on another machine.
-
You can release the license via your Pixotope cloud account → login.pixotope.com > My Licenses
-
Learn more about how to Manage users and licenses
Select a role
Roles are used to define the responsibility of a machine in a Pixotope network.
Learn more about Roles - Stand-alone, Client or Server
Learn more about Single- and multi-machine example setups
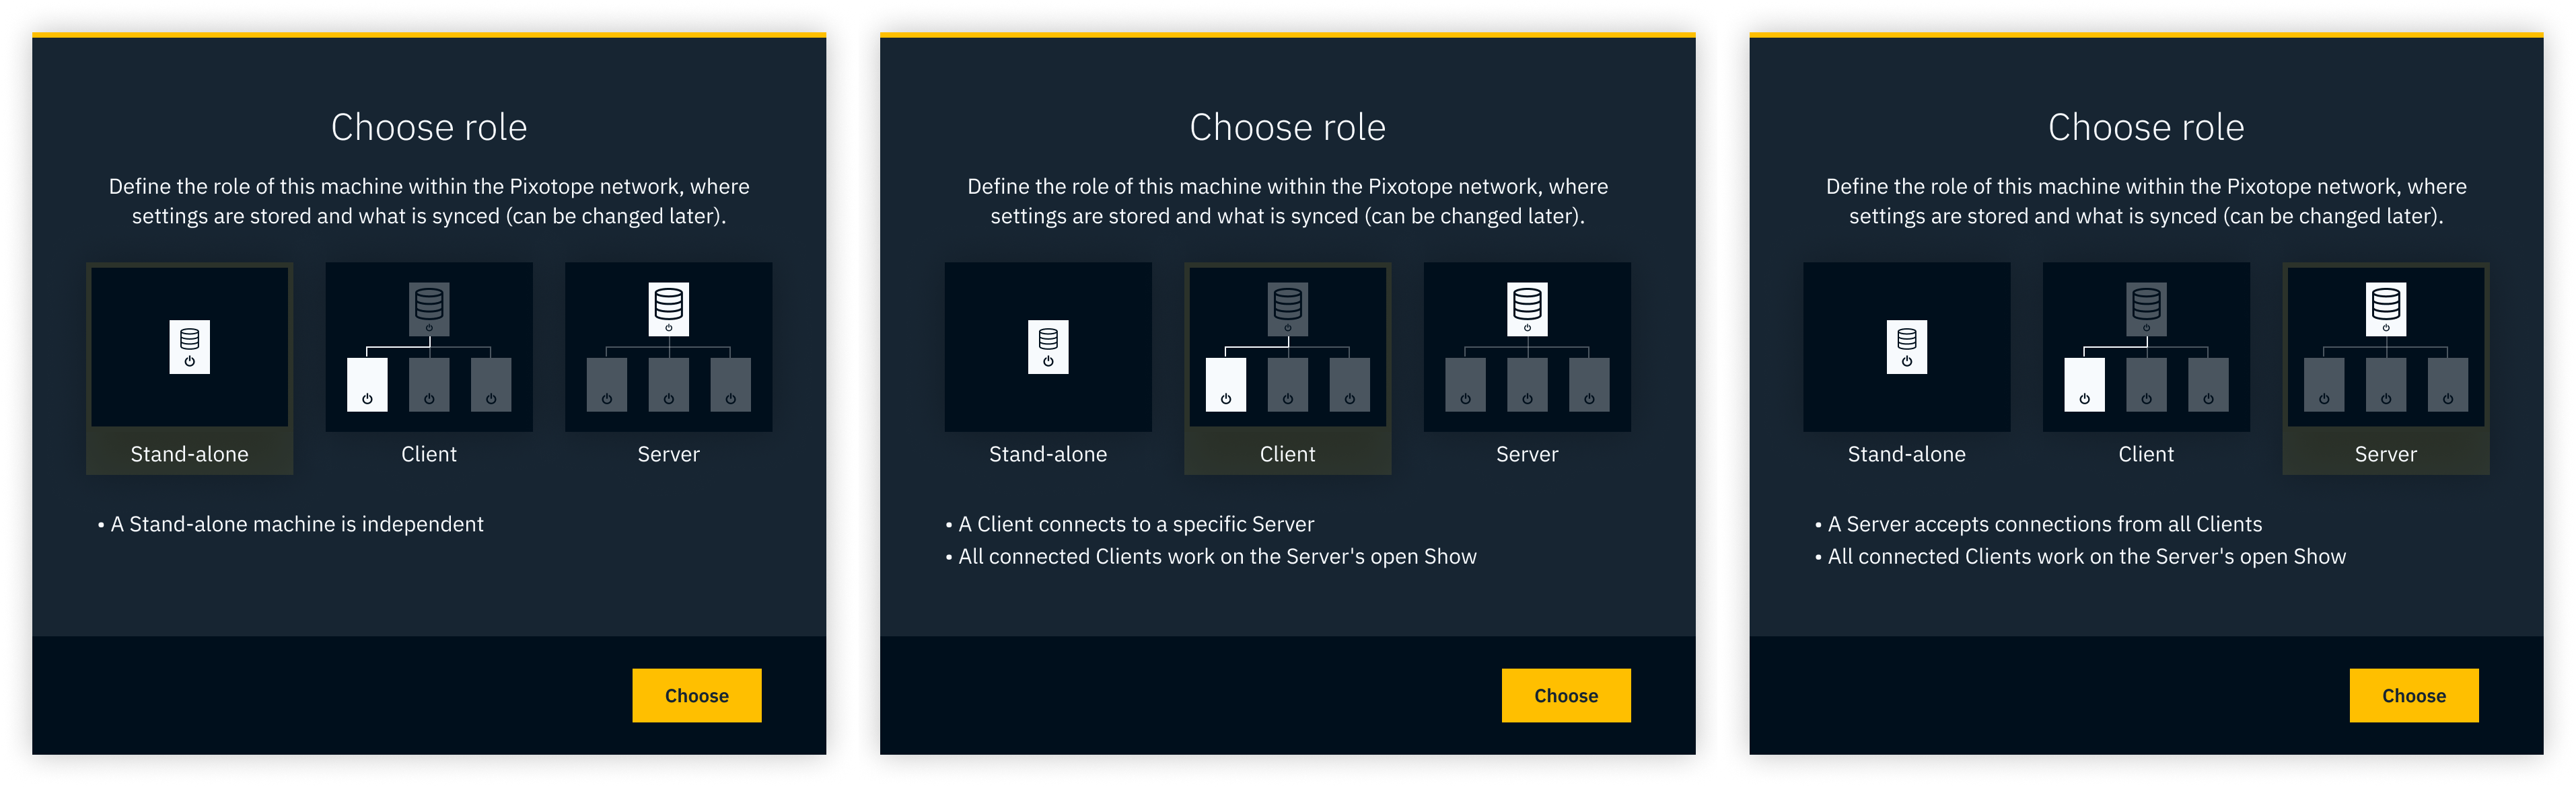
This selection is shown on first startup and can be changed later under START > Storage > Machine settings
Select a network
For Server role
Choose the network adapter which should be used for communication between Pixotope machines.
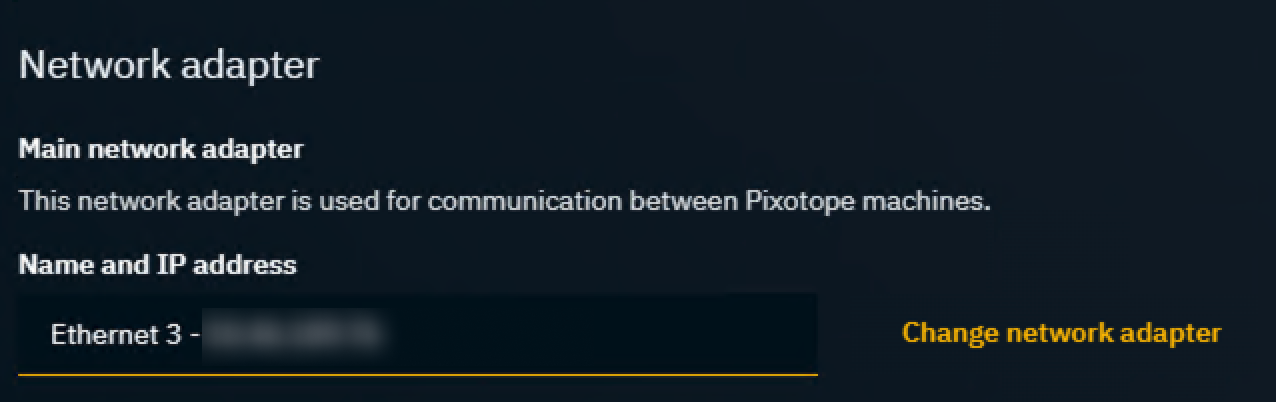
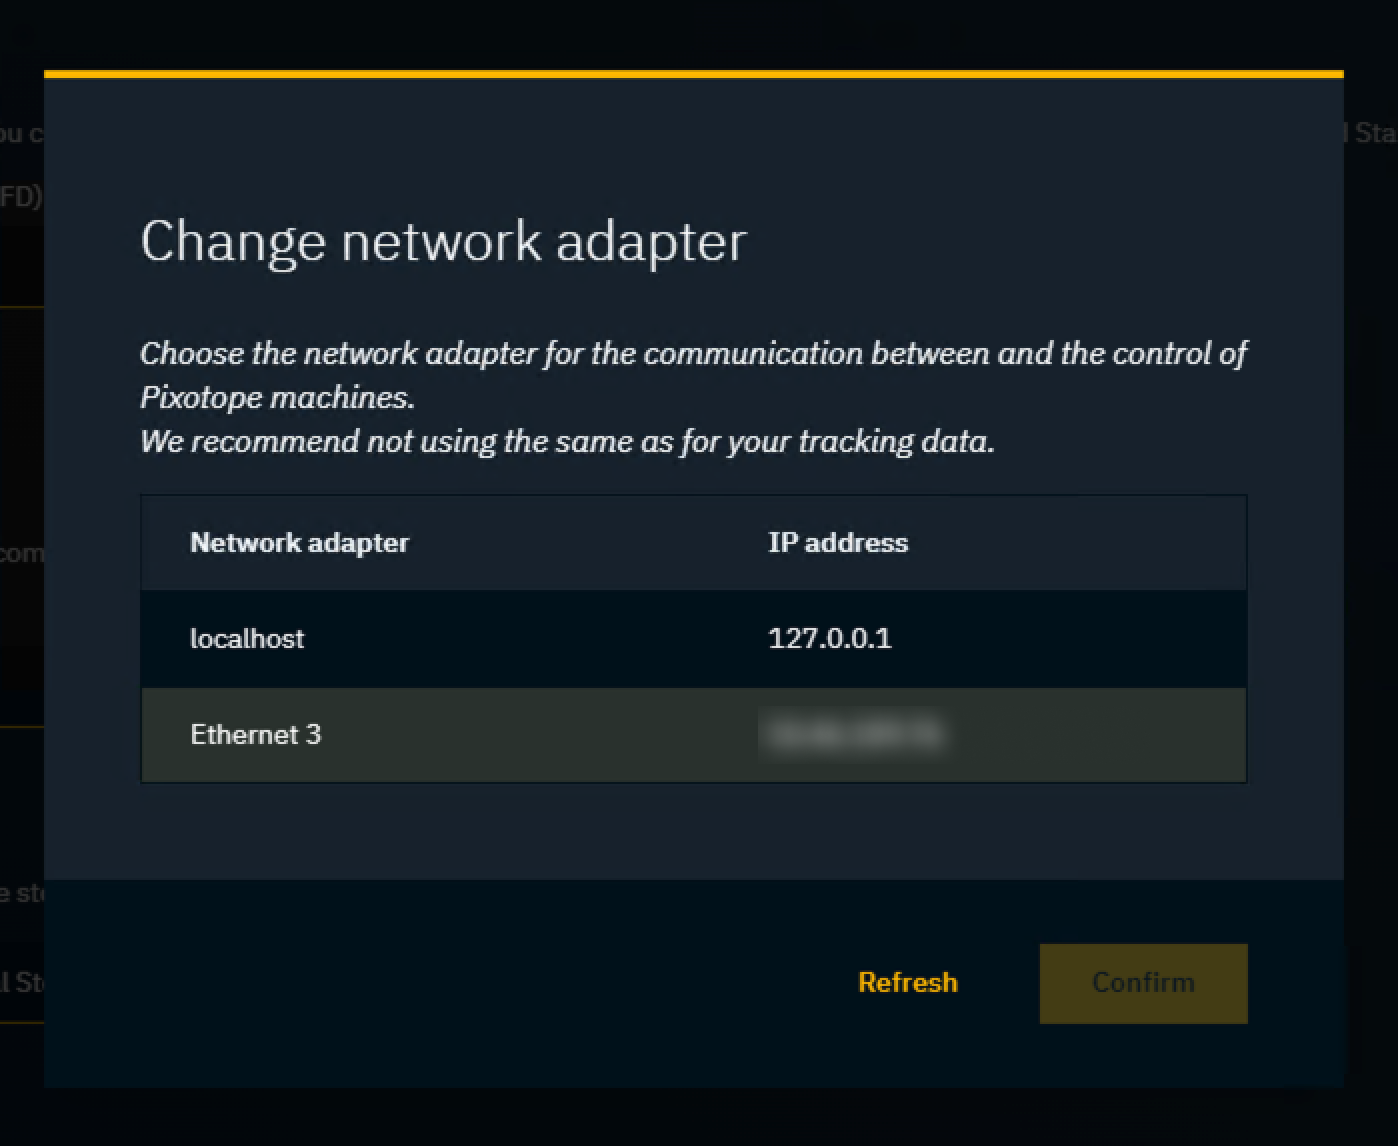
Tracking data can be sent via another network adapter as long as they are both on the same subnet.
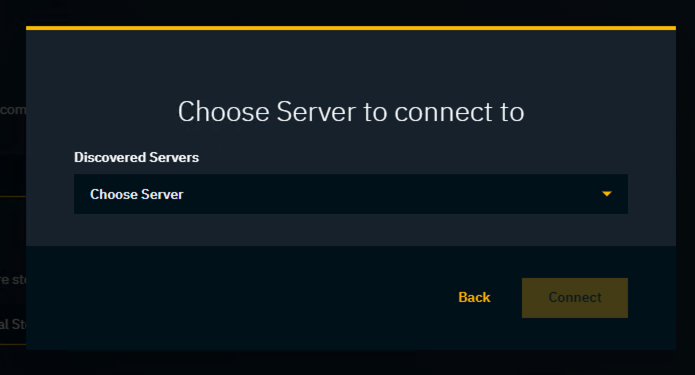
For Client role
Choose the server to connect to.
For Stand-alone role
There is no network selection.
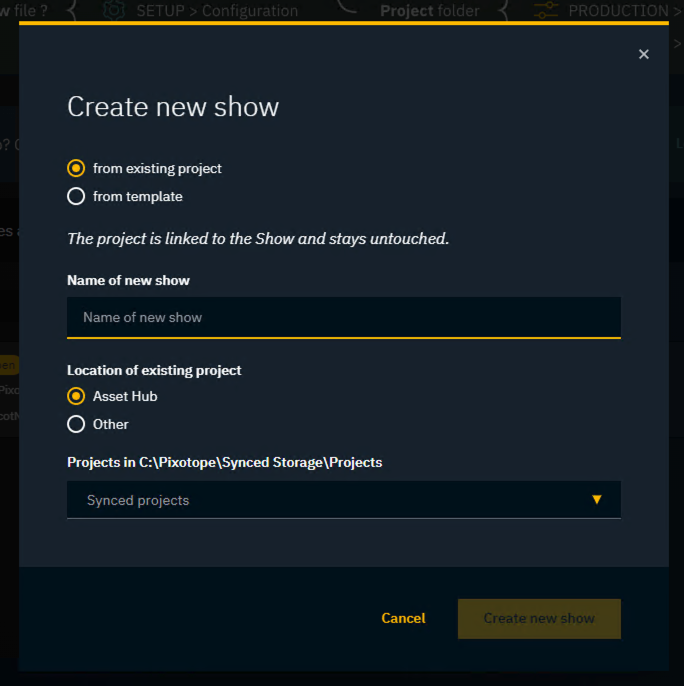
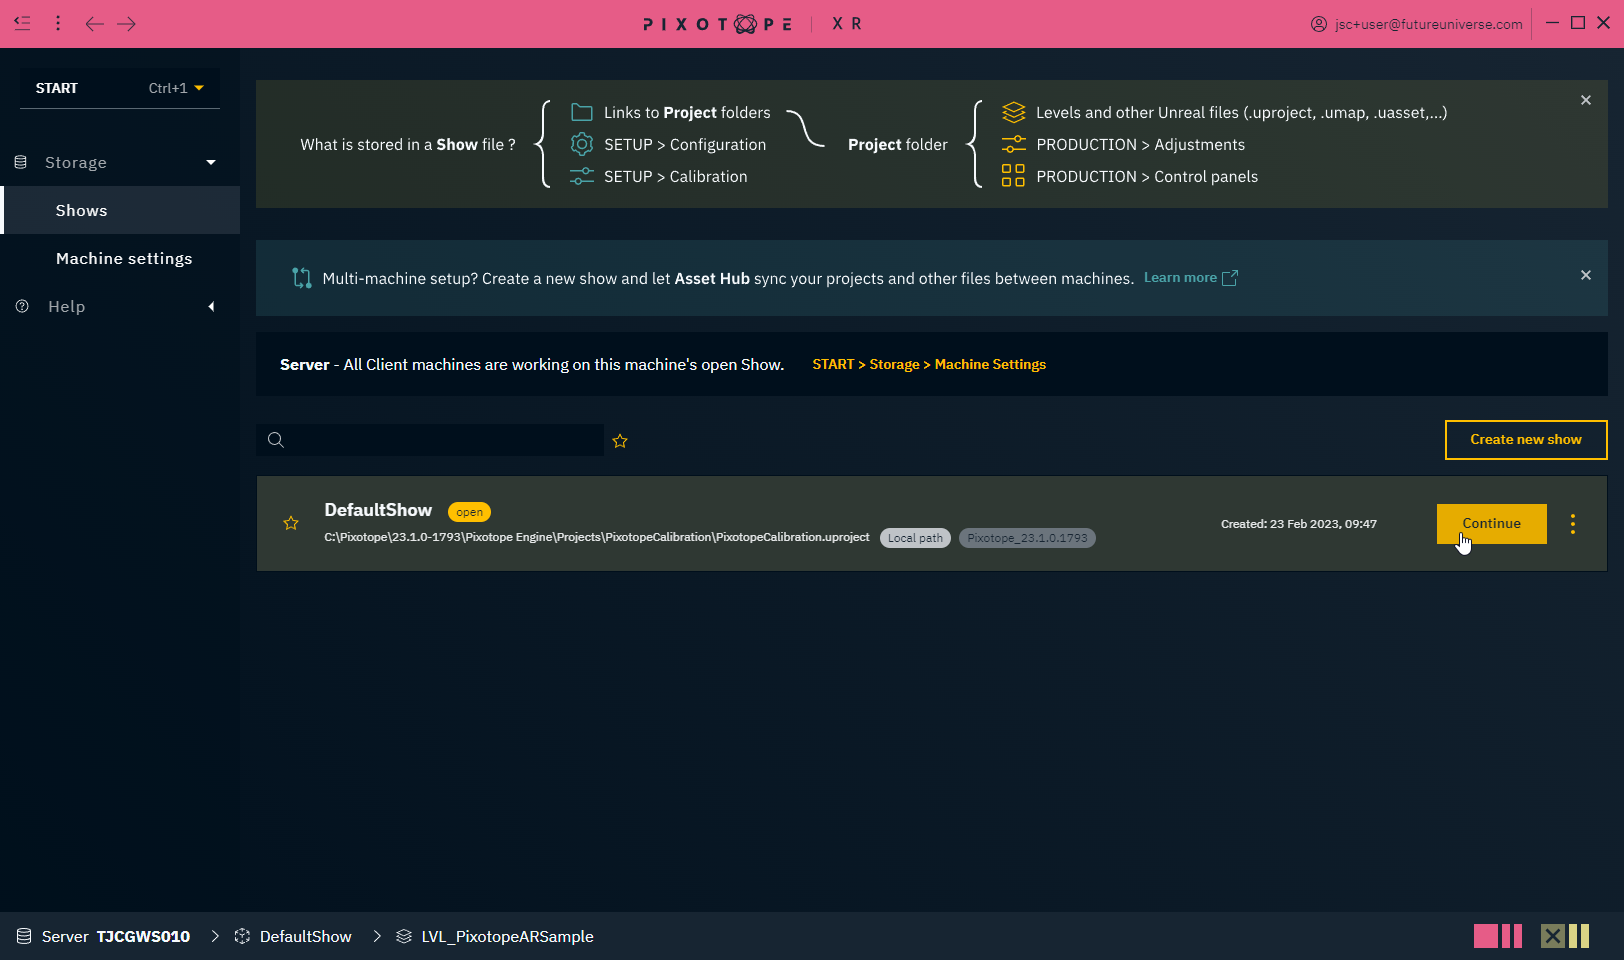
Create a new show
Learn more about Show files and how to manage them
Click the Create new show button in START > Shows
Choose between the following:
Create a show from an existing project
-
Name your show file
-
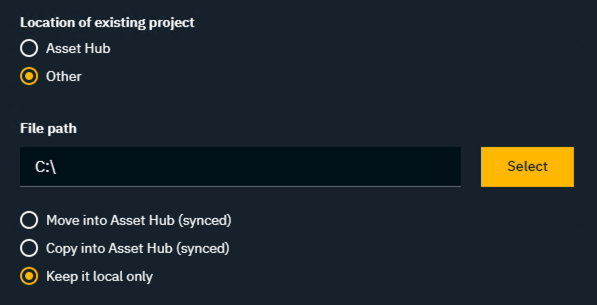
Select where your project file is stored on the machine
-
Asset Hub - dropdown list would automatically fetch all project files in the file path
C:\Pixotope\Synced Storage\Projects -
Other - open the file explorer and manually select the project file
-
you can then choose to keep the project local only, copy or move it to
C:\Pixotope\Synced Storage\Projectsfor the Asset Hub to track and sync changes between machines.
-
-
Learn more about syncing using the Asset Hub
Create a show from a Pixotope template

-
Select the type of project template you want
-
Name your show file
-
Select where to save the project template file
-
Asset Hub - will save to the path
C:\Pixotope\Synced Storage\Projectsand keep any changes to the project synced across machines -
Other - open the file explorer and manually select where to save the project template file
-
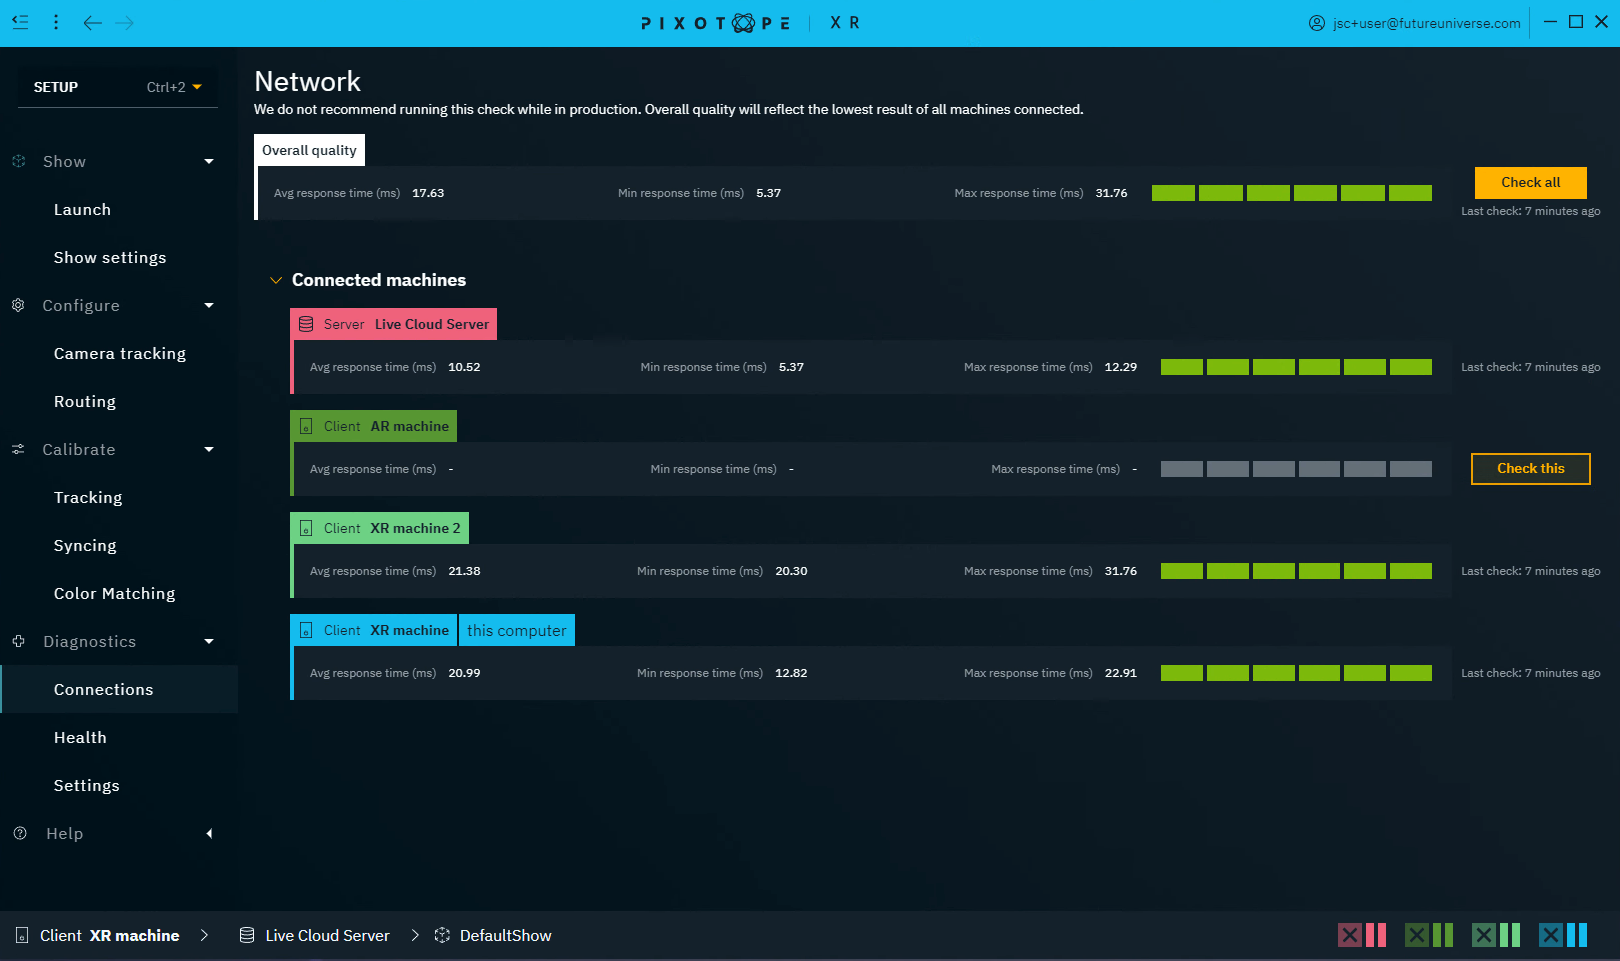
Optionally: Check the network health
For a multi-machine setup it is good idea to check the network health before going Live and interrupting your performance.
-
Continue into your created show or the existing Default Show
-
Go to the Diagnostics > Connections panel
-
Click
-
"Check all" to test the connection of all machines in the network
-
OR "Check this" to test only the connection to a single machine
-
Next step
Continue to Create, open and manage shows