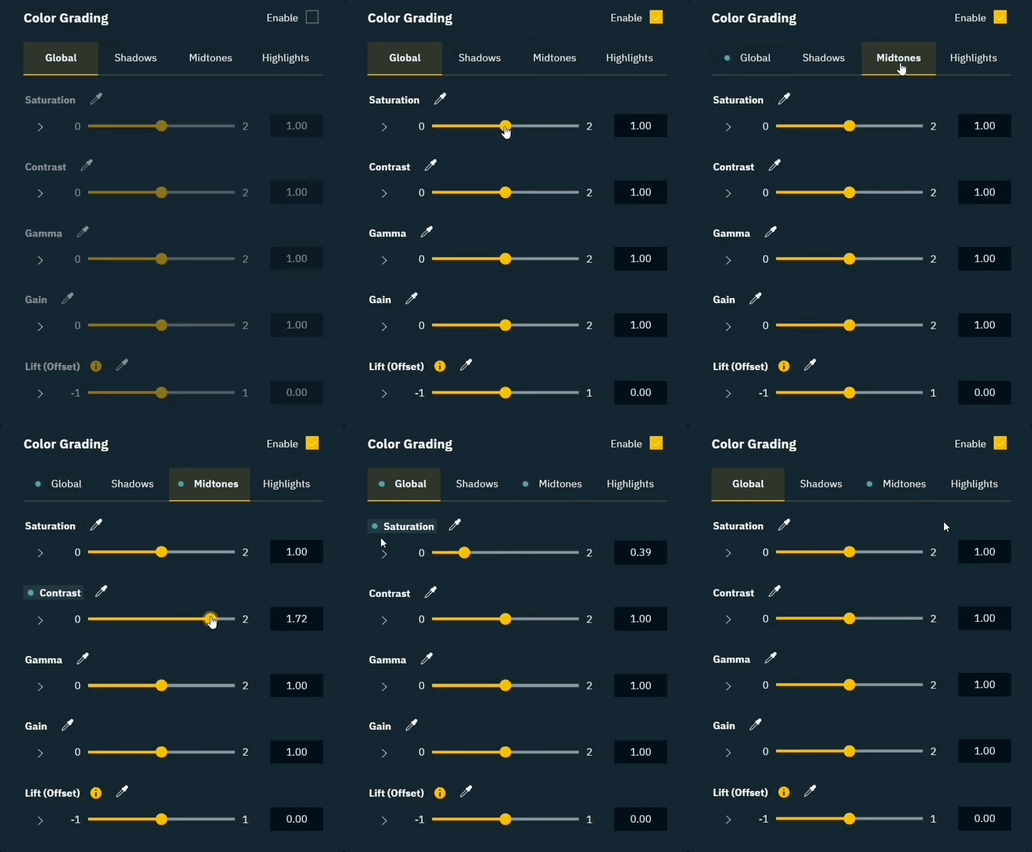
Director - Input components, change indicator
Input components
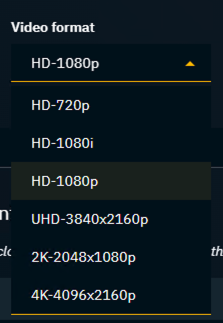
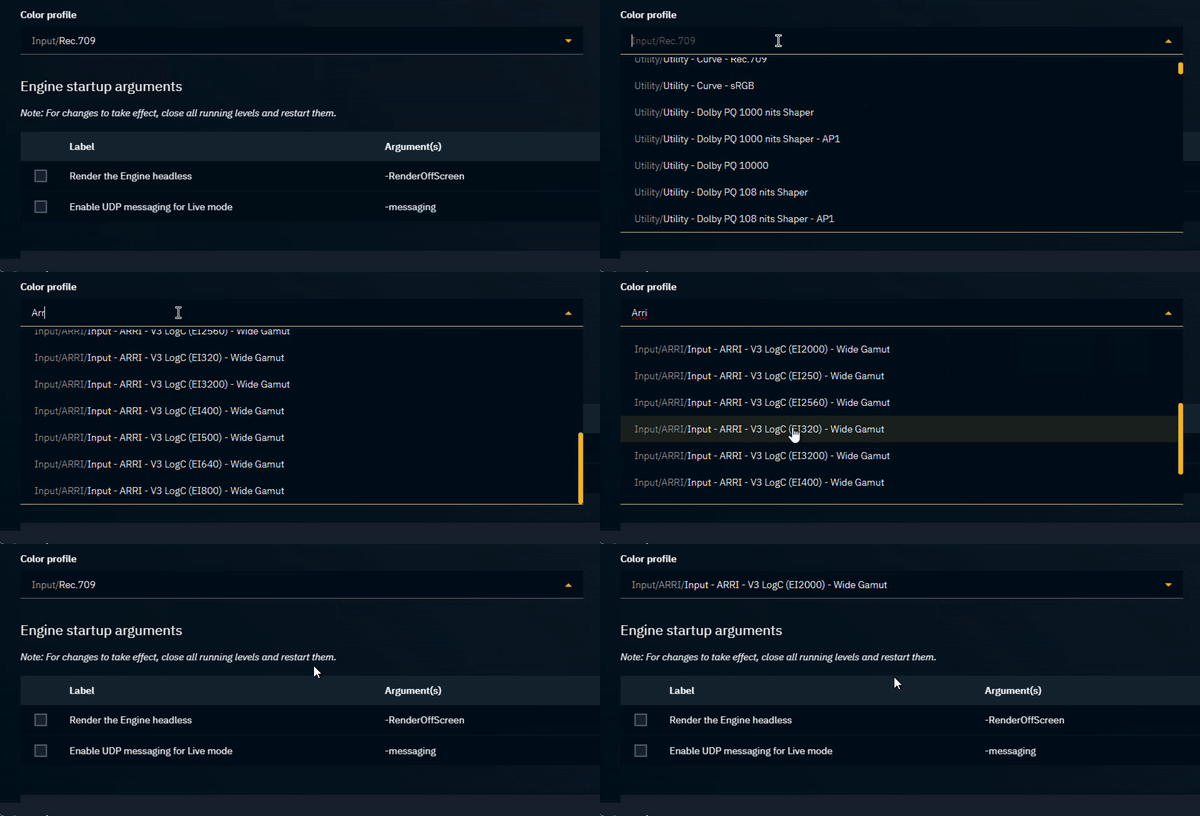
Dropdown
Dropdowns can be expanded and collapsed by clicking the entire field, or yellow caret. Some menus can be scrolled through, and allow for typing to easily filter through the options.
Slider
The value of a slider can be changed by
dragging the slider handle with the mouse
using the up/left and down/right arrow keys
The slider handle needs to be selected (yellow halo around handle)

Typing values larger than the min/max range of the slider will set a new slider range.
Using the reset button will reset the value as well as the slider range.
RGB slider
RGB sliders allow for changing values on a main or sub property level.
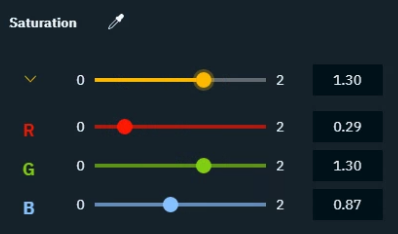
The main slider scales the sub properties proportionally.
Number input field
The number input field has been optimized for precision handling and fast iteration
Cursor based precision
Changes the value input field using a step size which depends on the cursor's position. You can step through the values using the
up and down arrow keys
arrow icons
mouse wheel
the mouse cursor needs to be clicked within the input field
You can change the digit you adjust by repositioning the mouse cursor in the input field by
clicking with the mouse
using the left/right arrow keys to move the cursor
This feature follow these rules:
Only the digit to the left/right side of the cursor is stepped up and down
It ripple counts up and down
The other digits to the right side stay untouched
The main premise is, that you always get back to your original value
5 clicks up, then 5 clicks down and you are back at the original number
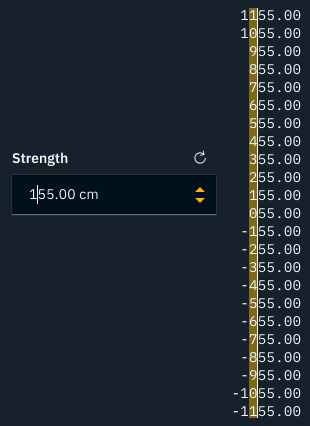
Fast iteration of values
Double clicking, as well as hitting enter, selects the whole number so you can type a new number right away.

Syncing Stepper
In the Syncing panel, each item routed is controlled by a stepper with 10 boxes. These control the amount of frames a delay is set to.

Manipulate the stepper via the number input, +/-1 buttons, or clicking one of the boxes in the stepper. Inputting a number above 10 fills all the boxes in the stepper, and shows the delay value as a number on the last box.
..gif?inst-v=c4cff96f-72bc-4fbf-9bb9-f1a02047b19c)
Allowing advanced controls shows 2 more stepper boxes to the left of the line break. These allow for negative delay values.

Change indicator
In the PRODUCTION > Composite, Effects, and Color Grading panels (more to come), there is a way to identify which parameters have had value changes. It is a blue dot, and a light blue background fill behind the parameter’s label.
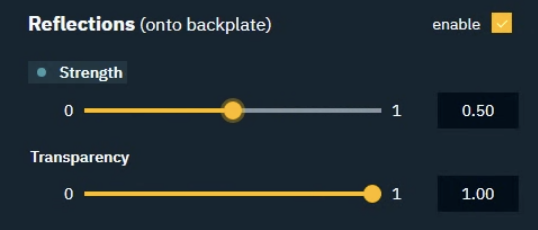
Strength has been adjusted
When hovering over the change indicator, the dot will turn into a reset icon. Which values the change indicator resets to depends on whether you are making adjustments in EDIT mode or LIVE/Preview Live mode.
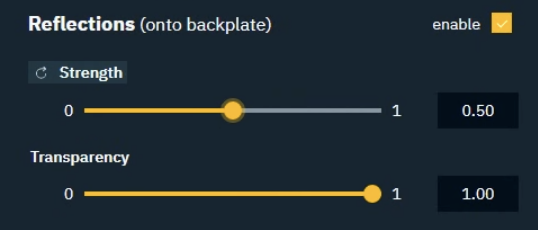
Strength’s change indicator on hover
When making adjustments in EDIT mode
Adjustments are saved to the level directly upon saving
Resetting an adjustment will reset to the Engine’s default value, regardless of what values are saved to the level
Our Pixotope Calibration project contains levels which have been adjusted from the Engine’s default value, so these values will appear adjusted from the first launch
When making adjustments in LIVE or Preview Live mode
Adjustments are "added on top" of a level
Resetting an adjustment will reset to the level’s last saved value
Adjustments are stored locally on the machine within the project folder (
[Project folder]/Saved/Adjustments/[Levelname].adj)
Learn more about Adjusting levels - where it reads from and sends to
Change indicator for the Color Grading panel
In this panel the change indicator has a slight variation
Each tab under Color Grading offers a unique set of parameters to manipulate. In the below example you can see how changing parameters under Global does not affect parameters under Midtones
The blue dot next to the tabs on top cannot be reset, but help notify you of adjustments that may not be immediately apparent
