Pixotope Volume Light is a volumetric lighting tool that can create dense atmospheric lighting at extremely low performance cost.
Use it as supplementary lighting tool for scenes that need
-
extra depth
-
silhouette separation
-
custom regional coloring
-
visual effects enhancement
-
etc.
Mixing
The settings allow for a variety of ways to mix the light into the scene. Depending on the settings a diffuse, additive or subtractive look can be achieved, and any mix in-between.
|
Diffuse Mixing |
Additive Mixing |
Subtractive Mixing |
|---|---|---|
|
|
|
|

|
|
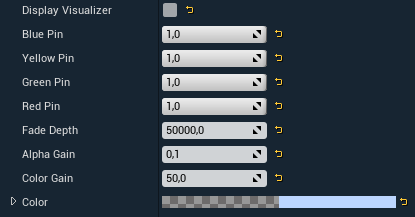
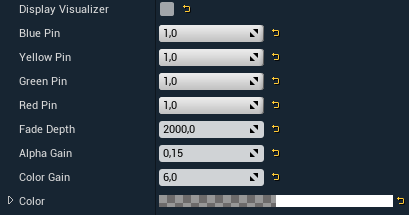
Light settings
|
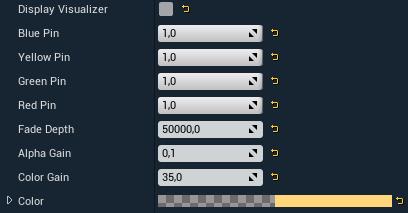
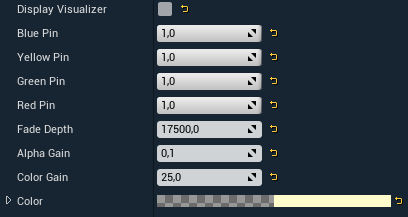
Blue/Yellow/Green/Red Pin
|
Sets the light opacity gradient for each corner of the plane. If all pins are set to 1.0 the shape becomes spherical. |
|---|---|
|
Fade Depth |
Sets the density of the light volume by view depth starting from the surface plane of the light |
|
Alpha Gain |
Sets the opacity of the light color |
|
Color Gain |
Sets the light color brightness |
|
Color |
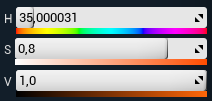
Sets the light color |
Checkout the videos below to see how the settings change the lights behaviour.
|
|
|
|
Tutorial
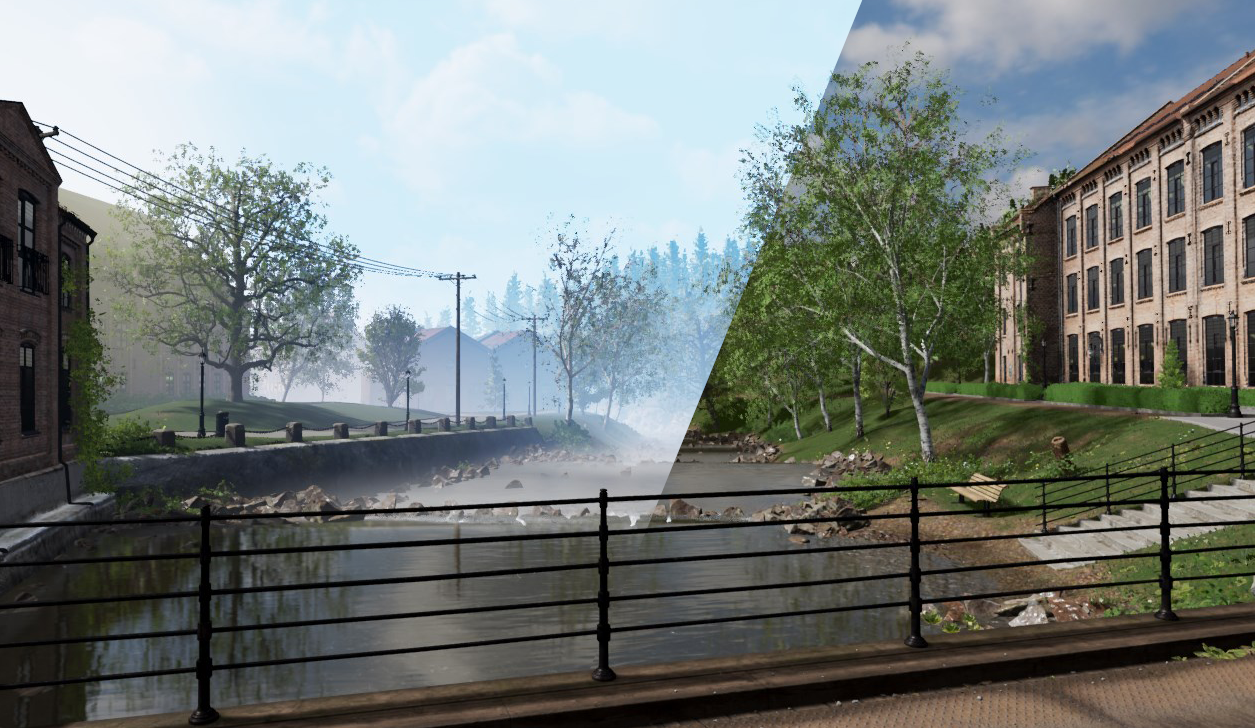
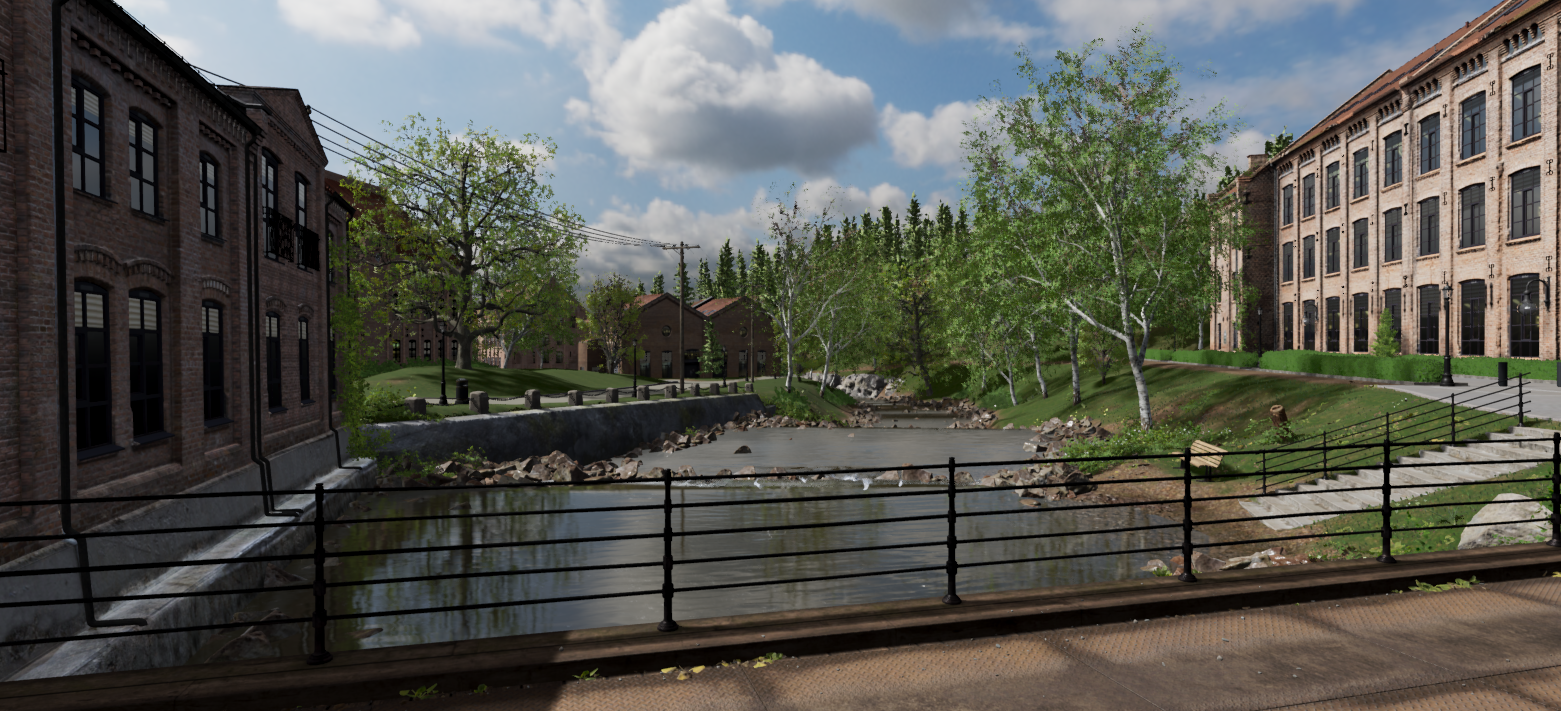
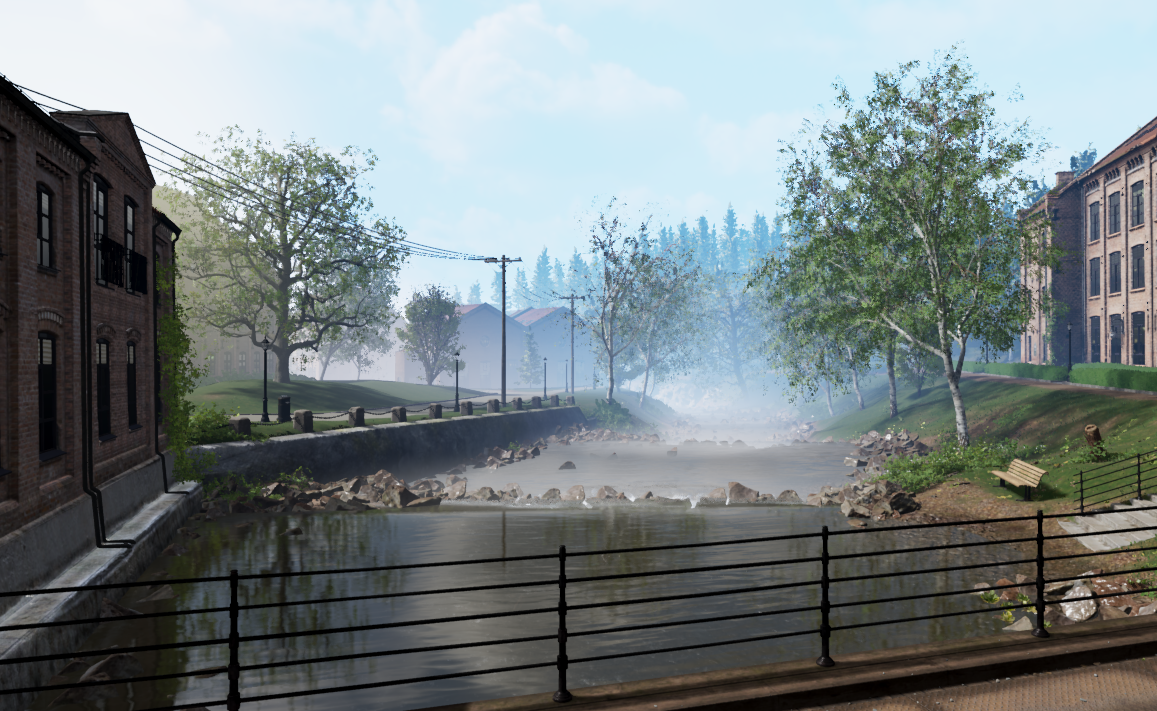
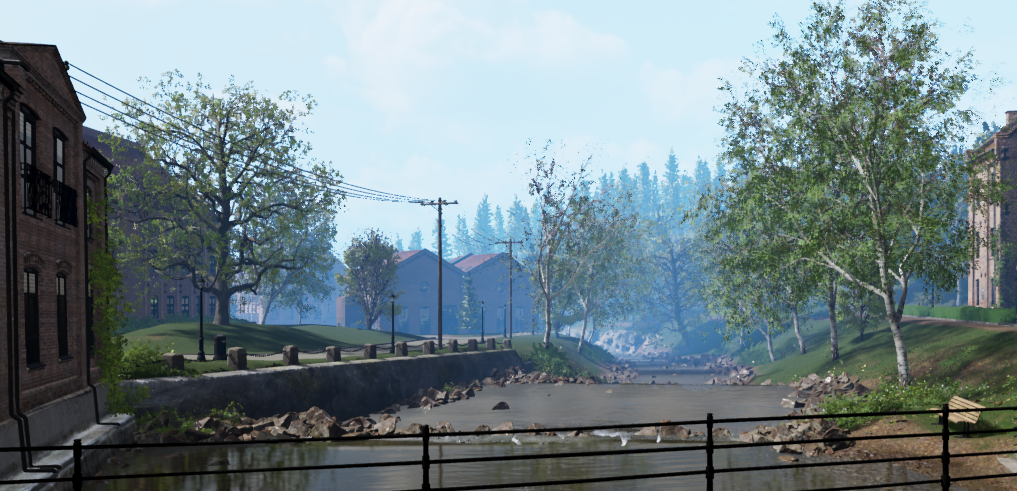
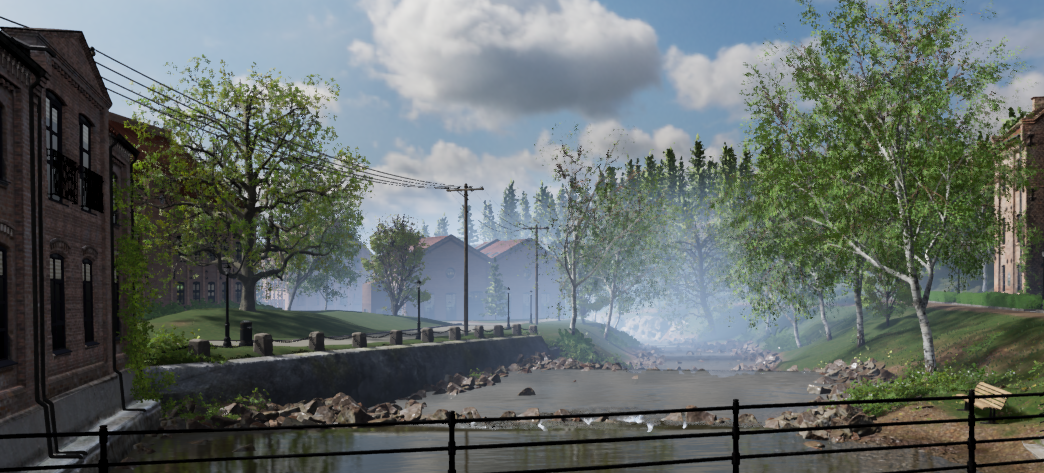
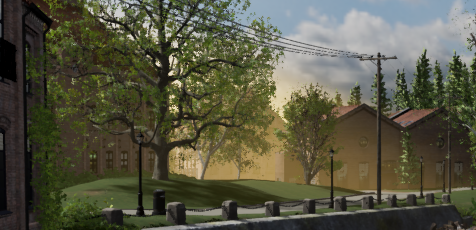
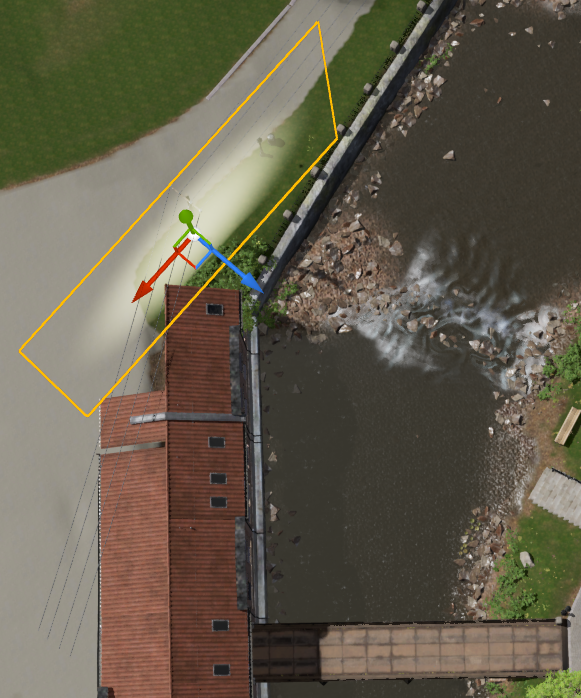
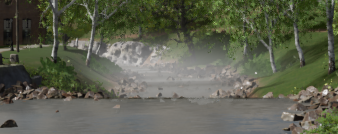
In this tutorial we will be adding atmospheric lighting to the river segment of the Pixotope Exterior example project (LVL_PixotopeExterior).
The lighting will be set up to suit camera angles from the bridge. The settings of the lights will be predominantly additive, with low alpha values and high color gain to emulate the refractive properties of water molecules, oxygen and ozone.
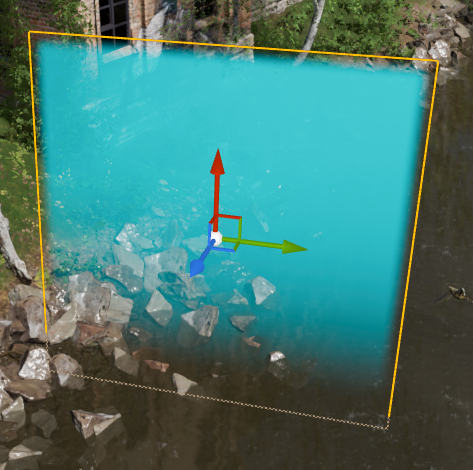
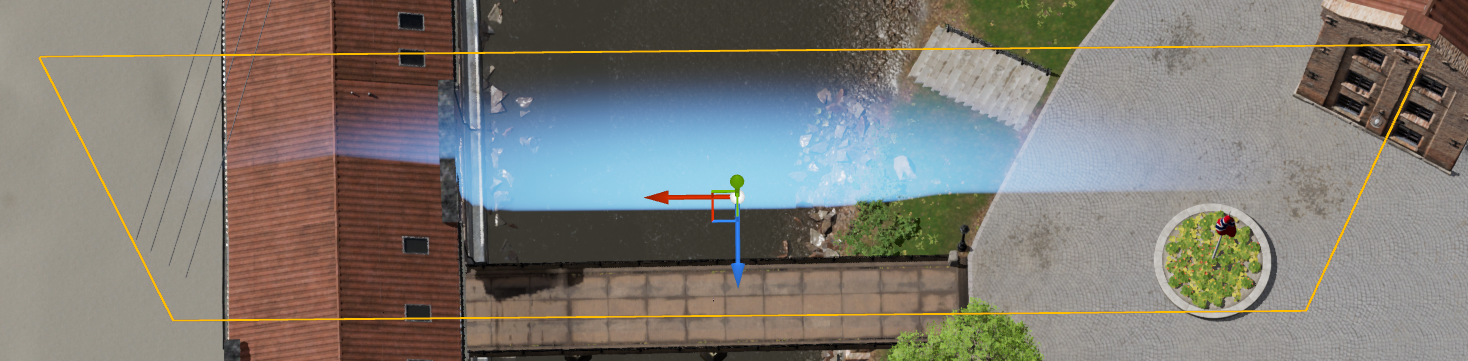
Add main atmosphere
-
Add a Pixotope Volume Light from the Place Actors > Pixotope panel
-
Rename it to BP_PX_VolumeLight_MainAtmosphere to more easily identify it later
-
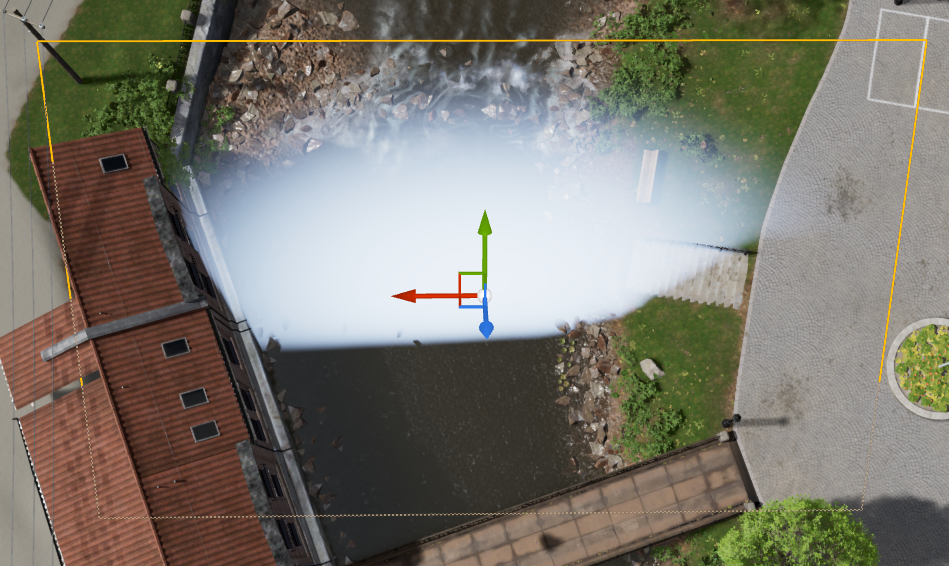
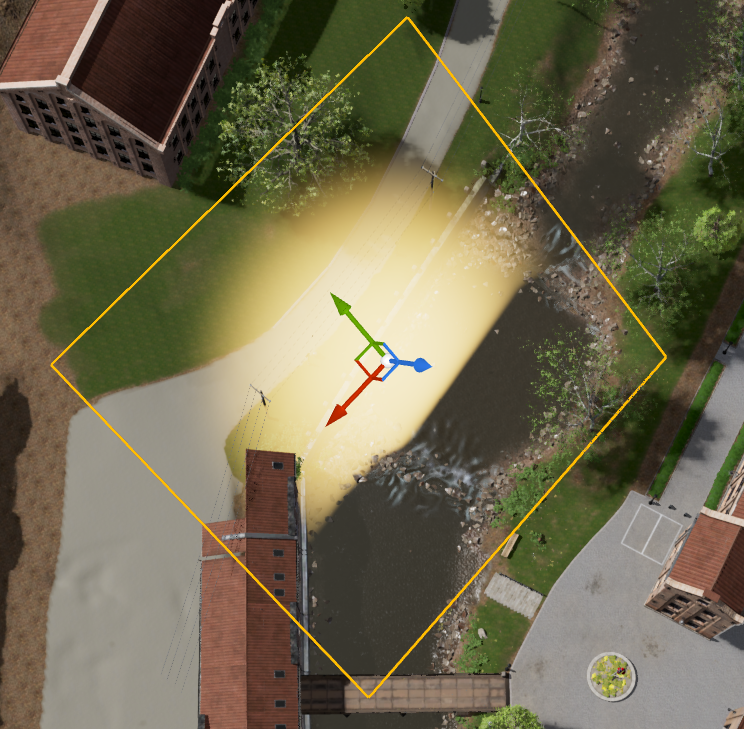
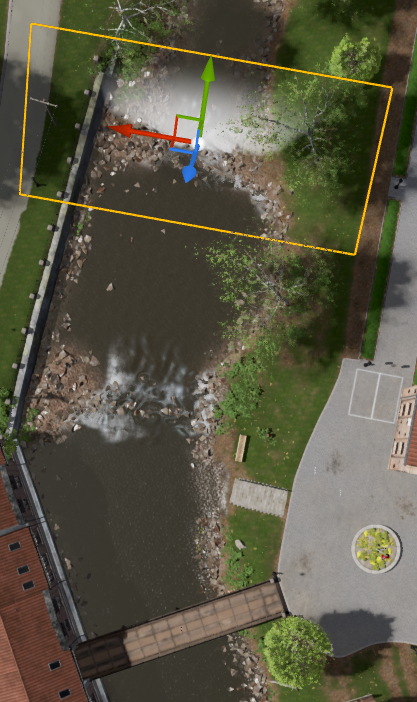
Position the light in front of the bridge and scale it so it fills the view from the bridge
-
This light will act as the main atmospheric color of the scene
-
|
Placement |
Settings |
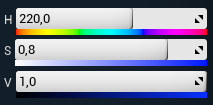
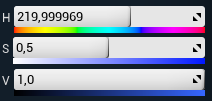
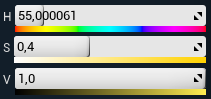
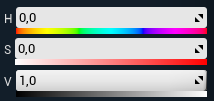
Color (HSV) |
|---|---|---|
|

|
|
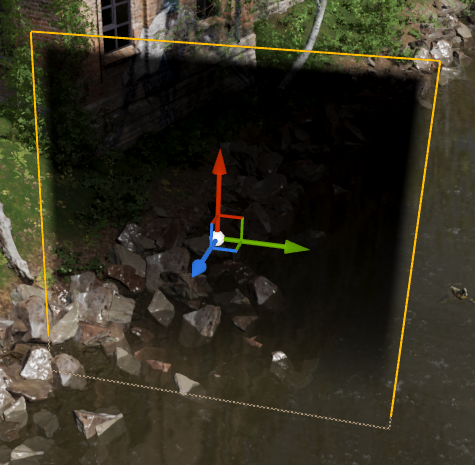
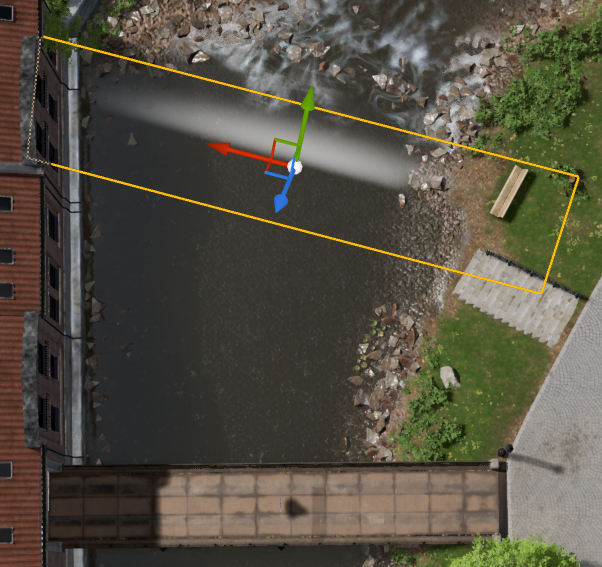
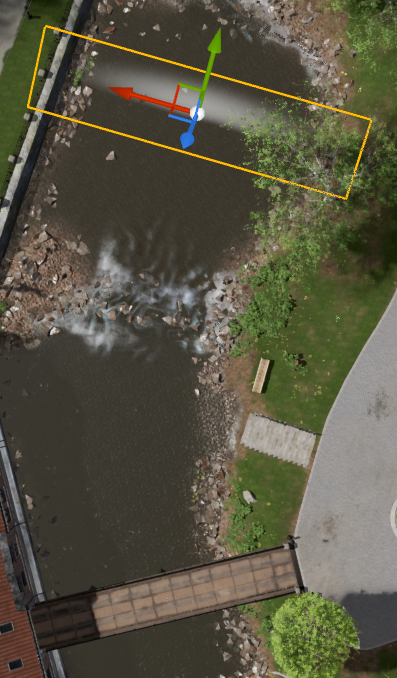
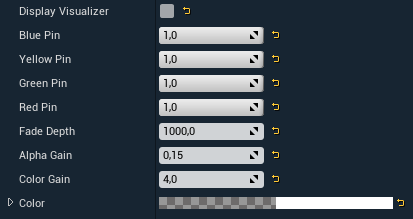
Add river atmosphere
-
Add a Pixotope Volume Light
-
Rename it to BP_PX_VolumeLight_RiverAtmosphere
-
Position the light so it covers the general path of the river
-
This light will act as the water haze living around the river’s path
-
|
Placement |
Settings |
Color (HSV) |
|---|---|---|
|
|
|
Add sun glow
-
Add a Pixotope Volume Light
-
Rename it to BP_PX_VolumeLight_SunGlowA
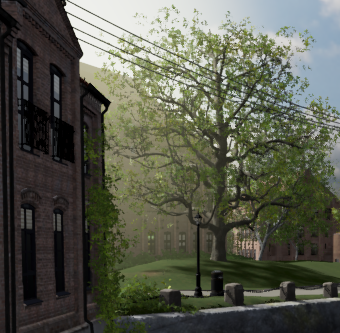
This light will act as an atmospheric glow from the sunlight creating silhouette separation between the buildings on the left of the river.
|
Placement |
Settings |
Color (HSV) |
|---|---|---|
|
|
|
-
Add a Pixotope Volume Light
-
Rename it to BP_PX_VolumeLight_SunGlowB
This light will work together with SunGlowA to create even further silhouette separation between the big tree on the left and the buildings in front and behind.
|
Placement |
Settings |
Color (HSV) |
|---|---|---|
|
|
|
Add water haze
-
Add a Pixotope Volume Light
-
Rename it to BP_PX_VolumeLight_WaterHazeA
This light will act as the water vapor around the first river fall.

|
Placement |
Settings |
Color (HSV) |
|---|---|---|
|
|
|
-
Add a Pixotope Volume Light
-
Rename it to BP_PX_VolumeLight_WaterHazeB
This light will act as the water vapor around the second river fall.

|
Placement |
Settings |
Color (HSV) |
|---|---|---|
|
|

|
-
Add a Pixotope Volume Light
-
Rename it to BP_PX_VolumeLight_WaterHazeRiver
This light will act as a general water vapor for the distant part of the river adding more depth in general to the river path.
|
Placement |
Settings |
Color (HSV) |
|---|---|---|
|
|
|
You have now added all the lights needed for our custom atmosphere. Notice the changing color gradients, depth and silhouette separation that has been added to the scene.