
The Control panel library allows to access control panels across projects.
Open available control panels
-
Go to the Launch panel in Director
-
Click the "Open control panel" button on the top right
-
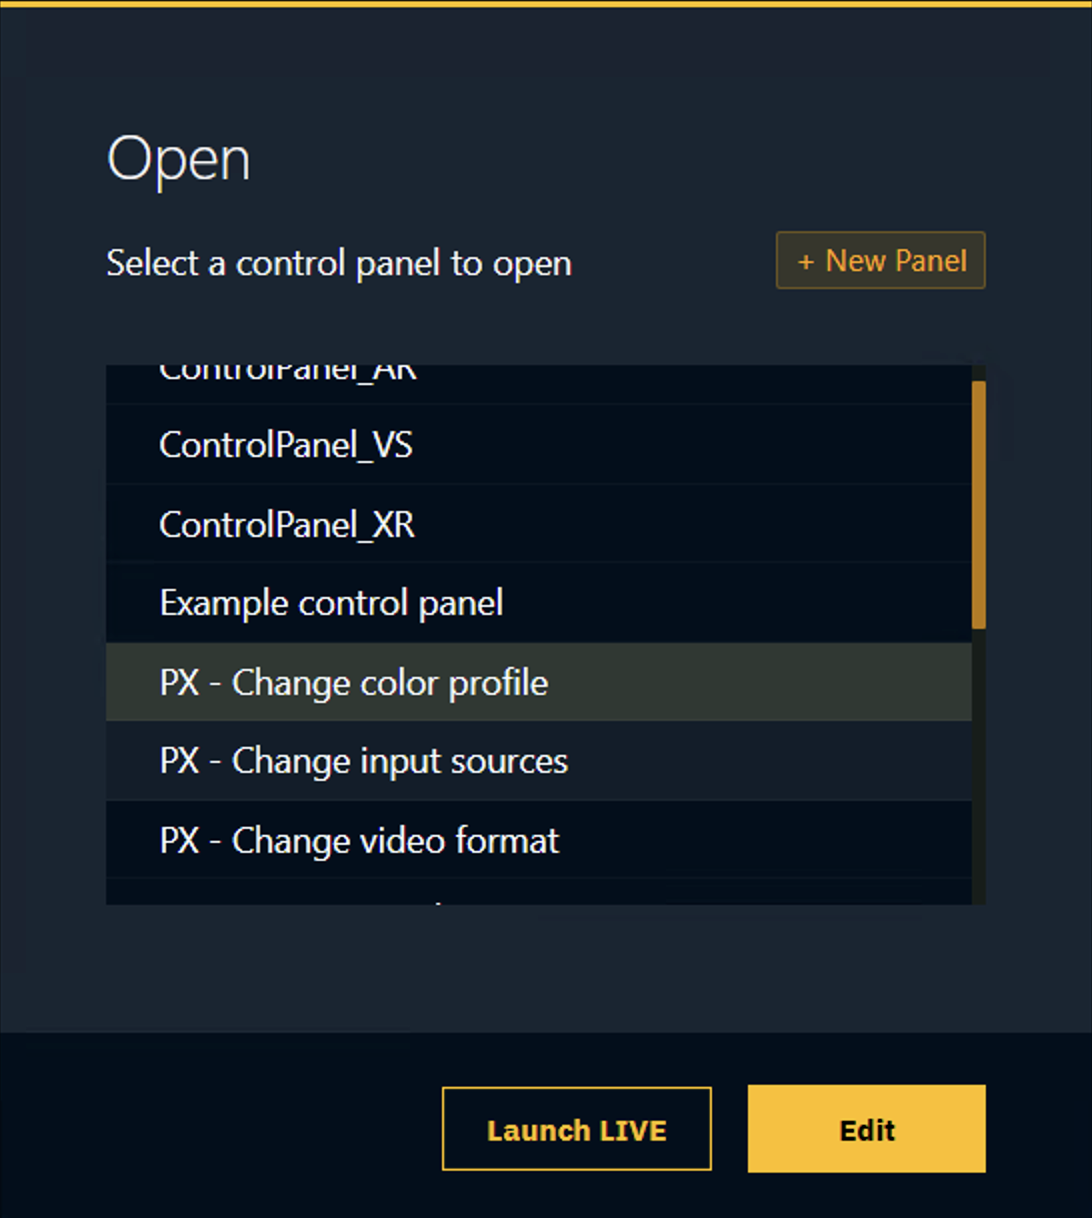
Select a control panel to open
-
The Control panel library panels are listed below all project panels
-
-
Click "Launch LIVE" or "Edit"
The Control panel library is stored in the Local Storage folder on every machine. To access another machines library
-
Go to the Launch panel
-
Change which machines content you view using the dropdown on the left

Add custom control panels
-
Open a file explorer
-
Navigate to
[Current Pixotope version]\Synced Config\Control Panelsof the machine you are viewing in the Launch panel -
Copy your control panel(s) into that folder
Migrate custom control panels in the library
The Control panel library is stored inside Local Storage which is a version specific folder.
To carry over your added control panels to the next version of Pixotope Graphics
-
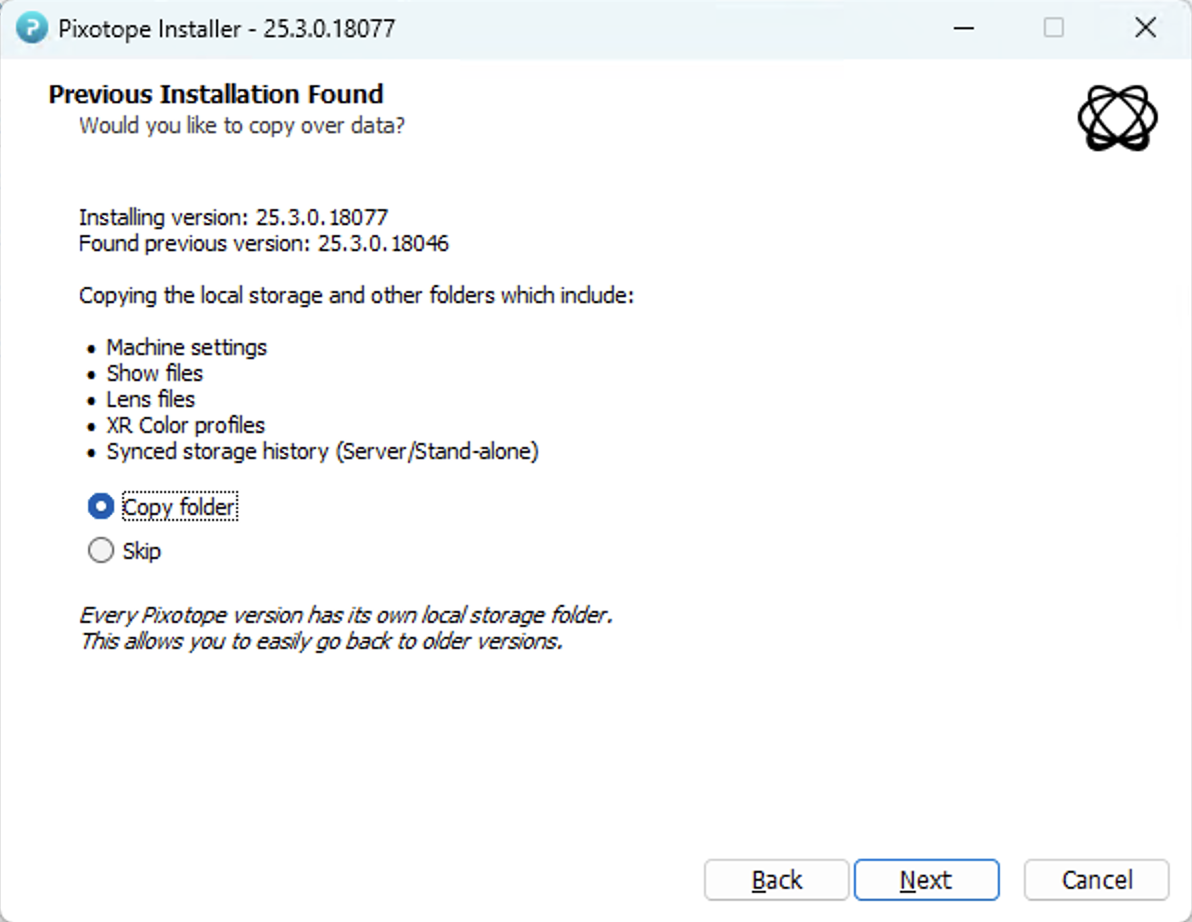
Select "Copy folder" in the Previous Installation Found dialog when you install a new version or copy them in manually
List of shipped control panels
|
Name |
Description |
|---|---|
|
PX - Change color profile |
Pick a machine and an input (or output), preview the selected input, and set its color profile. |
|
PX - Change input sources |
Pick a machine and input, then change its source – NDI, Webcam, SDI (with spigot selection) or File (with a search path and extension filter). Includes an input preview. |
|
PX - Change render group |
Select a machine and assign its render group. |
|
PX - Change video format |
Pick a machine and an input (or output), preview it, and set the video format. |
|
PX - IOBot example |
Example panel for an IO Bot: switch between entities/cameras and trigger preset positions. Requires a configured IO Bot Server running – set its IP in Director > Setup > Configure > Machines. |
|
PX - Launch levels |
Choose a project, level, machine and mode, launch the level, and optionally output to preview. |
|
PX - Launch levels on multiple machines |
Launch a level across several machines at once. List all target machines as a quoted, comma-separated array using Windows names (not display names). To change the level, double click the button and update the level and projectLocation (umap/uproject path).
Uses the DispatchMetaCall API which allows to send an API call to multiple machines. |
|
PX - Preview inputs or outputs |
Two independent routing slots (A and B), each selecting a machine plus an input or output, for previewing videos. |
|
PX - Record and playback |
Record an output to a file (machine, output, file name, destination folder) and play a file back to an input (machine, input, source folder). Do not record while you are on-air! |
|
PX - Remotely configure machines to start headless |
Configure selected machines to
The above arguments are editable. |
|
PX - Toggle visibility of streamed levels |
Choose a machine and level, set the level path prefix, and toggle visibility of streamed levels (shows all levels in the project). |
|
PX - Use camera input switching |
Switch the input set for a target group, per machine or for all machines. Add sets or custom groups as needed. |
|
PX - View multiple panels |
View multiple control panels side by side; zoom out to increase the Director panel area. |