Start
-
Click the "Open Live controller" button on the top right of the Launch panel
-
Live controller opens in the browser

Or open the following address in your browser: http://[localhost OR IPaddress]:16212
Setup output targets
Change to Design panel layout
-
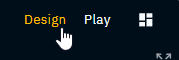
Switch to the Design panel layout by clicking "Design" on the top right corner
Add output target
-
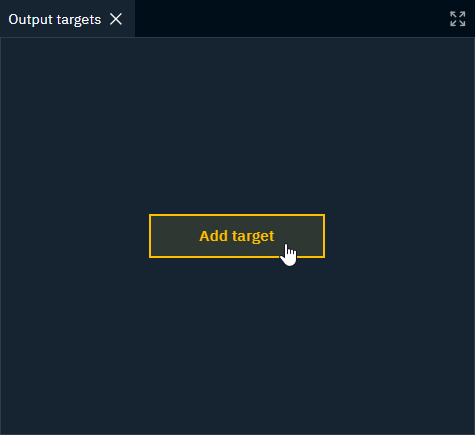
Click "Add target"
-
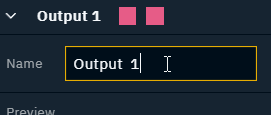
Optionally, select the Name input field and update the output target name
-
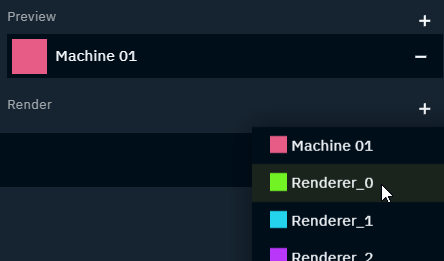
Click on the + at the right and add your Preview and Render machines
The Role of the first output target is automatically set to Default. Template instances will be played out using this output target as default.
To change the default role, click "Default" on another output target.
Each output target is also shown in the status bar on the bottom right showing its name and the status of all its preview and render machines.
Create templates
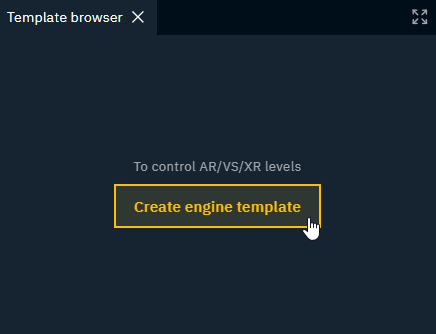
Create engine template
-
Click the "Create engine template" button in the Template browser
-
Give the Engine template a name and click "Create"
-
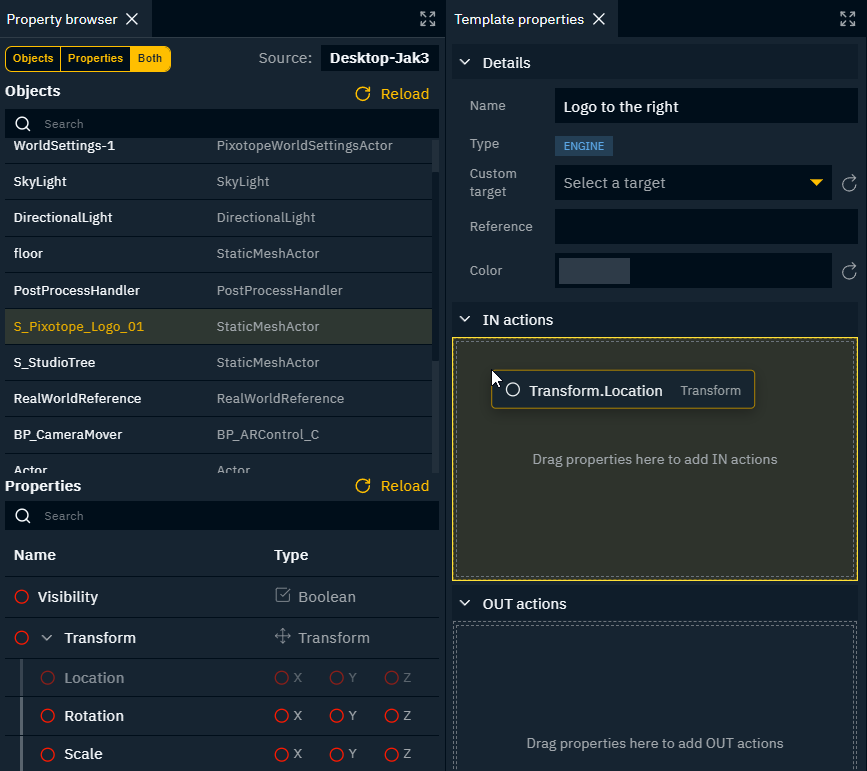
In the Property browser, select 1 or more objects to be controlled
-
Use
Shiftto select a range of object -
Use
Ctrlto select/unselect single objects
-
The level to control needs to be running.
-
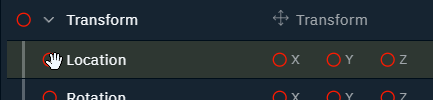
Search for the property to be controlled
Want to control the same property of multiple objects? Select multiple objects using Shift+Click
-
Drag the red circle into the IN or OUT action of the template
-
The values under the IN action are sent when taking an instance of that template IN
-
The values under the OUT action are sent when taking an instance of that template OUT
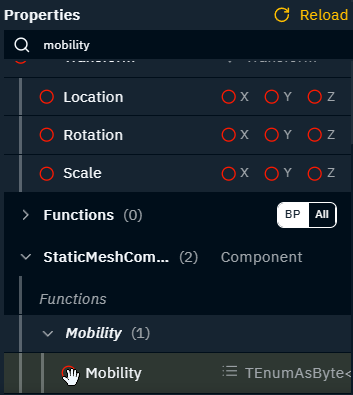
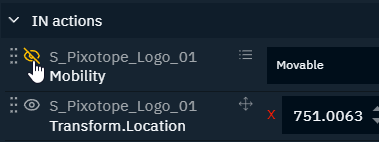
When controlling transform properties, the object’s Mobility has to be set to Movable before any transform change.
-
Add the Mobility property
-
Set it to Movable
-
Move it before any transform change and hide it from the form by clicking the Eye icon
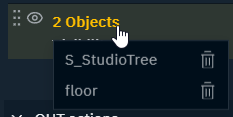
Remove objects from a multi object property
-
Click the "Objects" header in Template properties
-
Click the Trash icon to remove the objects you want to stop controlling
Change template color
-
Right click the template in the Template browser
OR click "Color" in Template properties -
Choose a color or set it back to "No color"
To remove the template color, click the Reset icon to the right.
Set custom target
By default, templates are played out on the output target of their type which was set as "Default". This can be overwritten by setting a specific target.
-
Click "Custom target" in Template properties
-
Choose a different output target
To remove the custom target, click the Reset icon to the right.
Update form
An auto-form is created based on all the template properties and their order.
Change order
-
Click the drag icon in the template properties and move the property up or down
-
The order in the form is updated immediately
Change what to expose or send
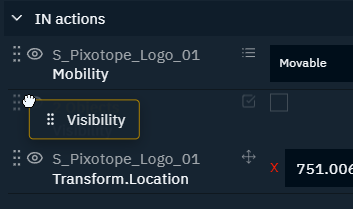
Hide property from form
-
Click the Visibility icon next to the property name
This hides the property from the form, however its value is sent.
Remove property
-
Click the Delete icon on the right
This removes the property completely, so no value is sent.
Change default value
-
Change the value in the template property field of the respective property
To reset the value to its default, click the reset icon on the right.
Populate playlists
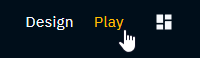
Change to Play panel layout
-
Switch to the Play panel layout by clicking "Play" on the top right corner
Create playlist
-
Click the "Create playlist" button
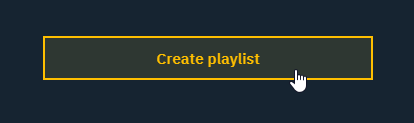
-
Give it a name and click "Create"
-
The playlist is opened and ready for templates to be dragged in
-
Switch between playlists
-
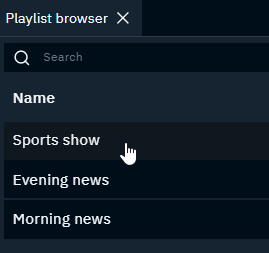
Click the folder icon next to the search field on the top left, to get to the Playlist browser

-
Select another playlist or create a new one
Open another playlist in parallel
-
Click the overflow icon on the top left corner
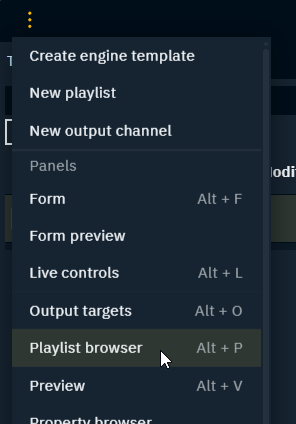
-
Click on "Playlist browser"
-
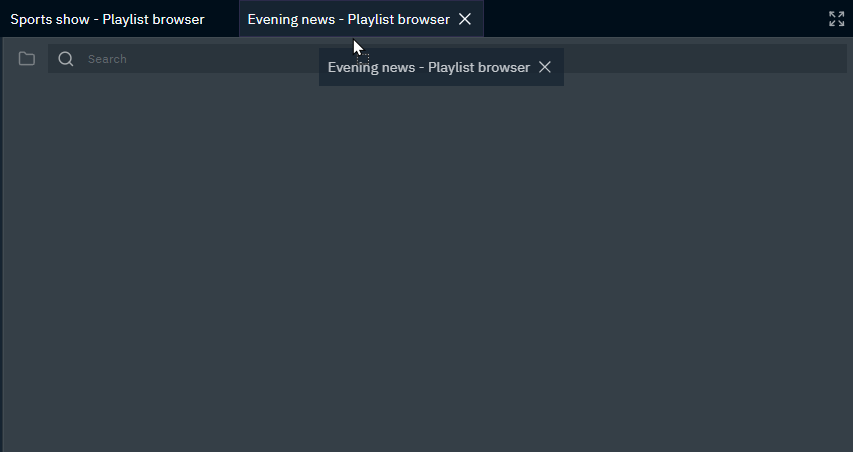
This opens a playlist browser in a new tab
-
-
Grab the tab header and move the tab next to the other playlist
Populate a playlist
-
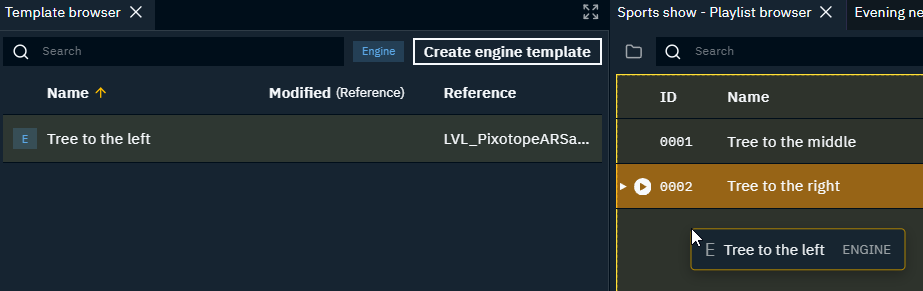
Drag a template into the playlist
-
An instance of the dragged in template is created
-
A recall ID is assigned to it
-
-
Update its form values in the Form panel
-
Check the updated values in the Preview
-
-
Optionally
-
by right clicking the instance you can
-
update the recall ID
-
change the instance color
-
-
change to a custom output target via the target dropdown of the instance
-
The content column shows a preview of the first text fields of the instance.
Operate
Embed Director panels, Control panels or any other web page
-
Click the overflow icon on the top left corner
-
Click on "Web page"
-
This adds a Web page tab
-
-
Enter the URL of the web page which should be embedded and hit
Enter
Get Director panel URL
-
Navigate to the panel you want to embed
-
Click the QR code icon in the top right corner
-
Click the Copy URL icon on the bottom right of the overlay
To adjust what parts of the Director panel to include, URL parameters can be added.
Learn more about how to Embed Director panels
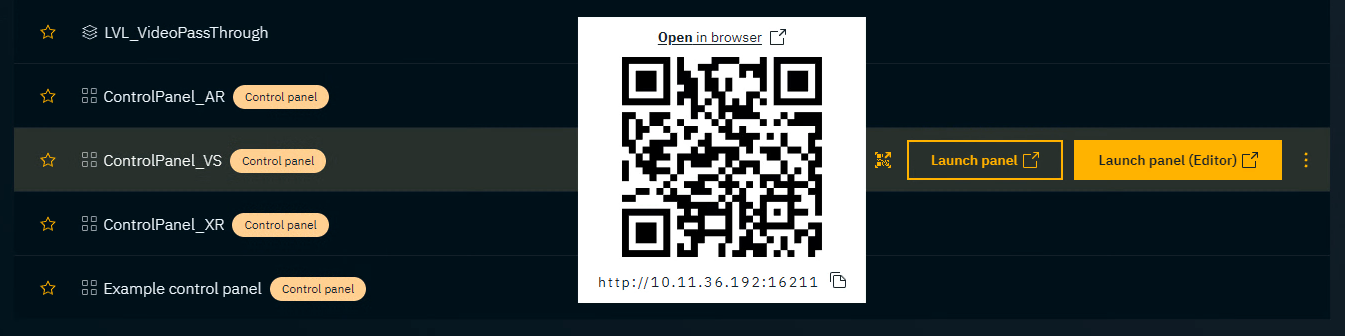
Get Control panel URL
-
Go to PRODUCTION > Show > Launch
-
Click on the QR code icon of the control panel
-
Click the Copy URL icon on the bottom right of the overlay
Launch levels
-
Launch the level which needs to be controlled in LIVE mode on all output target machines via the Director > Launch panel
Check output targets
-
Check the level status in the Status bar
-
Check the target status of the instances in the Playlist
-
Check if the preview is live
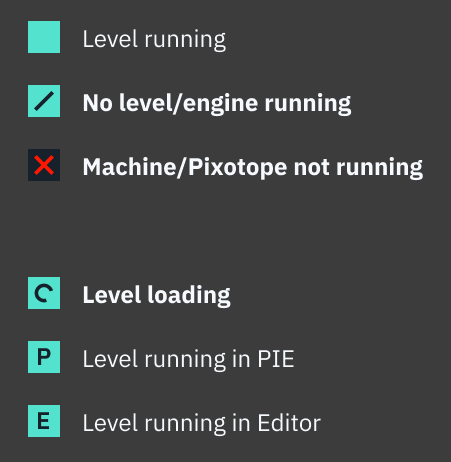
Status bar example

Status legend
Search instance
Using recall ID
-
Type
Ctrl+Shift+F -
Type the recall ID
-
Hit
Enter -
The first item in the search will be previewed
Using name
-
Type
Ctrl+F -
Type the name
-
Hit
Enter -
The first item in the search will be previewed
Preview an instance
-
To preview an instance in the Playlist
-
Select it with the mouse
-
Use the arrow keys to select the instance and hit
Enter
-
-
The instance turns orange
-
The instance is shown on the preview machine/channel of the set output target
Take preview to air
-
Click the Take in button in the Live controls or the Form
OR hitCtrl+Enter-
The instance turns red indicating that it is taken in
-
Engine templates without OUT actions are fire-and-forget triggers. They have no state to return to. Any number can be triggered, but only the most recently triggered instance is shown as taken in (red). Taking in a new instance moves the active highlight to it while the previous one returns to neutral.
Take instance off air
-
Select the instance to take out
-
Click the "Take out" button in the form
Take all instances of an output target off air
-
In the Live controls, click the output target of the “Take output target out” button and select the output target to take out
-
Click the "Take out" button
Take all instances off air
-
In the Live controls, click the "Take out All" button
The Preview target is not affected.
Import templates, playlists and output targets
Learn more about how to Import from other show
Create custom panel layout
To create your own custom panel layout
-
update the Design and/or Play panel layout
-
OR create your own panel layout
-
Click the Panel layout icon on the top right
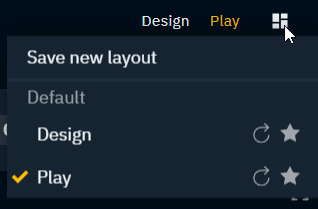
-
Click "Save new layout"
Custom panel layouts are currently stored per machine in the browser.
Expose panel layout
-
Click the Panel layout icon on the top right
-
Select the Star icon for the panel layout to be shown in the top right selection
Rename panel layout
-
Click the Panel layout icon on the top right
-
Click the Edit icon and give it a new name and click Confirm
Reset panel layout
-
Click the Panel layout icon on the top right
-
Click the Reset icon to reset the panel layout to the state when it was last saved
Shortcuts
|
Action |
Shortcut |
|---|---|
|
Undo/Redo |
|
|
Maximize toggle the focused tab |
|
|
Template |
|
|
Rename template |
|
|
Duplicate template |
|
|
Delete template |
|
|
Playlist |
|
|
Search |
|
|
Search recall ID |
|
|
Take out all |
|
|
Playlist instance |
|
|
Rename template |
|
|
Duplicate template |
|
|
Delete template |
|
|
Preview selected instance |
|
|
Take in |
|
|
Take out |
|
|
Add/Show/Focus panel |
|
|
Form |
|
|
Live controls |
|
|
Output targets |
|
|
Playlist browser |
|
|
Preview |
|
|
Template browser |
|
|
Web page |
|