The Machine settings panel (START > Storage) allows you to change the settings of that specific machine.
General
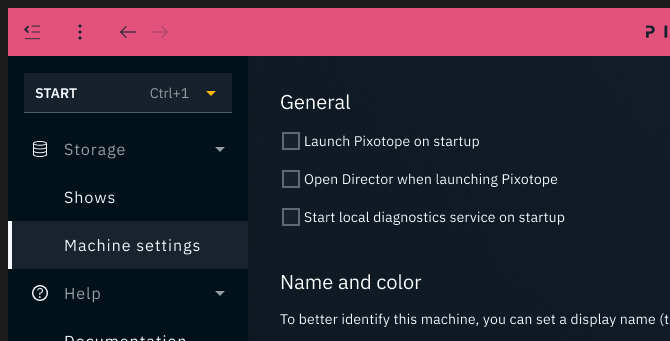
Launch Pixotope on startup
Launches Pixotope automatically when starting the machine.
Open Director when launching Pixotope
By default Director is opened each time Pixotope is launched. If unselected, Pixotope will in the background the next time it is launched.
Learn more about Running Pixotope in the background
Start local diagnostics service on startup
Starts the Pixotope diagnostics service when starting the machine.
Learn more about Monitoring machine health - PRODUCTION
Due to the nature of the Pixotope diagnostics, the service needs administrative-level permissions. This triggers a User Account Control dialog locally on that machine.
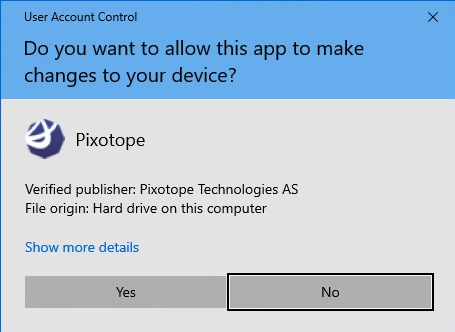
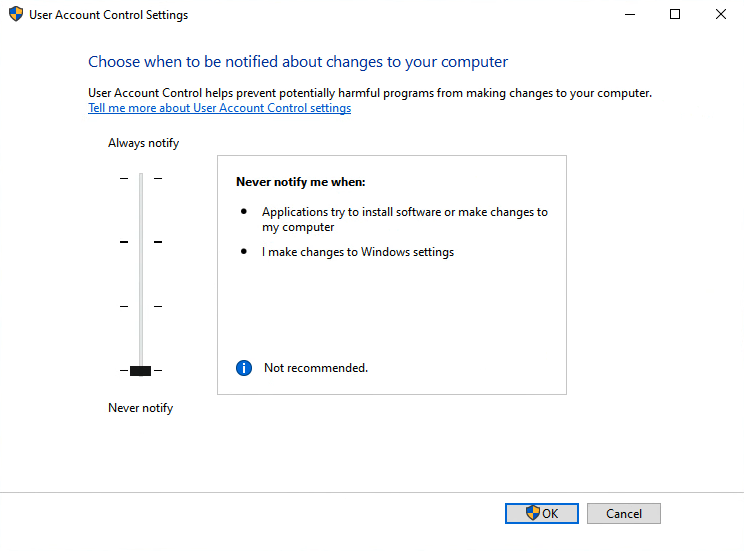
For unattended machines this setting has to be switched to "Never notify". Otherwise you will be asked to confirm the User Account Control every time you launch the Director.
Make sure these machines are protected!
Name and color
Display name
Set a display name for this machine. The windows machine name is used if nothing is set.
Display color
To better differentiate the different machines in a multi-machine setup, display colors are set for each machine.
-
The display color for a Client machine can be overridden
-
The display color for a Server machine can, for consistency reasons, not be changed (pink)
Display colors are only used in multi-machine setups.
Network adapter
This network adapter is used for communication between Pixotope machines (only Server role).
Learn more about Single- and multi-machine example setups
Local storage
The show files of this machine are stored in the local storage folder. When running as a client, the local storage/shows are not in use.
Learn more about What is stored where
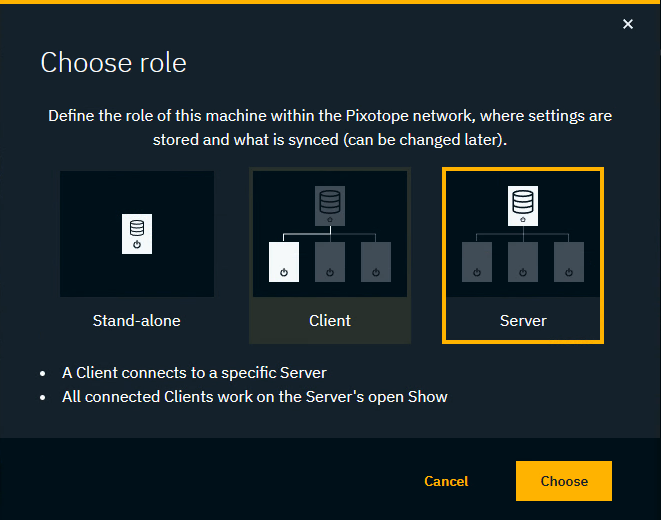
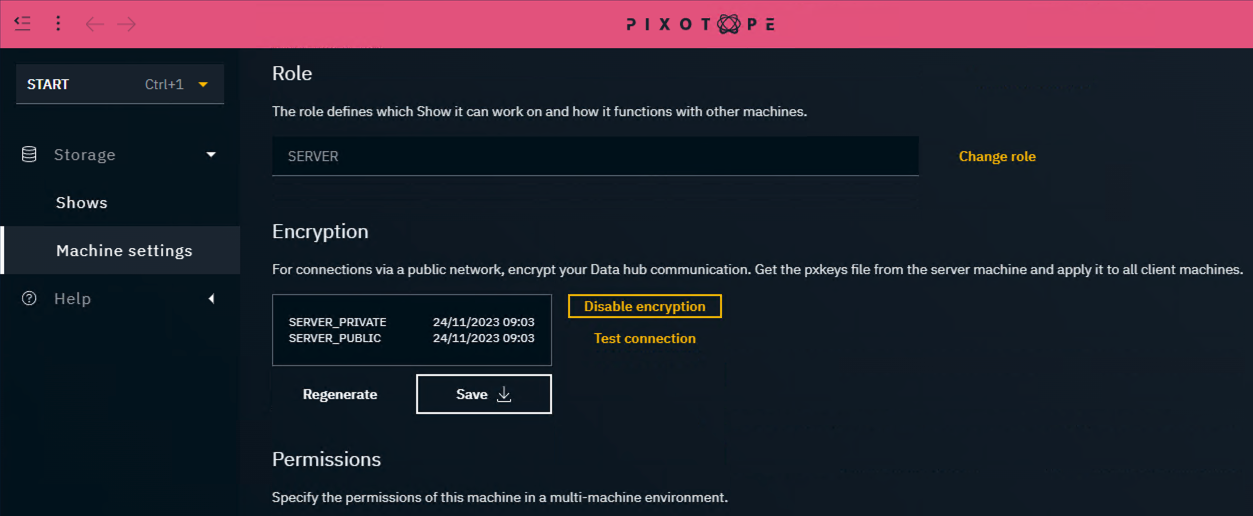
Role
The role defines which show this machine can work on and how it functions with other machines (for AR/VS, XR, Control license).
-
Click "Change role"
-
Select a role and click "Choose"
-
For Client: Choose a server to connect to

Learn more about Roles - Stand-alone, Client or Server
Encryption
For connections via a public network, we encourage you to encrypt your Data hub communication.
On the server machine
-
Click "Enable encryption". This
-
generates a
.pxkeysfile and -
enables encryption
-
-
Manually copy the file to all client machines
On the client machines
-
Before connecting:
-
Drag and drop the
.pxkeysfile into the drag and drop area
OR click "Select pxkeys" and navigate to the.pxkeysfile -
Click "Enable encryption"
-
-
Connect to the server machine
-
Click "Test connection" to check if the communication to server is now encrypted and working
If you are running into issues, use the timestamp to identify that you are using the same encryption keys across all machines.
|
|
Applied key files on Server and Client |

|

|
Restrictions when using Encryption
-
Pixotope Gateway is not available
-
Sending Digital Twin pattern data from Pixotope Tracking is not possible
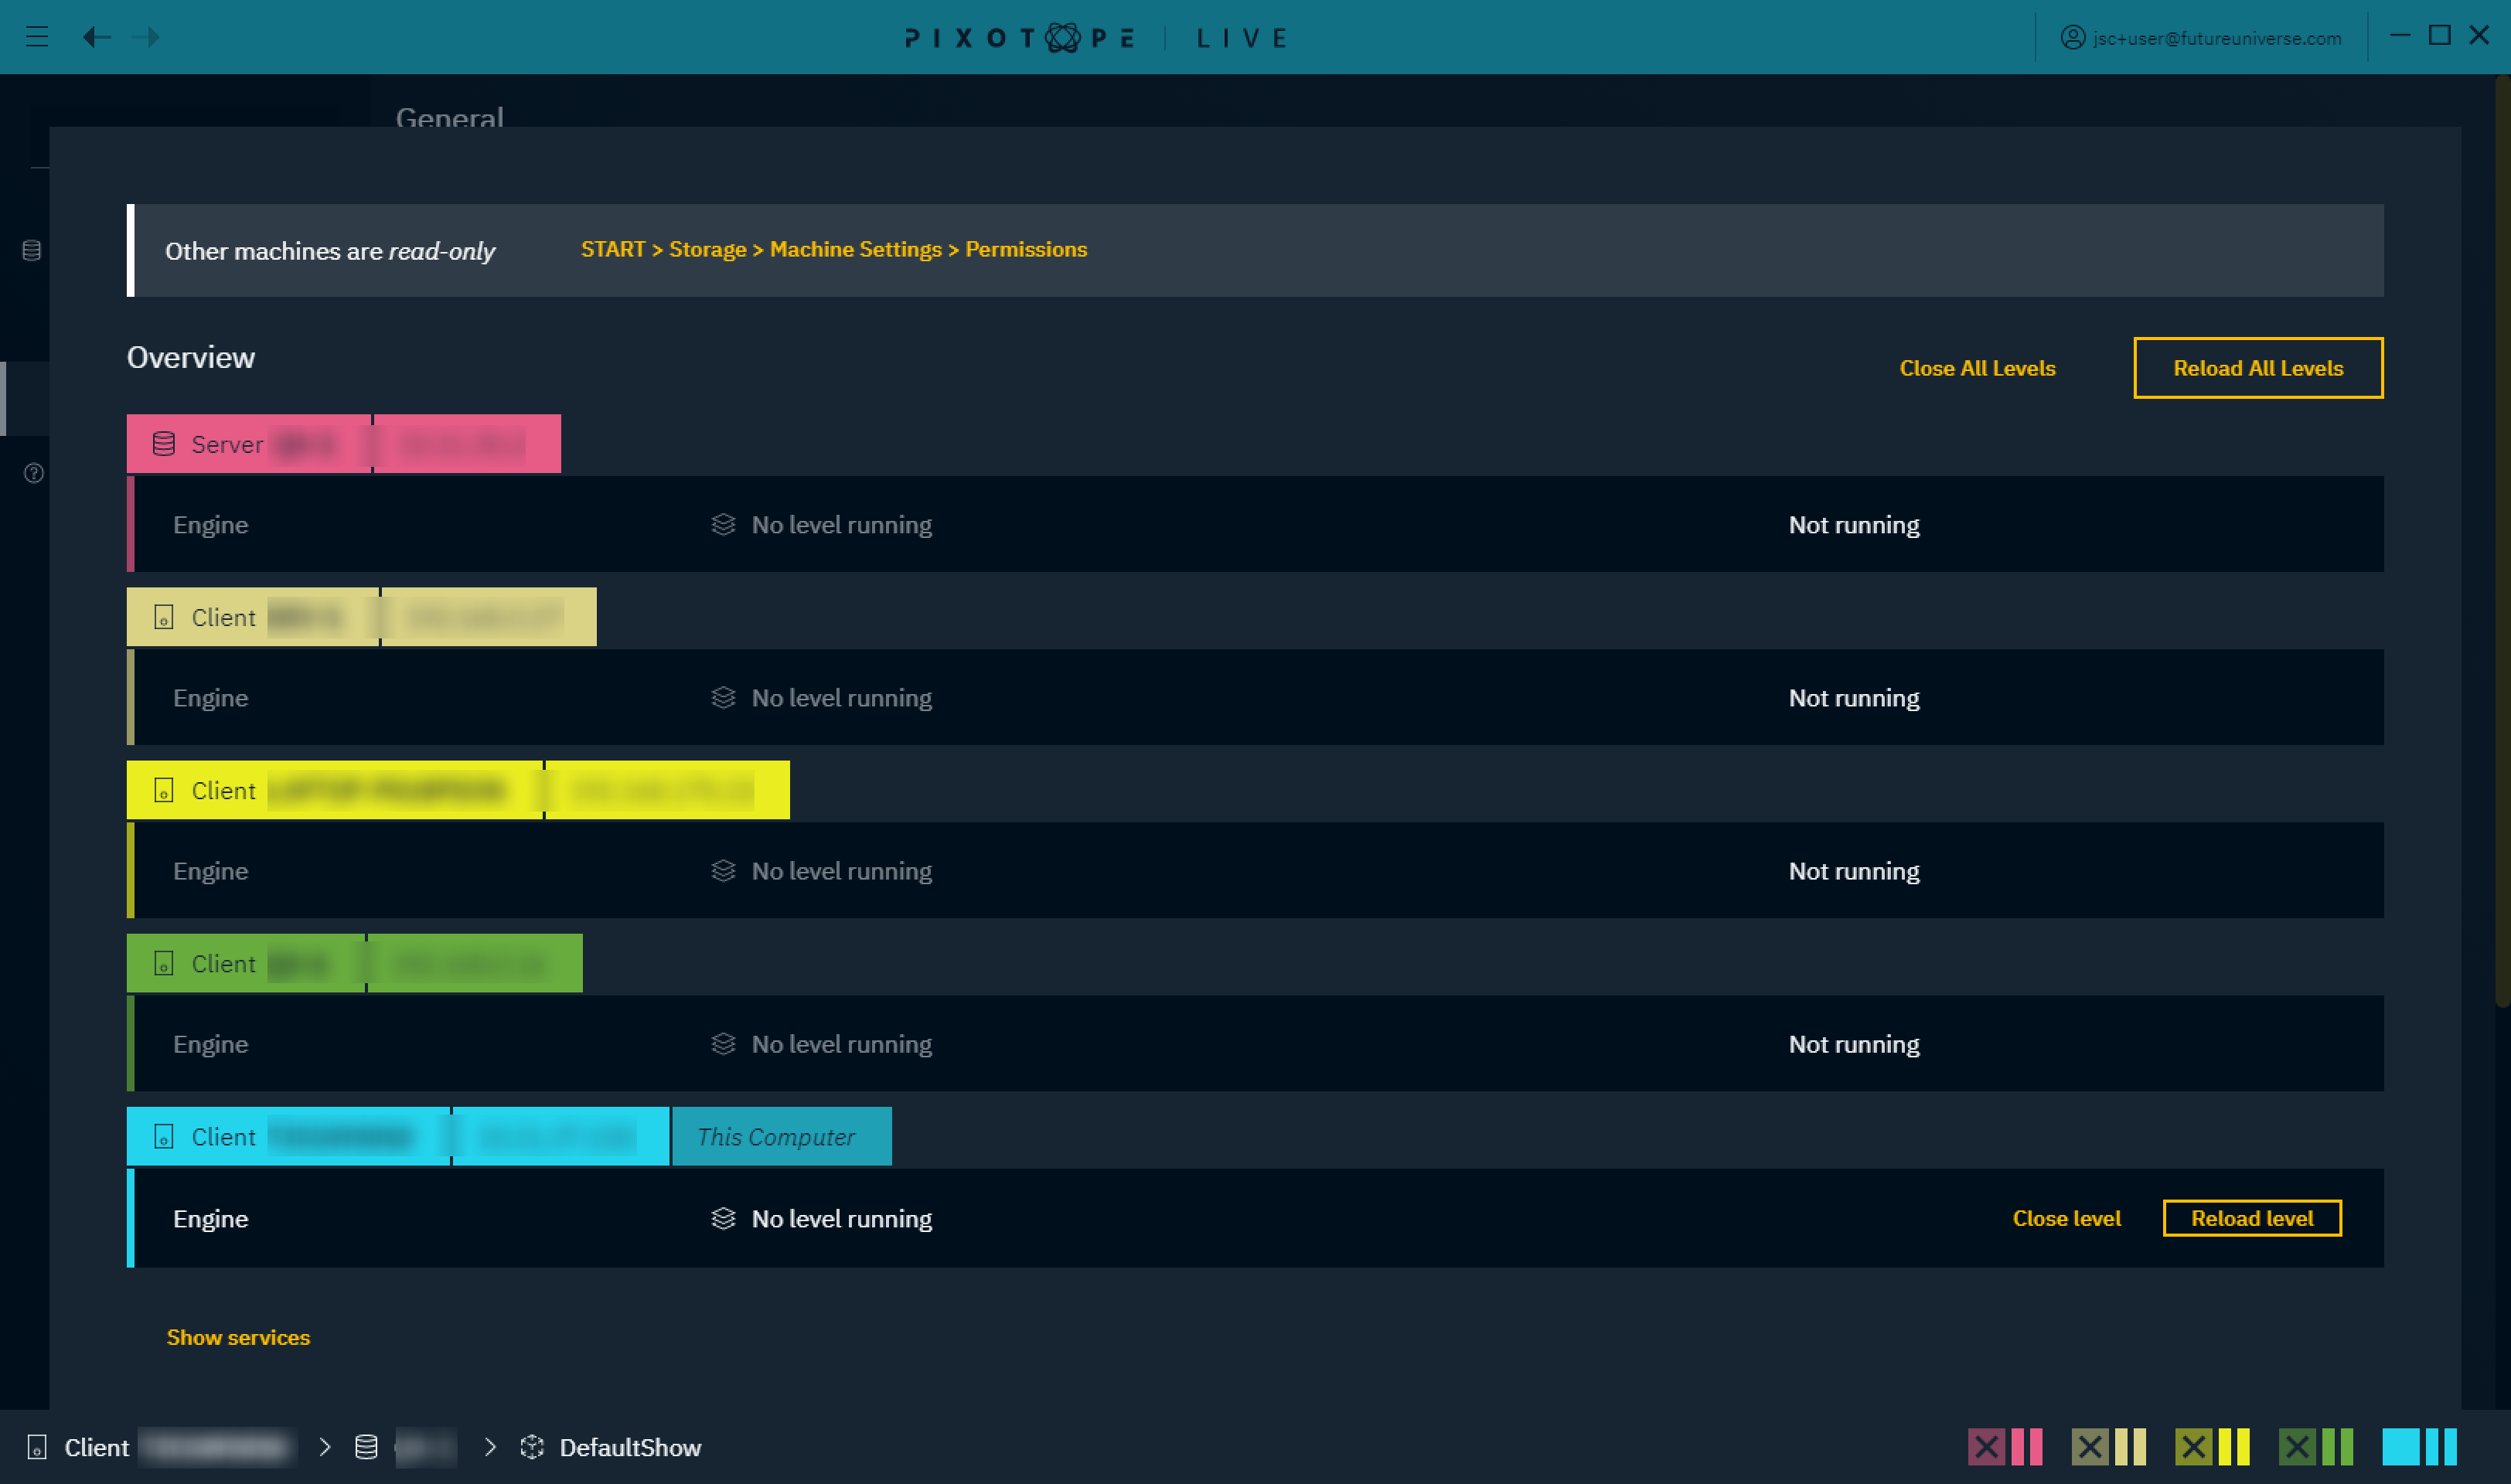
Permissions
Specify the permissions of a machine in a multi-machine environment based on their role.
Learn more about Permissions - affecting SETUP
Matrox > PTP 2110
Learn more about how to Configure ST2110 - Matrox