
Pixotope Discovery is a free version of Pixotope. It is the exact same application as used in production, with a reduced feature set aimed at learning and exploring.
Pixotope Discovery is not for commercial use!
What's included?
|
Feature |
Availability in Discovery |
Requires a paid license |
|---|---|---|
|
Editor/Engine |
Full support (no watermark) |
|
|
Video input and output |
File input and output, WebRTC stream output |
SDI (AJA, Blackmagic, Matrox), NDI, SRT, ST2110, Webcam, GPU output, Genlock, Timecode |
|
Video format |
HD formats (720p, 1080i, 1080p) |
2K, UHD, 4K |
|
Tracking input |
Embedded in file |
|
|
Network |
Stand-alone role/single machine only |
Multi-machine setups, failover support, Asset management and file syncing |
|
Render modes |
AR, VS, AR+VS |
XR |
|
Video keyer |
Full support |
|
|
Adjustment panels |
Full support |
|
|
Control panel |
Full support |
|
|
Live controller |
Full support |
|
|
Video wall |
- |
Full support |
|
Licensing |
Online use only |
Offline/Airgap mode |
|
Support |
Help Center articles and videos |
24/7 Customer support |
Get access
If you are new to Pixotope
-
Fill in the signup form and click "Submit"
-
An invite is sent to you
-
-
Open the email you received and click "Accept invitation"
-
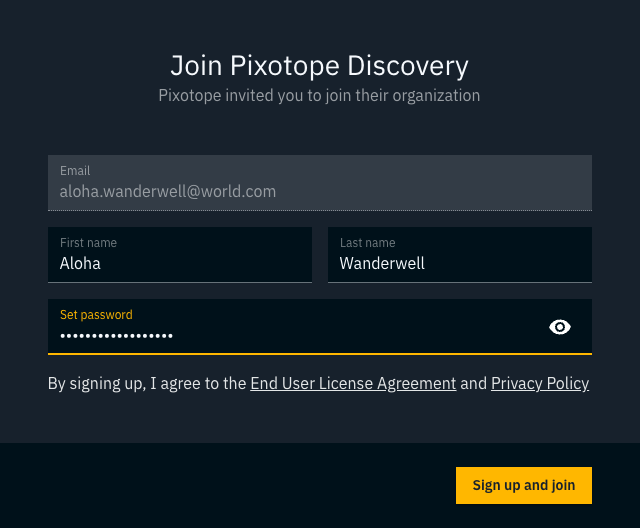
Set a password for Pixotope Cloud
-
Note the links to the End User License Agreement and the Privacy Policy
-
Click "Sign up and join"
-
Enter your password again to log in to Pixotope Cloud
If you already have a Pixotope Cloud user
You do not need to sign up. Discovery is available to every Pixotope Cloud user, including users whose organization has no Pixotope Graphics licenses, and users whose maintenance has expired.
-
Log in to Pixotope Cloud and go to Downloads tab to download the installer
Discovery licenses are not shown as regular licenses in your organization's product and license overviews.
Download and install
-
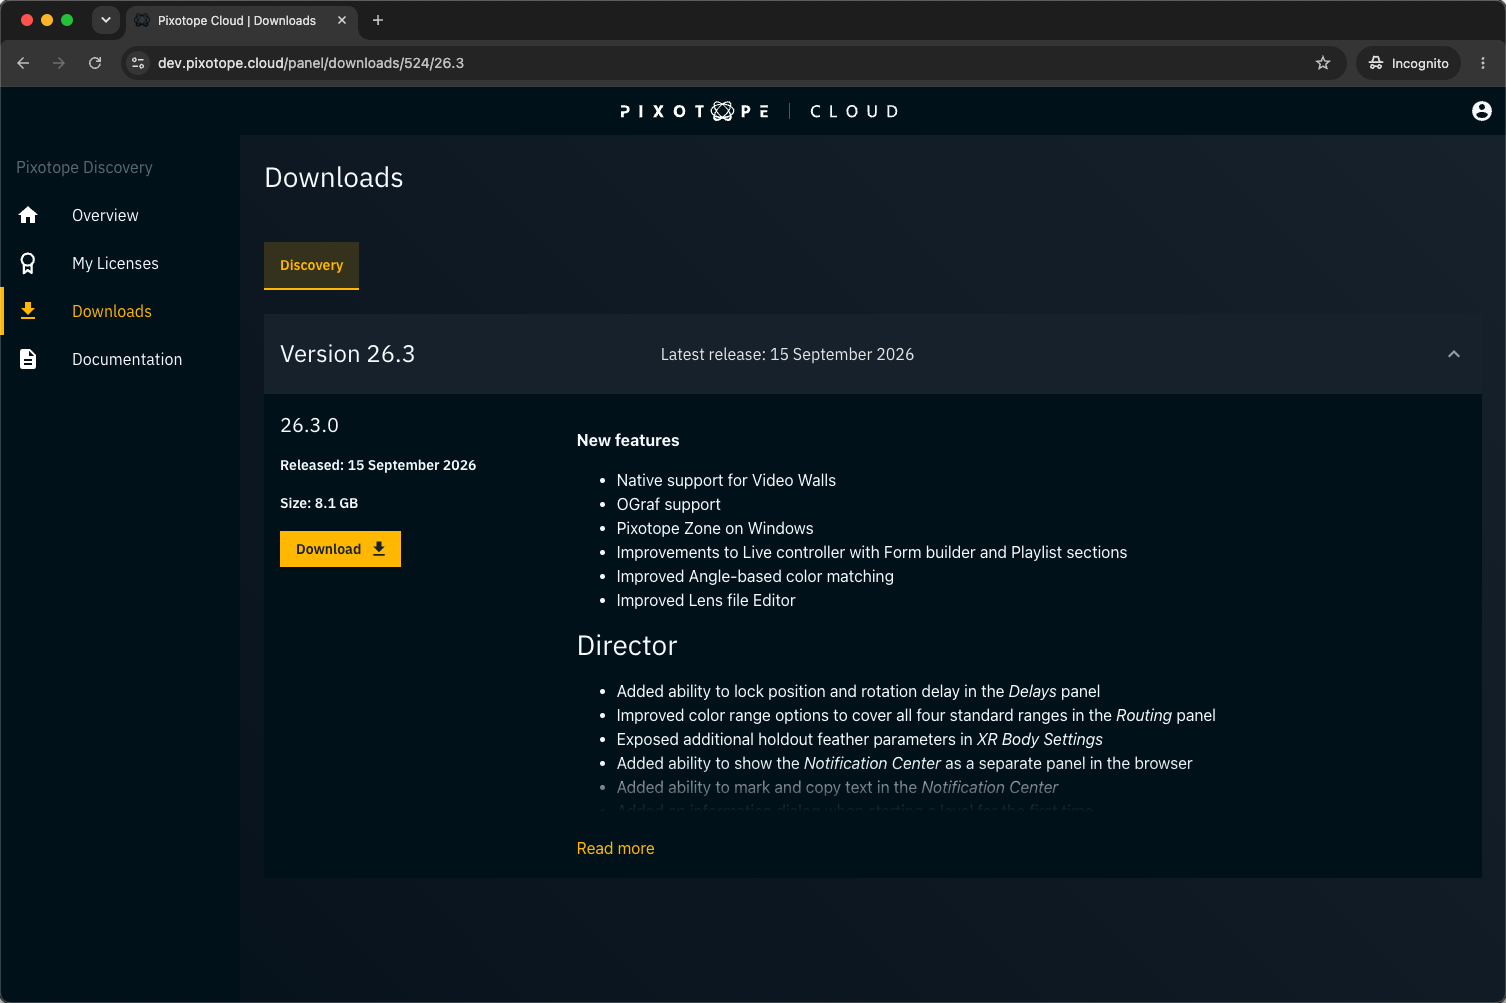
In Pixotope Cloud, open the Downloads tab
-
Click the "Download" button of the latest release
-
Run the installer and install Pixotope Graphics as usual
Learn more about how to Install Pixotope
The installer is the same for any license.
Start Pixotope with Discovery
-
Start Pixotope Graphics and log in with your Pixotope Cloud user
Learn more about Starting Pixotope - START
If you have other licenses, click Use Discovery (free) on the bottom right of the license picker dialog.
Try the example show
Pixotope ships with
-
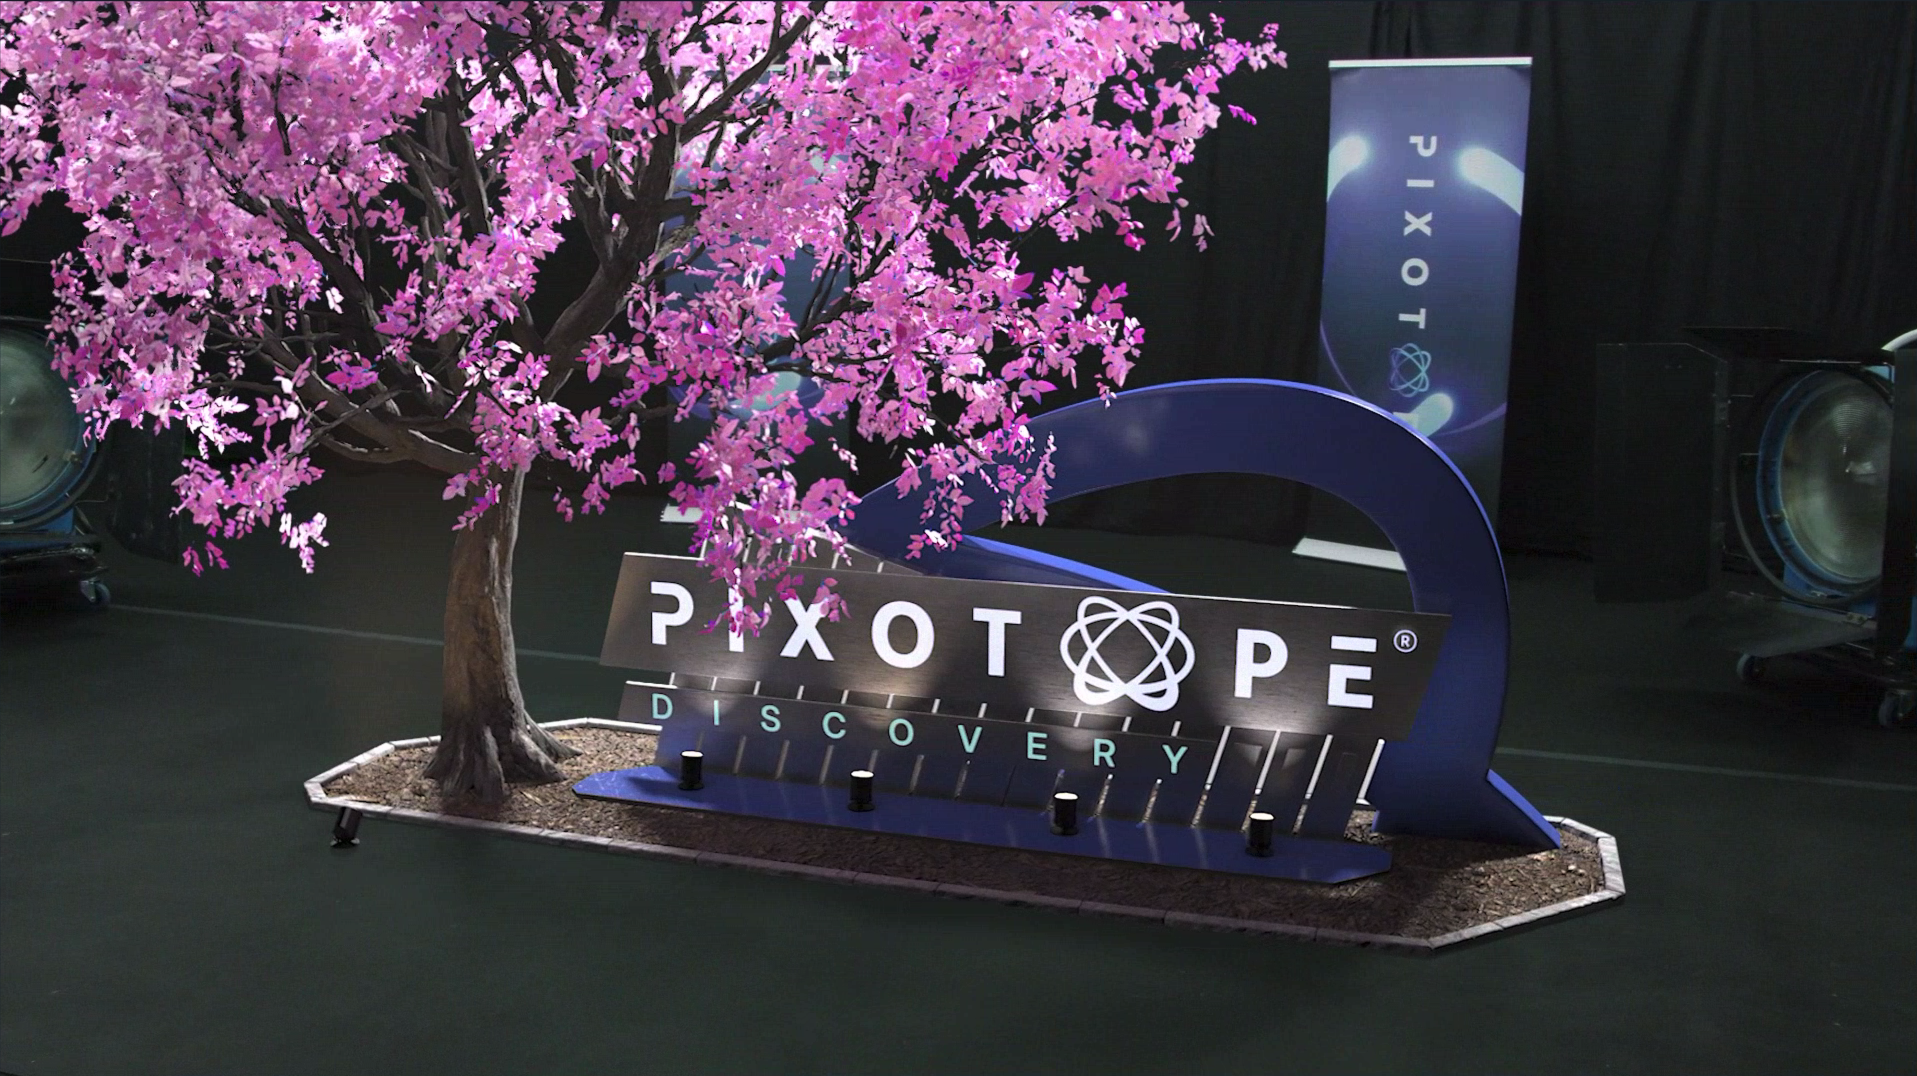
an AR example project
-
a sample video clip that contains embedded tracking data, so you can get a rendered result without any video hardware
-
a control panel to control the level
What is already set up
The first time you start Pixotope, the default show is already set up for you:
-
The example project is linked to this show
-
A camera system called Camera 1 is created and routed on the local machine, with the sample clip as file input, auto play enabled and tracking extracted from the clip
-
An output called Output 1 is added as a WebRTC stream
Want to create it from scratch? Learn more about Setting up a show - SETUP
Launch level
-
In the Shows panel, click "Continue" to enter the open DefaultShow
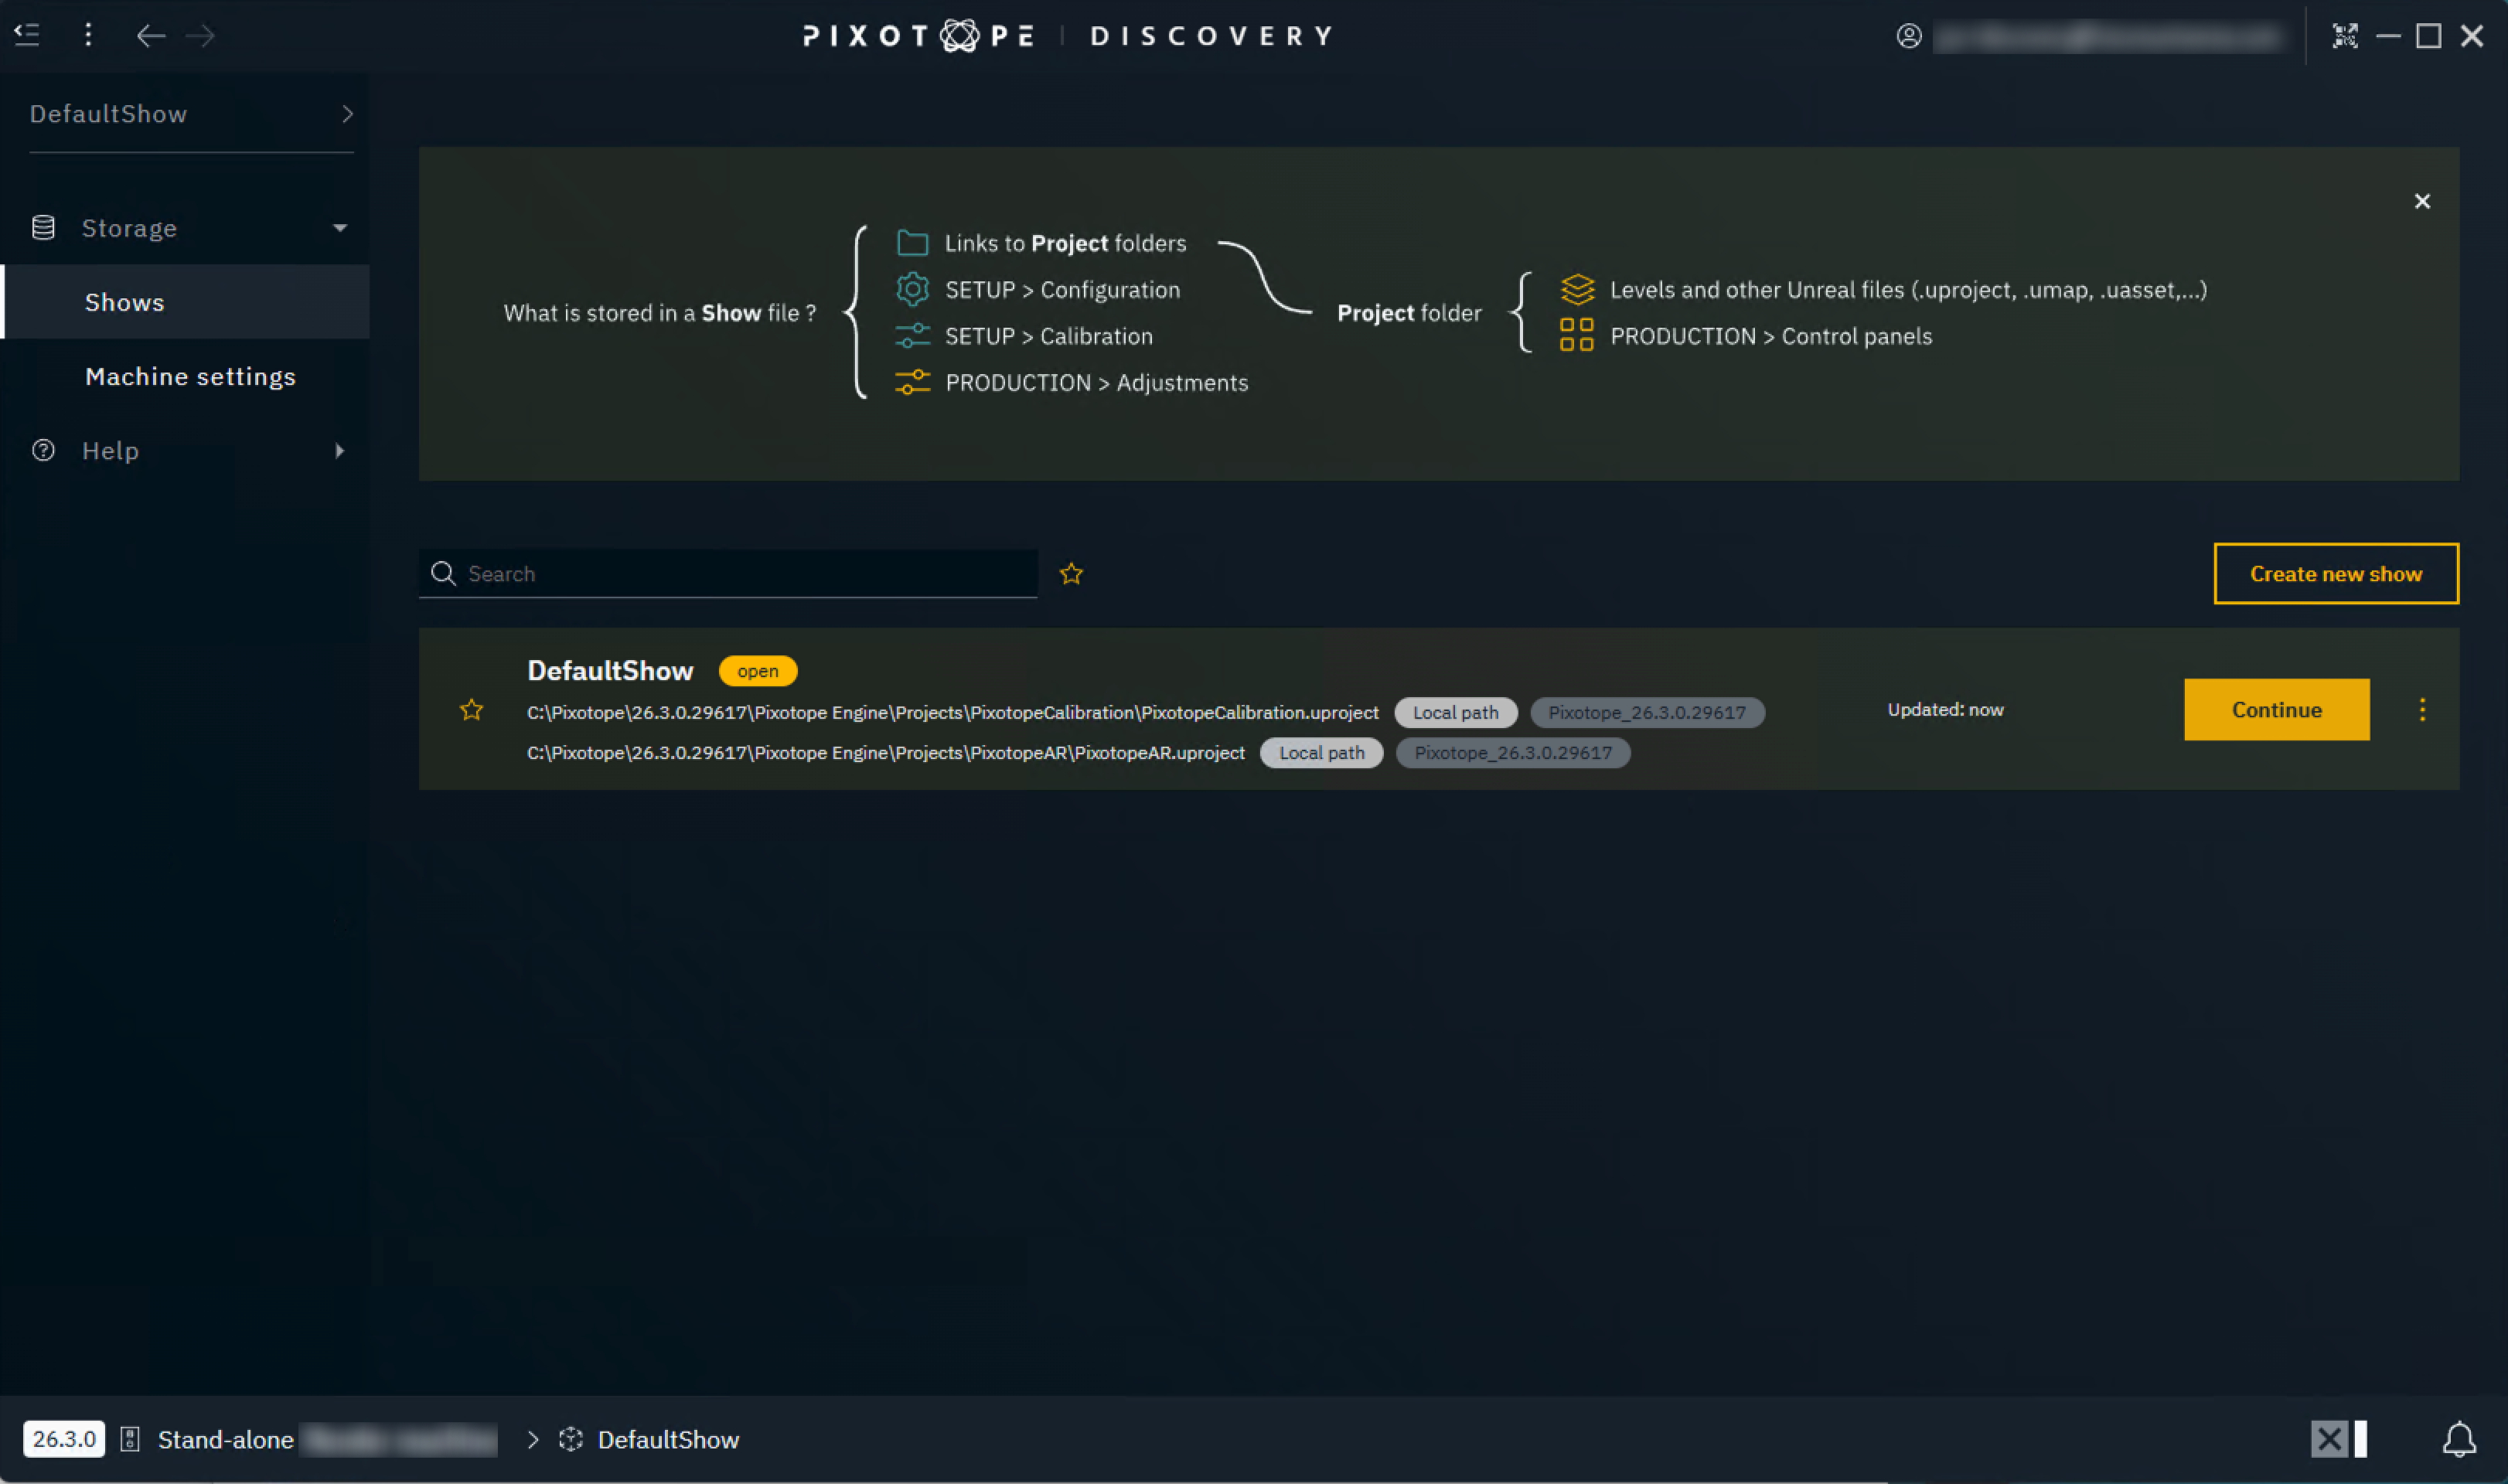
OR click "Continue into Show" on the top left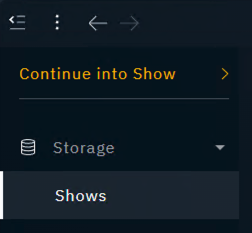
-
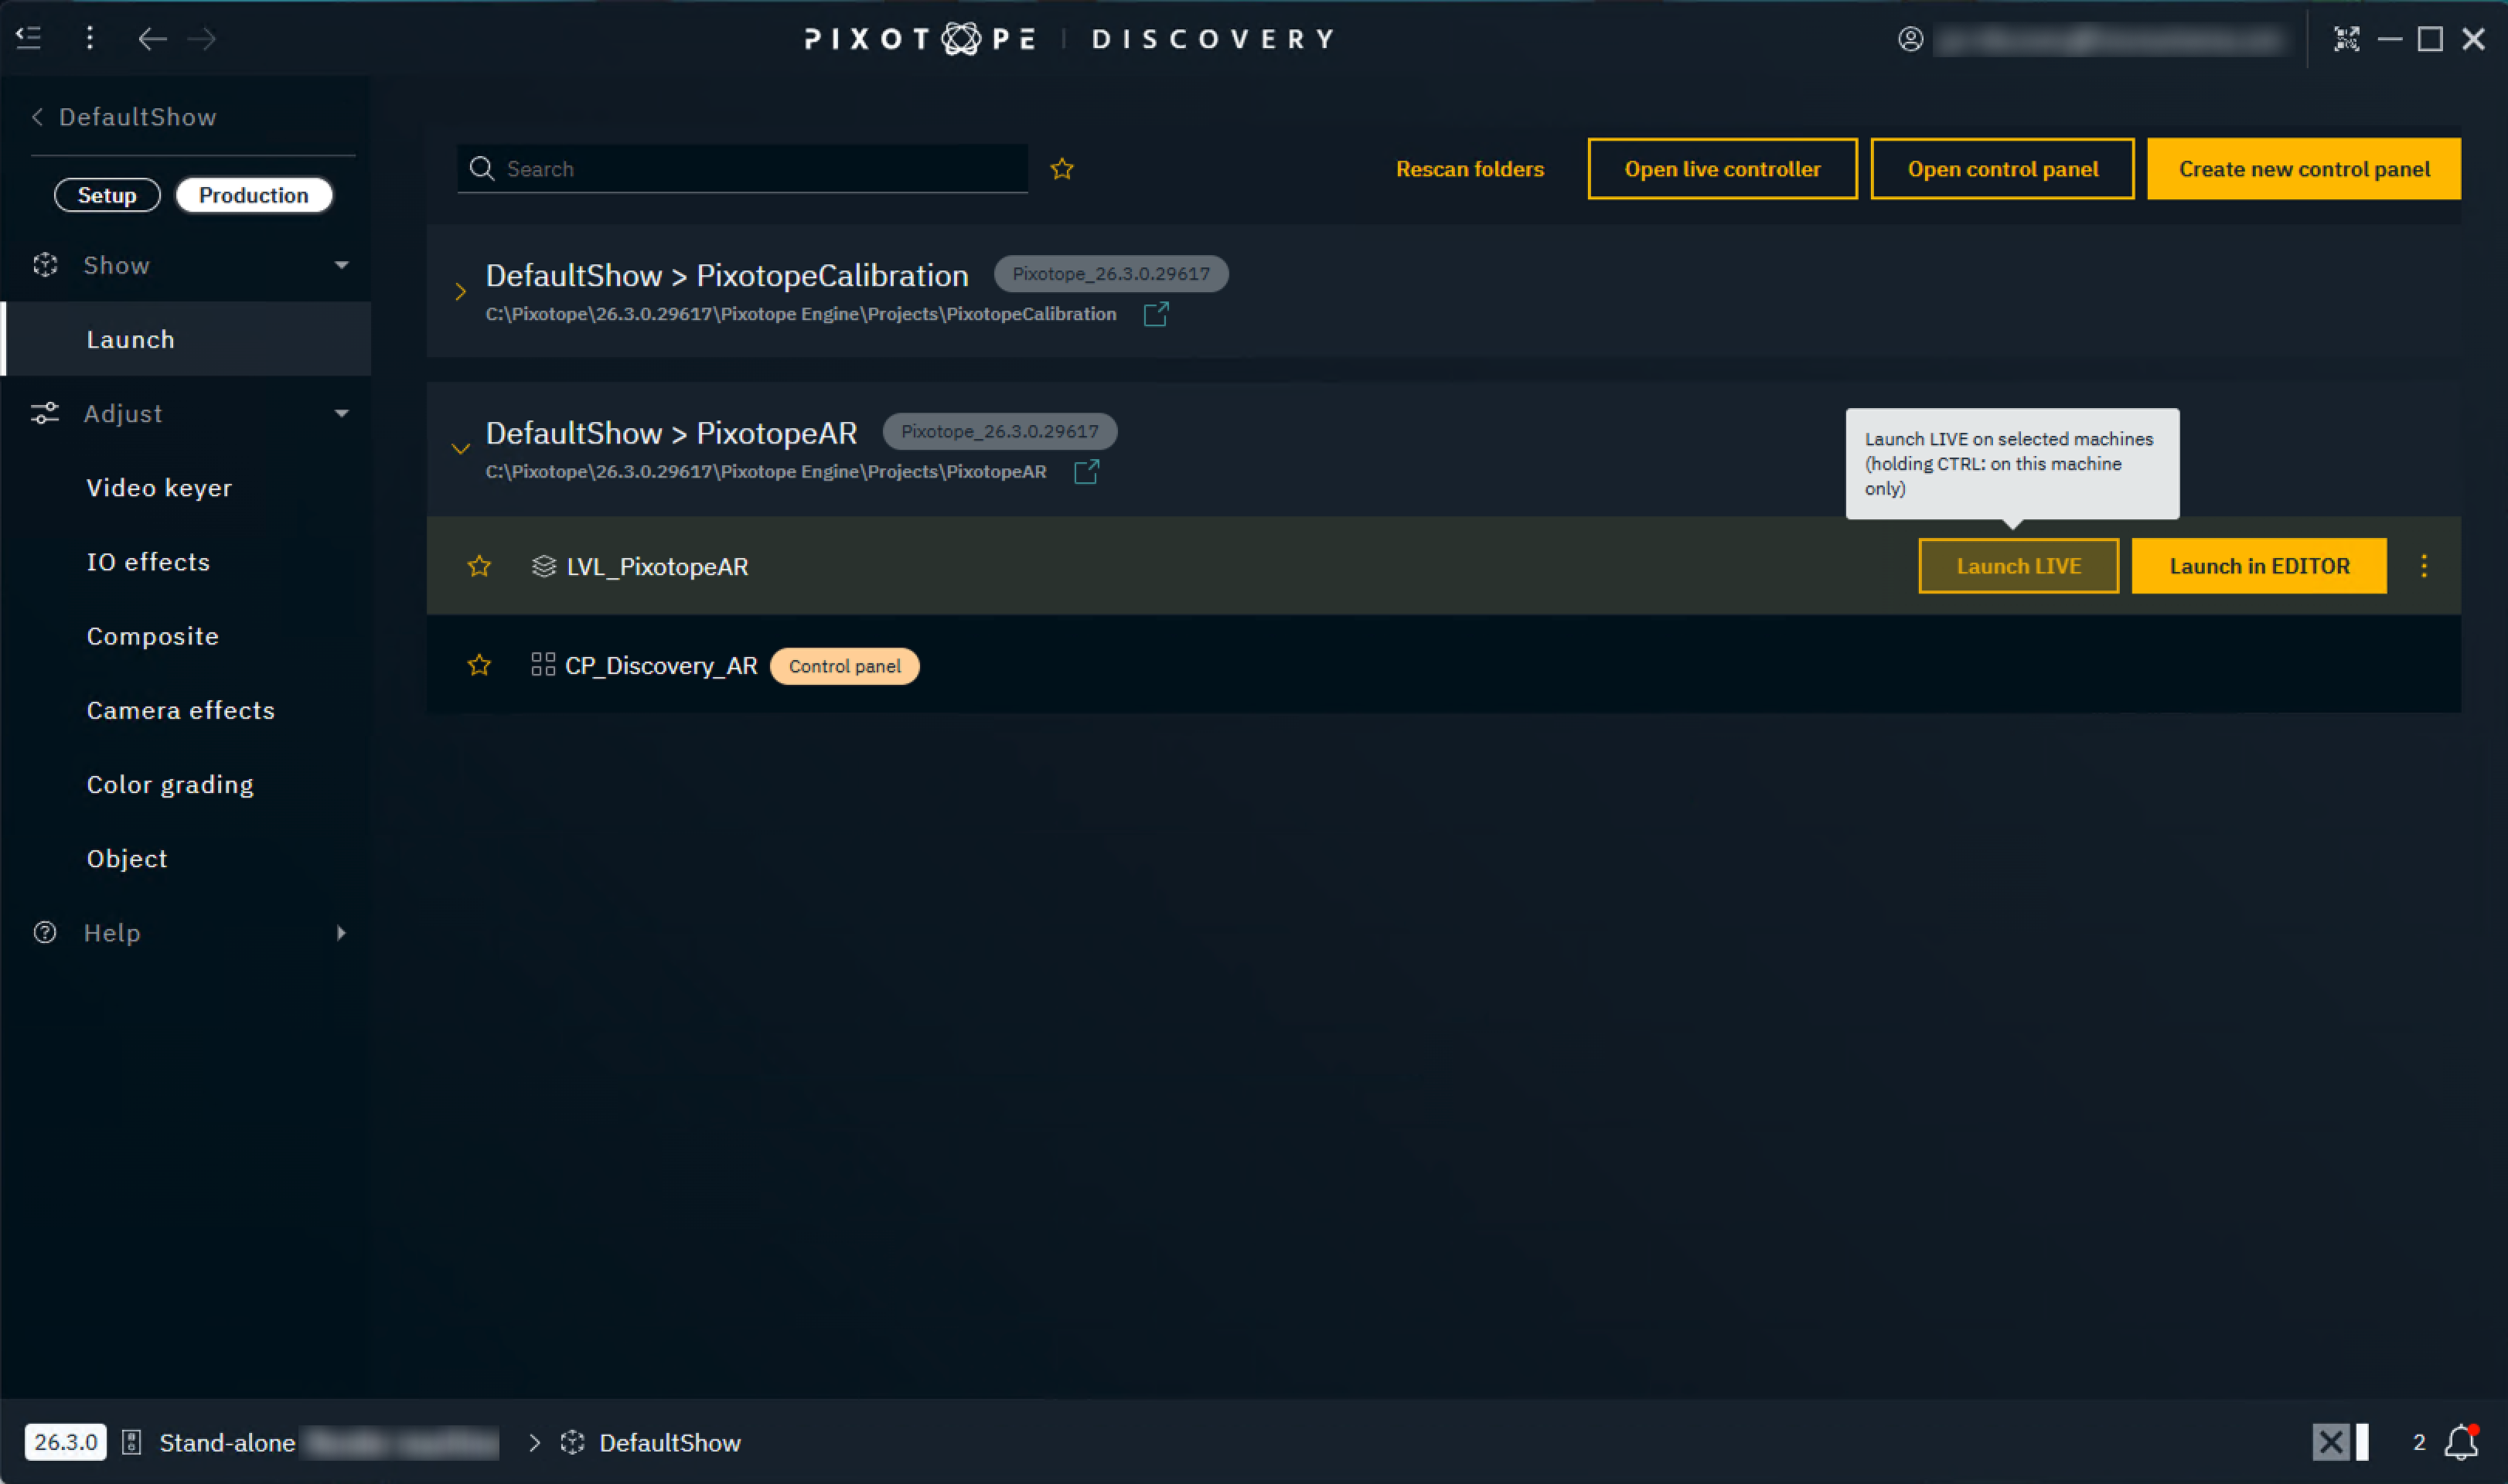
In the Launch panel expand the PixotopeAR project
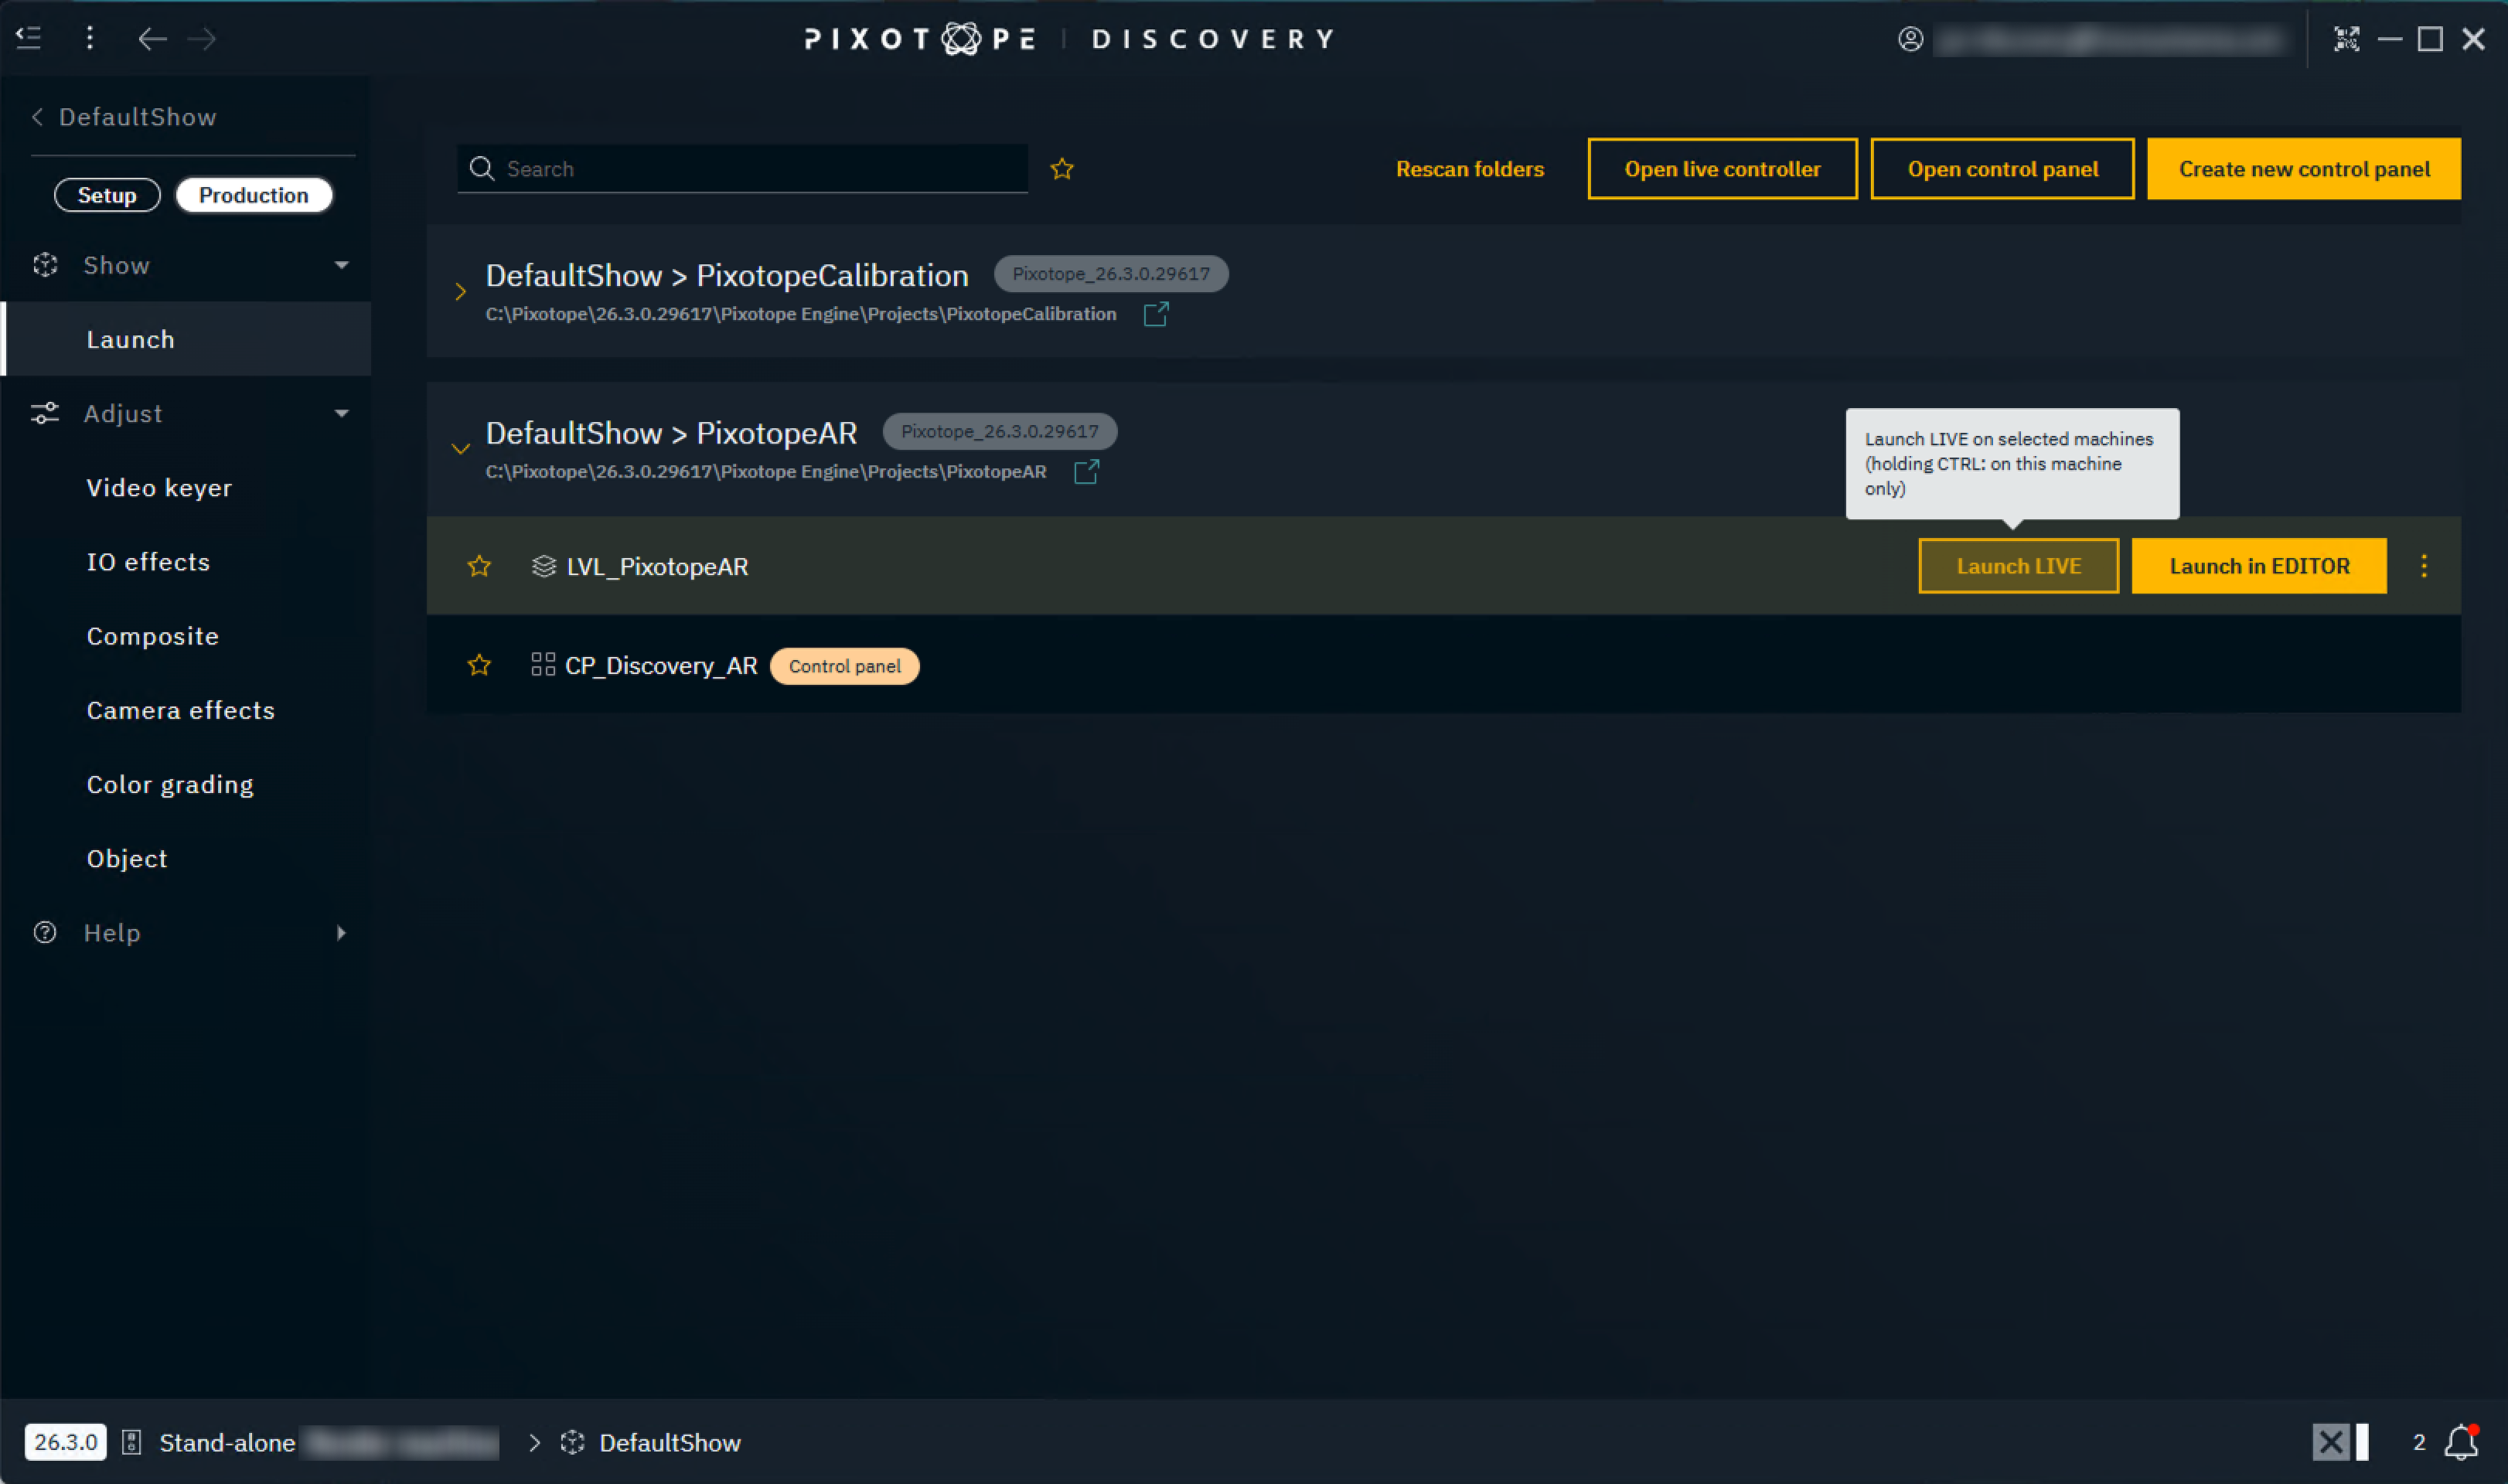
-
Hover over the LVL_PixotopeAR level and click the "Launch LIVE" button
The first launch of a level on a machine compiles shaders, which can take several minutes. Later launches are much faster.
Set render group
-
Go to the Machines panel
-
Go to the Group section of this machine
-
Click the "AR" tag to add this machine to the AR render group
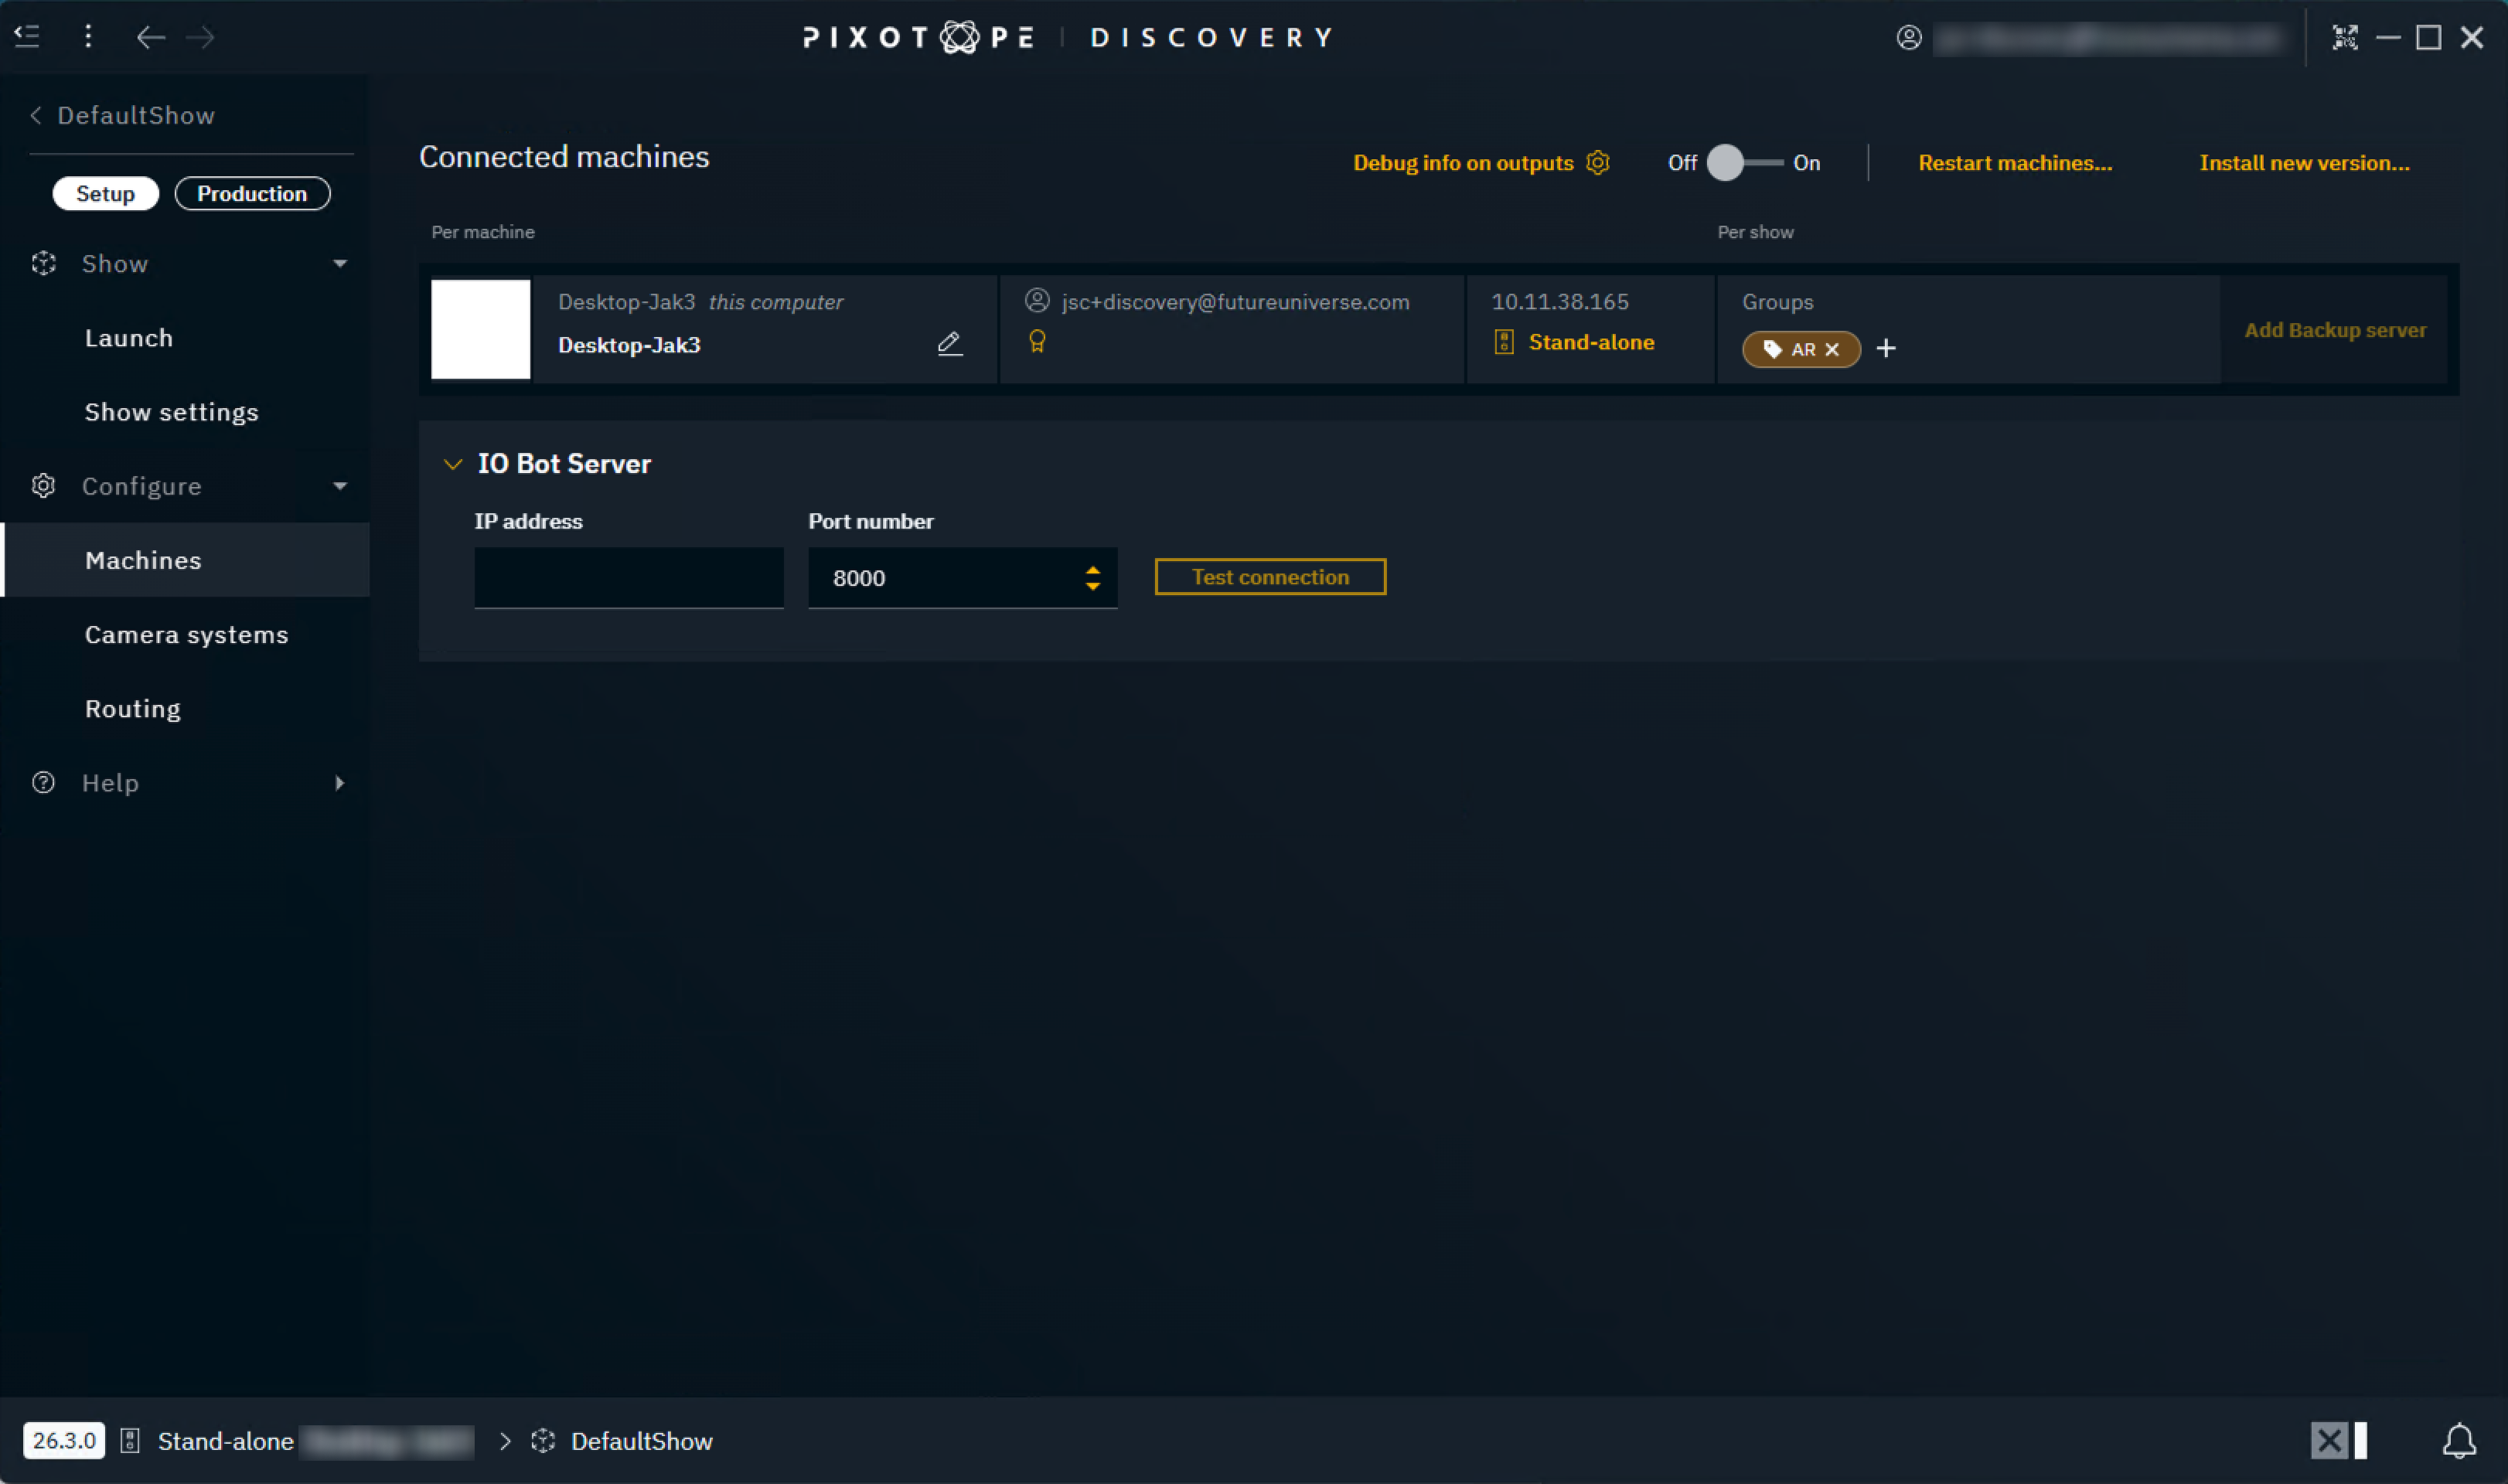
Render groups define which objects of a level this machine should render and how they are composited. Learn more about Render groups - AR, VS, AR+VS
Show output stream
-
In the Routing panel click the QR code icon
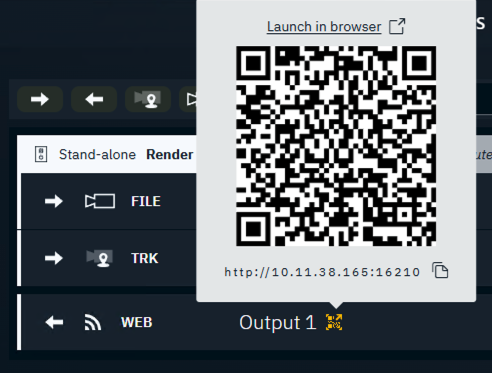
-
Click "Launch in browser" to open the output stream and watch the composited result
Want to create a new show and configure routing yourself?
Learn more about how to Configure routing
Not seeing the background video? Check above on how to Set the AR render group
Control level
-
In the Launch panel hover over the CP_Discovery_AR control panel and click the "Launch LIVE" button
-
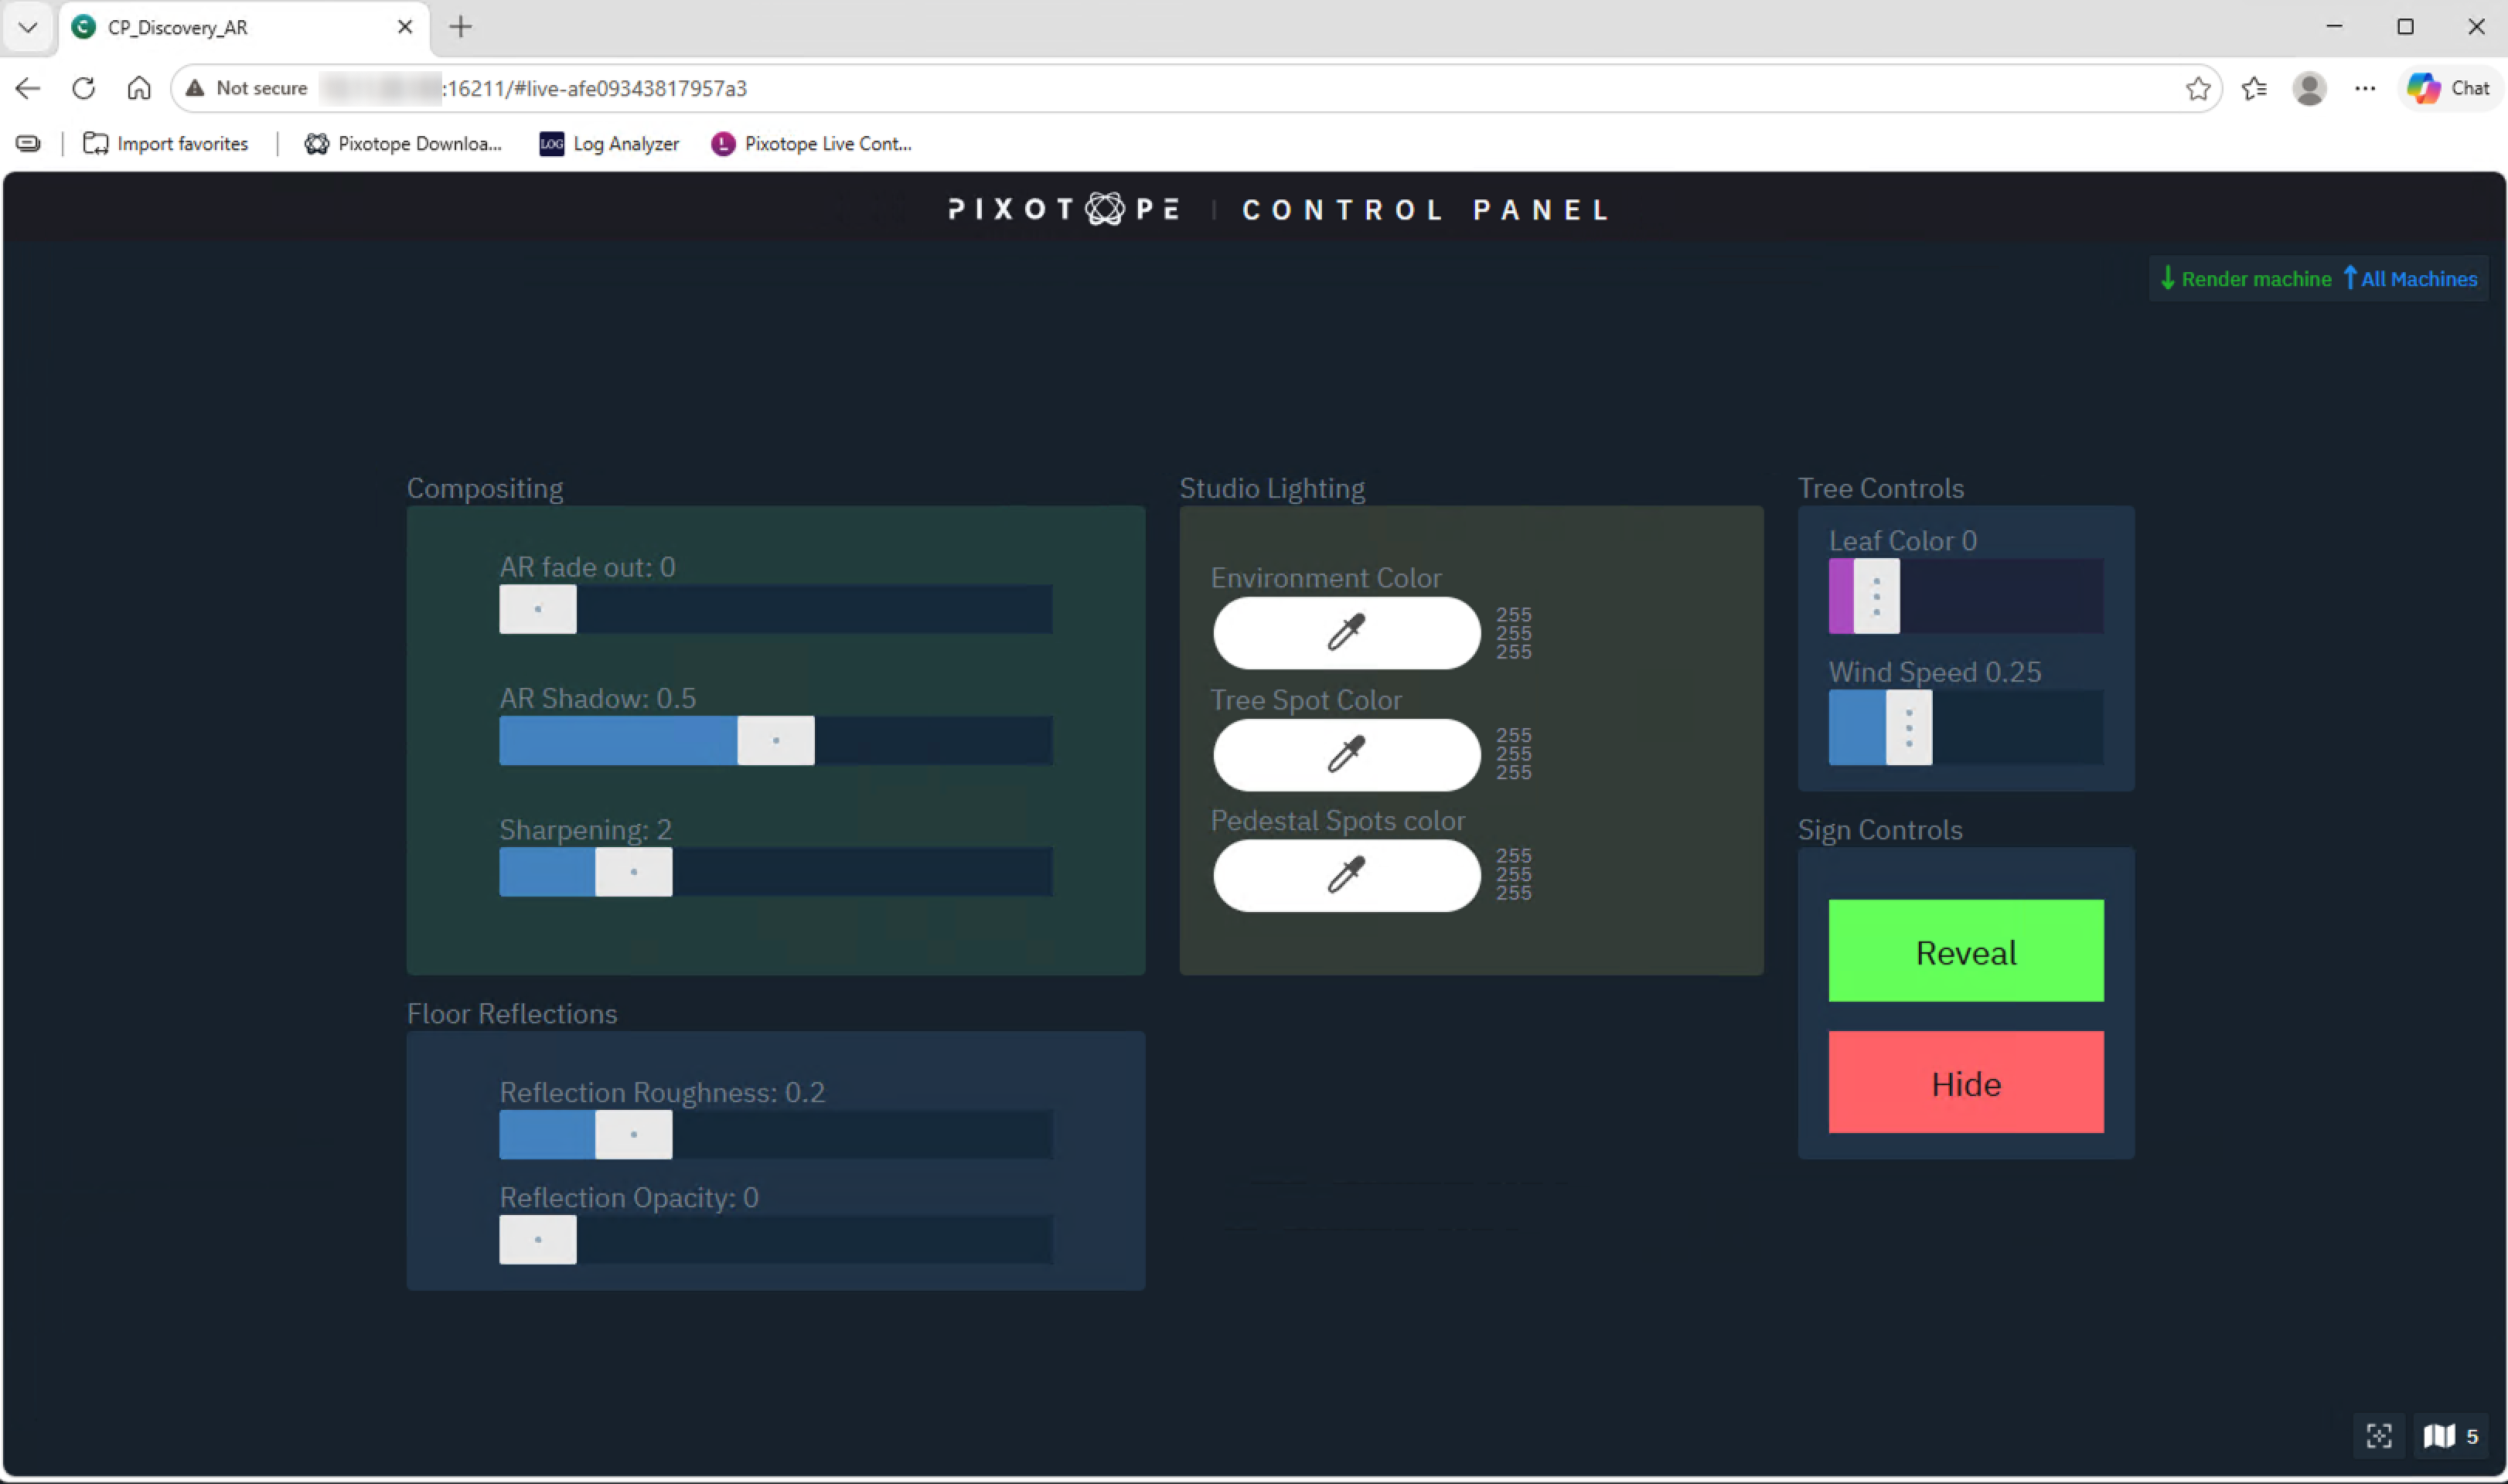
Use the controls to manipulate the level
Need help?
Check out the content of this help center. Here are some links to start with:
Moving from Discovery to a paid license
No migration needed. Once a license is assigned to you, select it in the license picker on the next login, and the panels and VideoIO options it unlocks appear. Your shows, projects, levels and color setup are unchanged.
Interested in accessing the full feature set of Pixotope? Contact us