Pixotope Live controller is a browser-based app for on-air graphics operation. It controls several template types from one or multiple playlists. Supported types:
-
Engine templates for VS/AR, XR - Using Live controller with Engine
-
Motion Design levels - Using Live controller with Motion
-
OGraf graphics - Using Live controller with OGraf
Learn more about the Pixotope Live controller - Interface and its Keyboard shortcuts
Start
-
Click the "Open Live controller" button on the top right of the Launch panel
-
Live controller opens in the browser

Or open the following address in your browser: http://[localhost OR IPaddress]:16212
Design
Set up output target
Change to Design panel layout
-
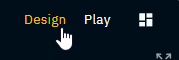
Switch to the Design panel layout by clicking "Design" on the top right corner
Add output target
-
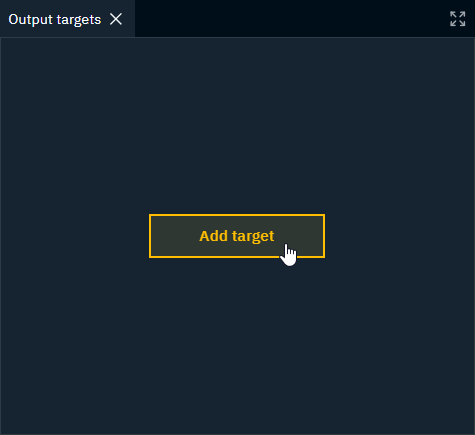
Click "Add target"
-
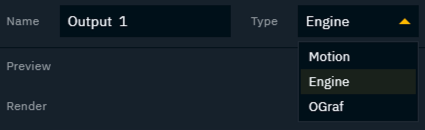
Set the target Type
-
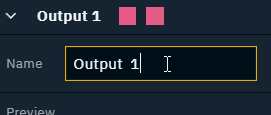
Optionally, select the Name input field and update the output target name
-
Optionally, click Default to make this output target to become the default for the selected Type
-
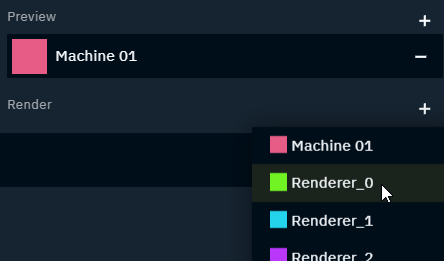
Click on the + at the right and add your Preview and Render machines
Check additional selections needed for
The Role of the first output target is automatically set to Default. Template instances will be played out using this output target as default.
To change the default role, click "Default" on another output target.
Each output target is also shown in the status bar on the bottom right showing its name and the status of all its preview and render machines.
Create template
How you create a template depends on its type, see
Change template color
-
Right click the template in the Template browser
OR click "Color" in Template properties -
Choose a color or set it back to "No color"
To remove the template color, click the Reset icon to the right.
Set custom target
By default, templates are played out on the output target of their type which was set as "Default". This can be overwritten by setting a specific target.
-
Click "Custom target" in Template properties
-
Choose a different output target
To remove the custom target, click the Reset icon to the right.
Update form
An auto-form is created based on all the template properties and their order.
-
Auto-form: Change order and visibility
-
Custom form: Change full layout using the Form builder
Auto-form
Change order
-
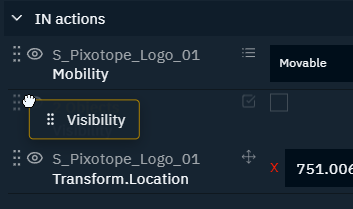
Click the drag icon in the template properties and move the property up or down
-
The order in the form is updated immediately
Check type-specific differences: Using Live controller with OGraf
Change what to expose or send
Hide property from form
-
Click the Visibility icon next to the property name
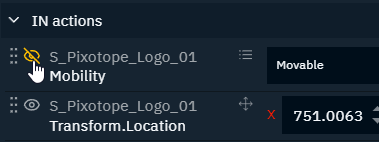
This hides the property from the form, however its value is sent.
Remove property
-
Click the Delete icon on the right
This removes the property completely, so no value is sent.
Change default value
-
Change the value in the template property field of the respective property
To reset the value to its default, click the reset icon on the right.
Custom form
Learn more about Using the Form builder
Populate
Populate playlists
Change to Play panel layout
-
Switch to the Play panel layout by clicking "Play" on the top right corner
Create playlist
-
Click the "Create playlist" button
-
Give it a name and click "Create"
-
The playlist is opened and ready for templates to be dragged in
-
Switch between playlists
-
Click the folder icon next to the search field on the top left, to get to the Playlist browser
-
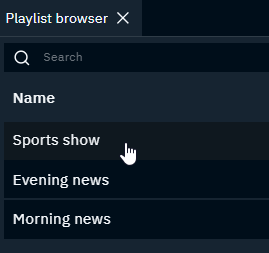
Select another playlist or create a new one
Open another playlist in parallel
-
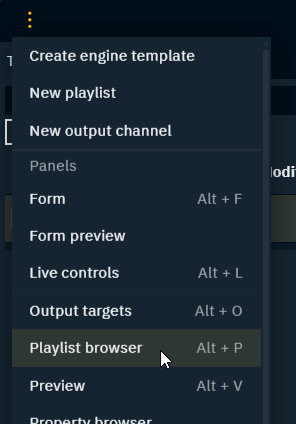
Click the overflow icon on the top left corner
-
Click on "Playlist browser"
-
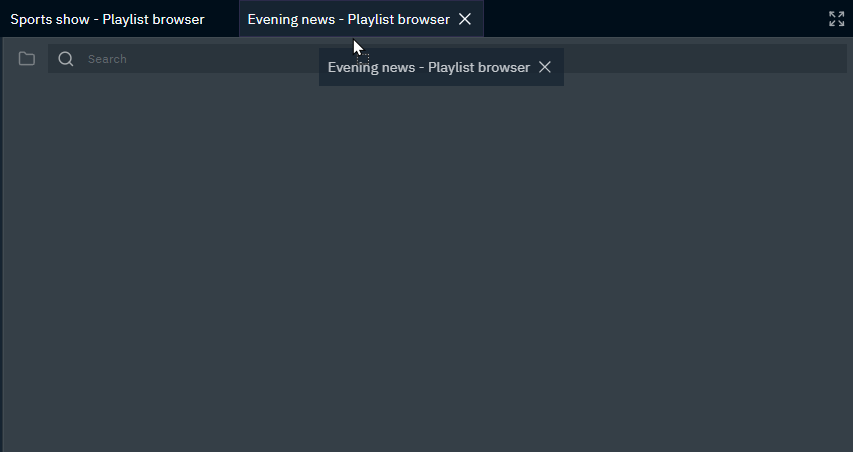
This opens a playlist browser in a new tab
-
-
Grab the tab header and move the tab next to the other playlist
Populate the playlist
-
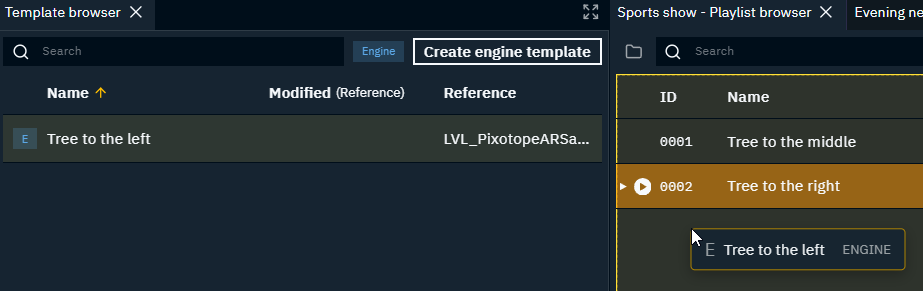
Drag a template into the playlist
-
An instance of the dragged in template is created
-
A recall ID is assigned to it
-
-
Update its form values in the Form panel
-
Check the updated values in the Preview
-
Don’t want a preview when filling in values? Click the On/Off switch in the Preview panel.
The preview is automatically turned on again, when clicking Preview or using its shortcut.
The content column shows a preview of the first text fields of the instance.
Structure the playlist
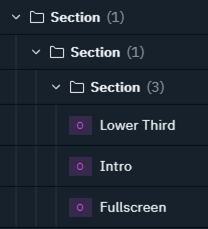
A playlist can be structured using Sections. These folder-like rows can
-
visually structure a playlist
-
trigger all nested instances simultaneously
Selecting a section shows an empty Form panel, since a section holds no values of its own.
Add section
-
Select the row you want the new section to appear below
-
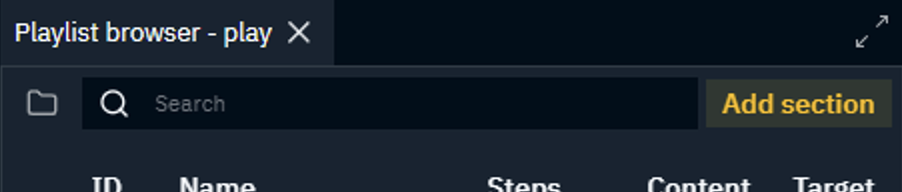
Click the "Add section" button on the top right of the playlist
-
A section is added underneath the selected row
-
It is named "Section" until you rename it
-
-
Drag instances or other sections into it
-
An empty section shows a drop target until it has children

-
Sections allow to structure a playlist with up to 3 levels deep.
Make section triggerable
A triggerable section can be taken in and out like an instance, taking all of its nested children with it.
-
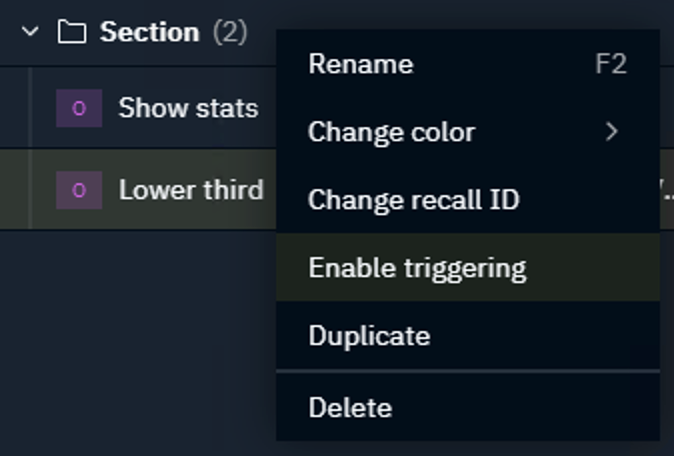
Right click the section and click "Enable triggering"
-
The section gets a recall ID assigned and changes its icon for better recognition
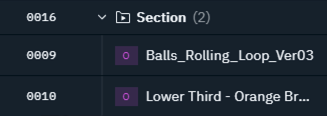
A triggerable section
-
has no take in/out state of its own, the state is held by its children.
-
and its children cannot be previewed together. Preview one instance at a time.
OGraf templates need to be on different layers for it to work - Using Live controller with OGraf
Disable triggering
-
Right click the section and click "Disable triggering"
-
The recall ID is removed and the icon is changed back
Duplicate a section
-
Right click the section and click "Duplicate"
OR typeCtrl+D -
The section is duplicated with all of its children and placed on the same level
Change instance/section color
-
Right click the row and click "Change color"
-
Select the color
A section's color takes precedence over the colors of its direct children. If a child is itself a section, that section's color applies to its own children instead.
Change recall ID
-
Right click the row and click "Change recall ID"
-
Enter a new recall ID and click "Confirm”
Use the Search recall ID shortcut: Ctrl+Shift+F to directly search for the recall ID
Change output target
-
Click the output target dropdown on the right of the instance row and change to a custom output target
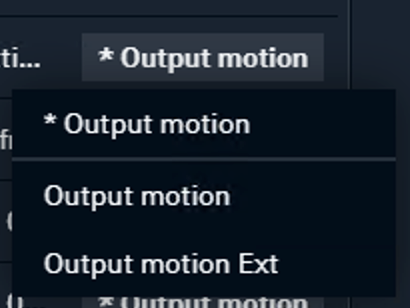
The * next to the Output target indicates that not a specific one was chosen, but the default for the Type of this instance is used.
When the Output target is set to the Default option (*), the instance is using whatever output target was set for this instance type.
Embed additional panels
-
Click the overflow icon on the top left corner
-
Click on "Web page"
-
This adds a Web page tab
-
-
Enter the URL of the web page which should be embedded and hit
Enter
Get Director panel URL
-
Navigate to the panel you want to embed
-
Click the QR code icon in the top right corner
-
Click the Copy URL icon on the bottom right of the overlay
To adjust what parts of the Director panel to include, URL parameters can be added.
Learn more about how to Embed Director panels
Get Control panel URL
-
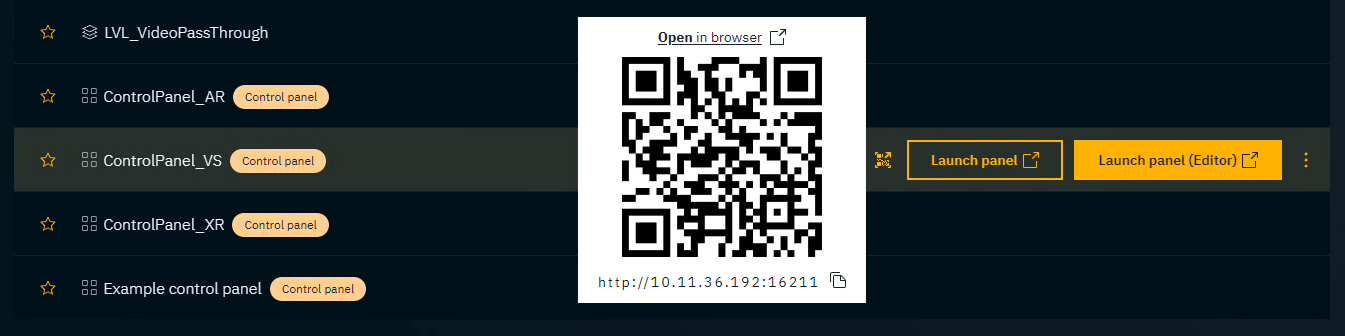
Go to PRODUCTION > Show > Launch
-
Click on the QR code icon of the control panel
-
Click the Copy URL icon on the bottom right of the overlay
Operate
Launch levels
Check which levels need to be launched
Check output targets
-
Check the level status in the Status bar
-
Check the target status of the instances in the Playlist
-
Check if the preview is live
Learn more about the Live controller’s Status bar
Find instance
Using recall ID
-
Type
Ctrl+Shift+F -
Type the recall ID
-
Hit
Enter -
The first item in the search will be previewed
Using name
-
Type
Ctrl+F -
Type the name
-
Hit
Enter -
The first item in the search will be previewed
Preview instance
-
To preview an instance in the Playlist
-
Select it with the mouse
-
Use the arrow keys to select the instance and hit
Enter
-
-
The instance turns orange
-
The instance is shown on the preview machine/channel of the set output target
Check how different templates can be previewed:
Take preview to air
-
Click the Take in button in the Live controls or the Form
OR hitCtrl+Enter-
The instance turns red indicating that it is taken in
-
-
Check how Engine templates without OUT actions are handled - Using Live controller with Engine
-
Check how Motion templates react to each other - Using Live controller with Motion
-
Check how OGraf templates are layered - Using Live controller with OGraf
Take instance off air
-
Select the instance to take out
-
Click the "Take out" button in the form
Take all instances of an output target off air
-
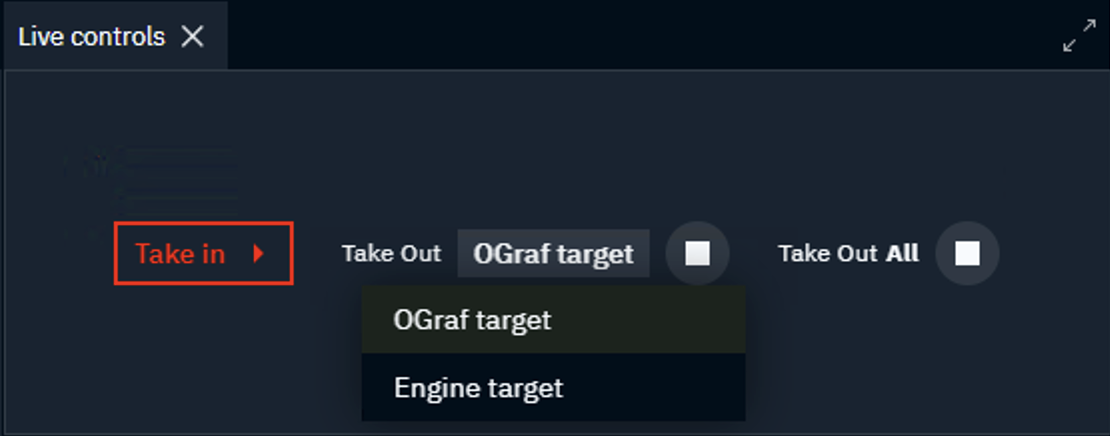
In the Live controls, click the output target of the "Take [output target] out” button and select the output target to take out
-
Click the "Take out" button
Take all instances off air
-
In the Live controls, click the "Take out All" button
The Preview target is not affected.
Import from other show
Want to import templates and their forms, playlists and output targets? Learn more about how to Import from other show