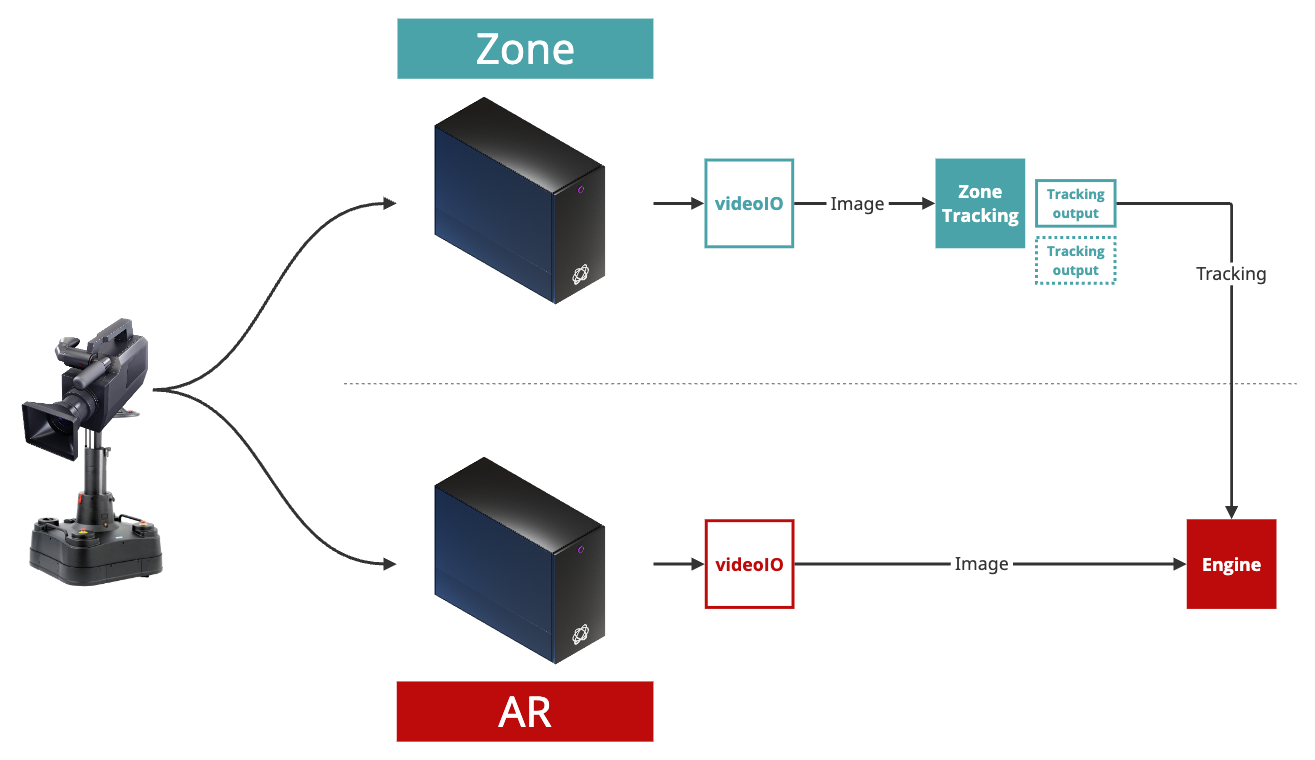
Pixotope Zone is a video-based tracking system for cameras in a fixed position that pan, tilt and zoom.
Looking for Zone tracking on Linux? See Zone Tracking
Prerequisites
-
Download and install NVIDIA CUDA Toolkit on the Zone machine → https://developer.nvidia.com/cuda-downloads?target_os=Windows&target_arch=x86_64&target_version=11&target_type=exe_local
Configure Zone
This is how you configure the machine which is running Zone.
-
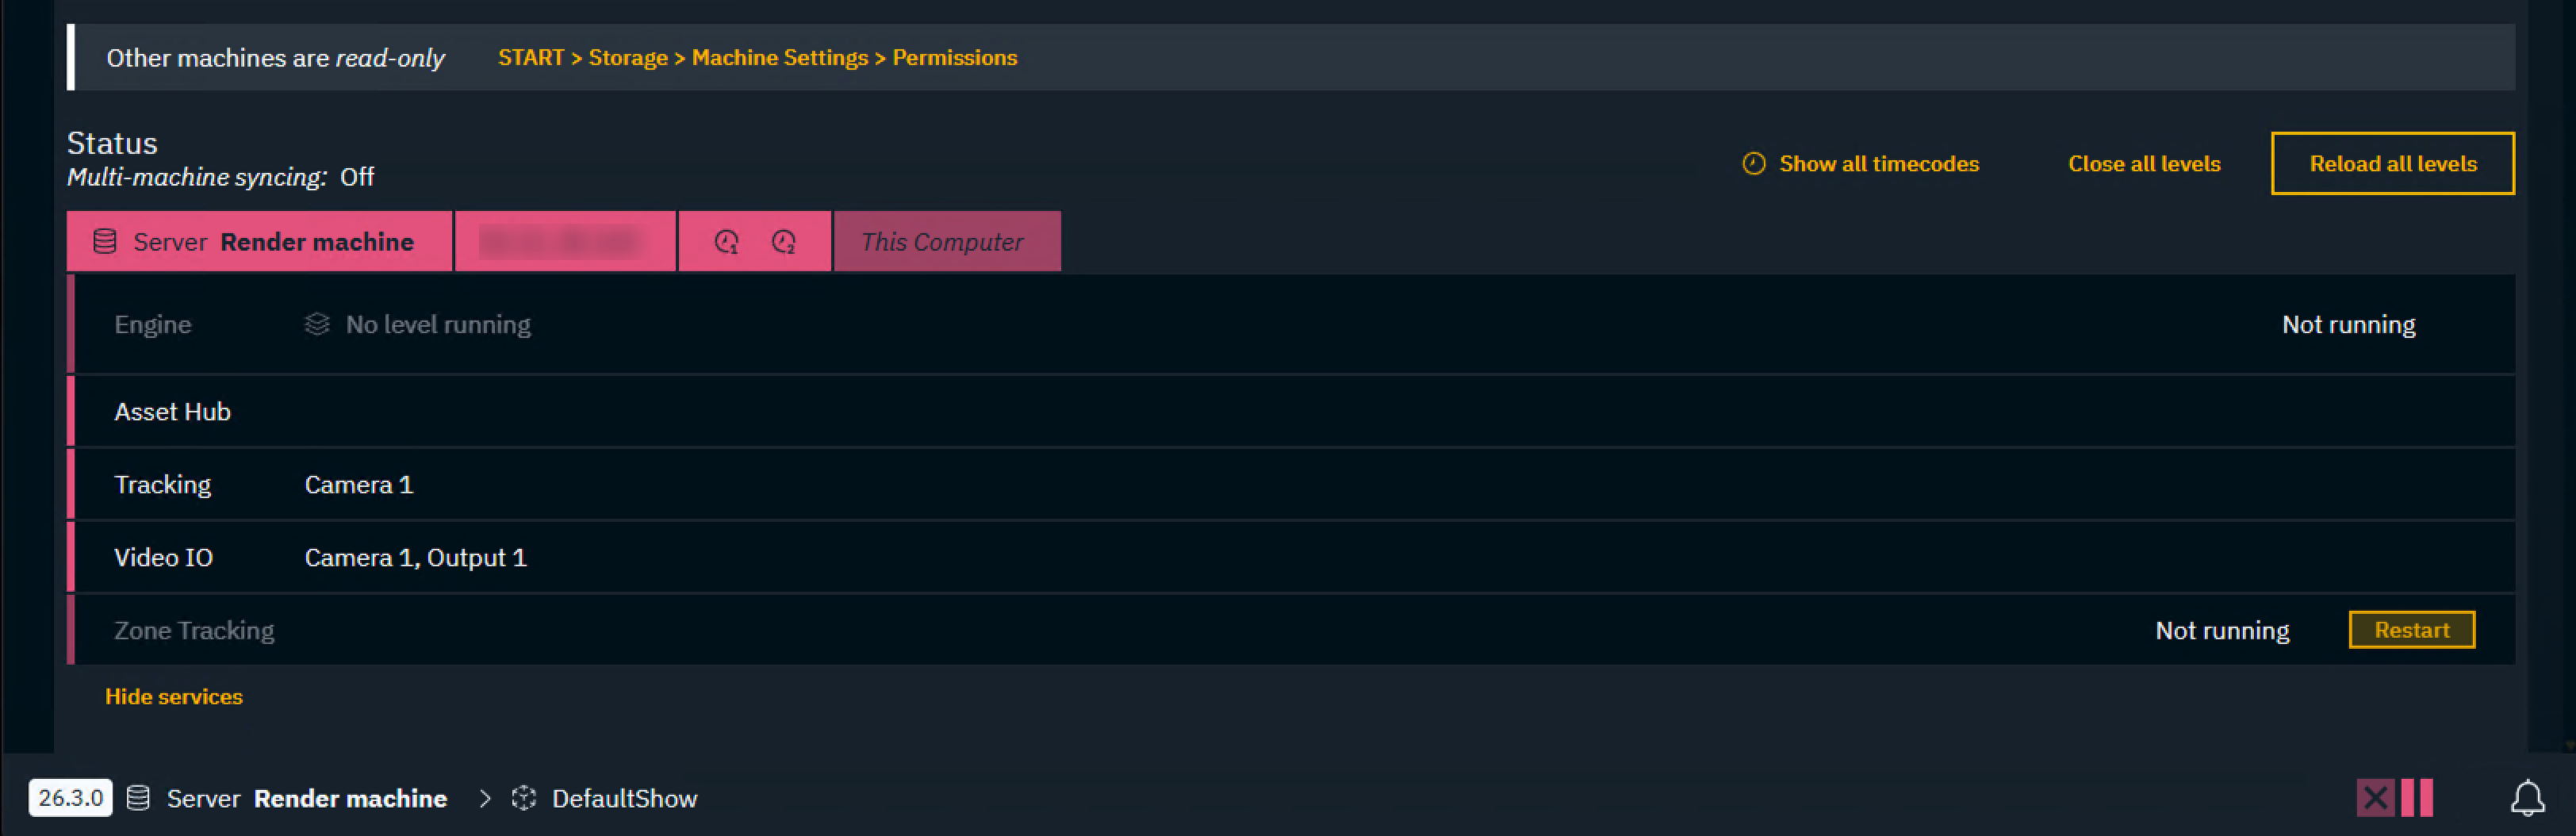
Start the Zone Tracking service via the Status panel on the bottom
-
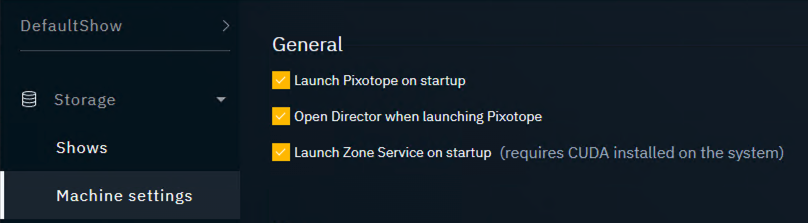
Optional: Enable "Launch Zone Tracking on startup"
Create camera system
This camera system is shared between the tracking (Zone) and the render machine(s).
-
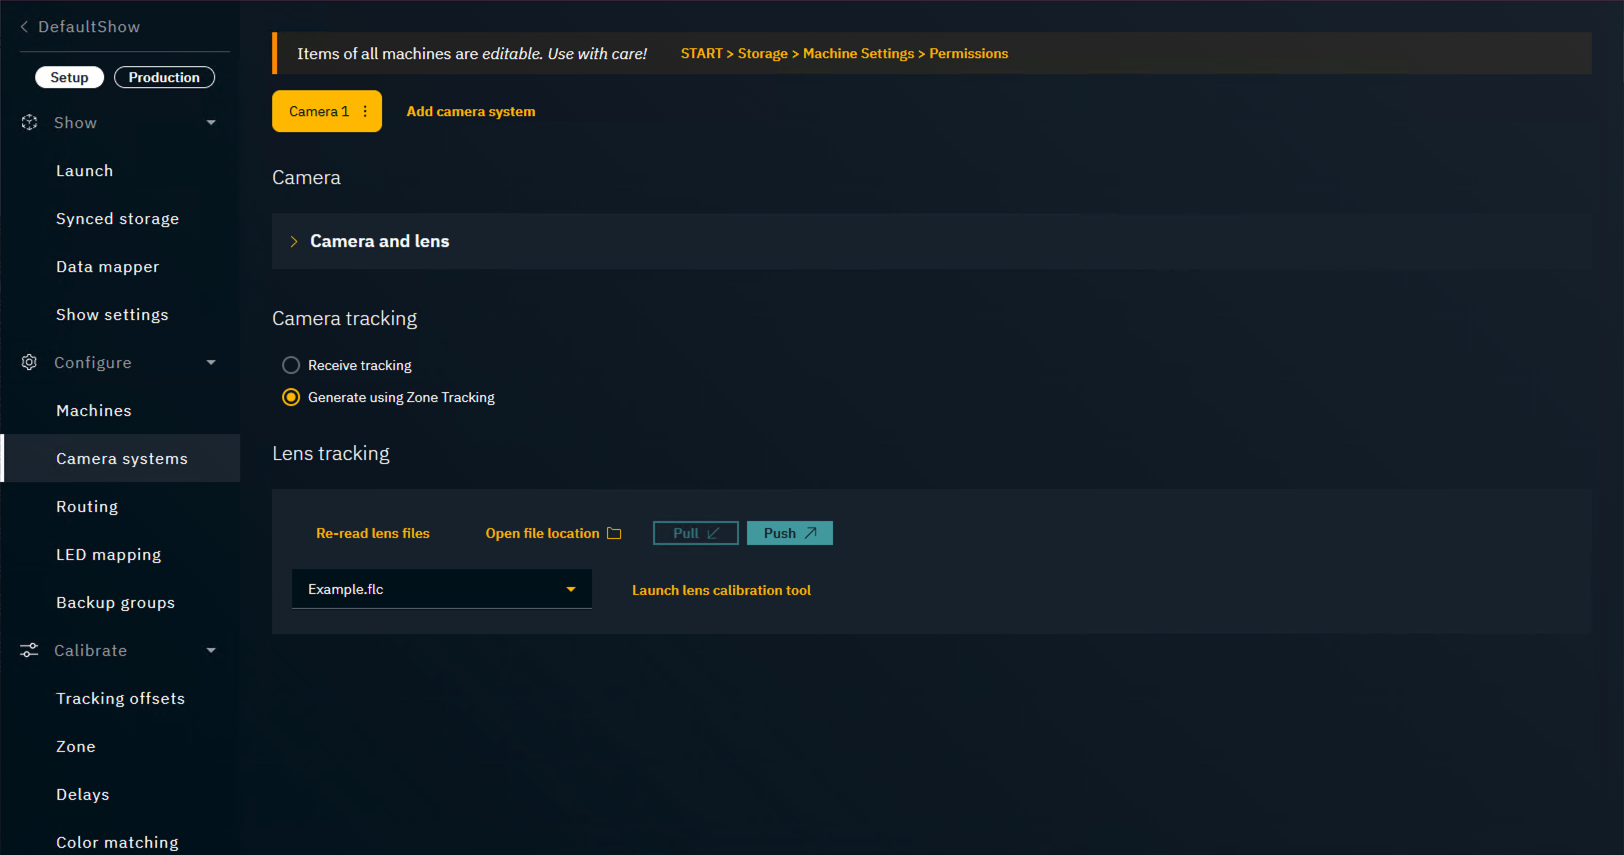
Add a camera system on Setup > Configure > Camera systems
-
Select "Generate using Zone Tracking" under Camera tracking
-
Select a lens file (.flc) or create a new one
Only .flc files are supported.
Changing the lens file won't update an initialized Zone version. Zone builds the lens data in at the time of initialization, so the version keeps using the lens file data it was created with.
Route the Zone camera
-
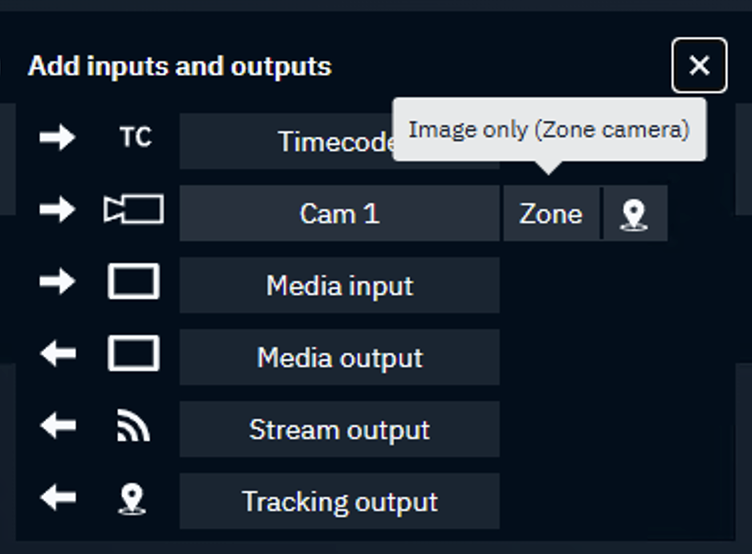
Go to the Routing panel to the machine that runs Zone
-
Click on "Zone" on the right of the camera system (Image only)
-
This adds only the Image input part of the Camera system (Image and Tracking)
-
-
Specify Input, Input source, Input type and Input format
Calibrate the lens
-
Go back to the Zone camera on the Camera systems panel
-
Click the "Launch lens calibration tool" button to start Pixotope Fixed Lens Calibration
-
Pick up the Pixotope Calibration Board (15x10) and place it in front of the camera
-
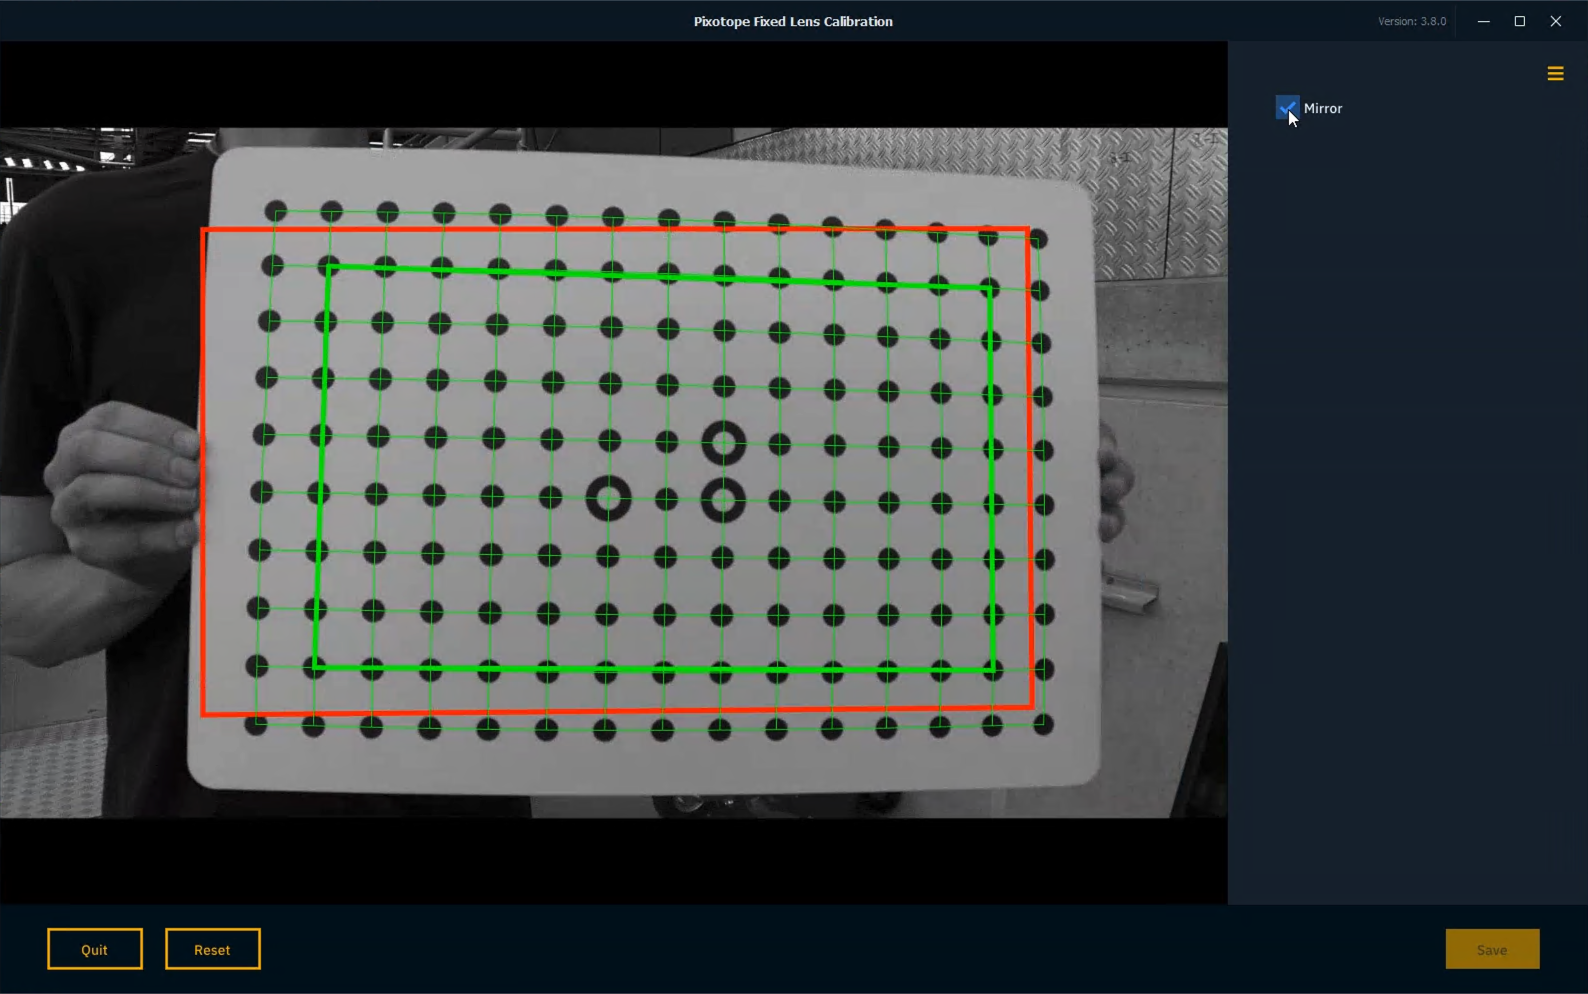
A green rectangle overlay on your board is shown
The board’s overlay rectangle turns red, if the board is held upside down. Please rotate it so the L built by the large circles is "laying" down.
-
Try to place and hold the board’s green rectangle so that it matches the guiding rectangle
-
Unselect Mirror to show the video feed unmirrored if preferred
-
-
As soon as the board’s rectangle is close enough, the guiding rectangle jumps to its next position
-
Continue with step 5.
-
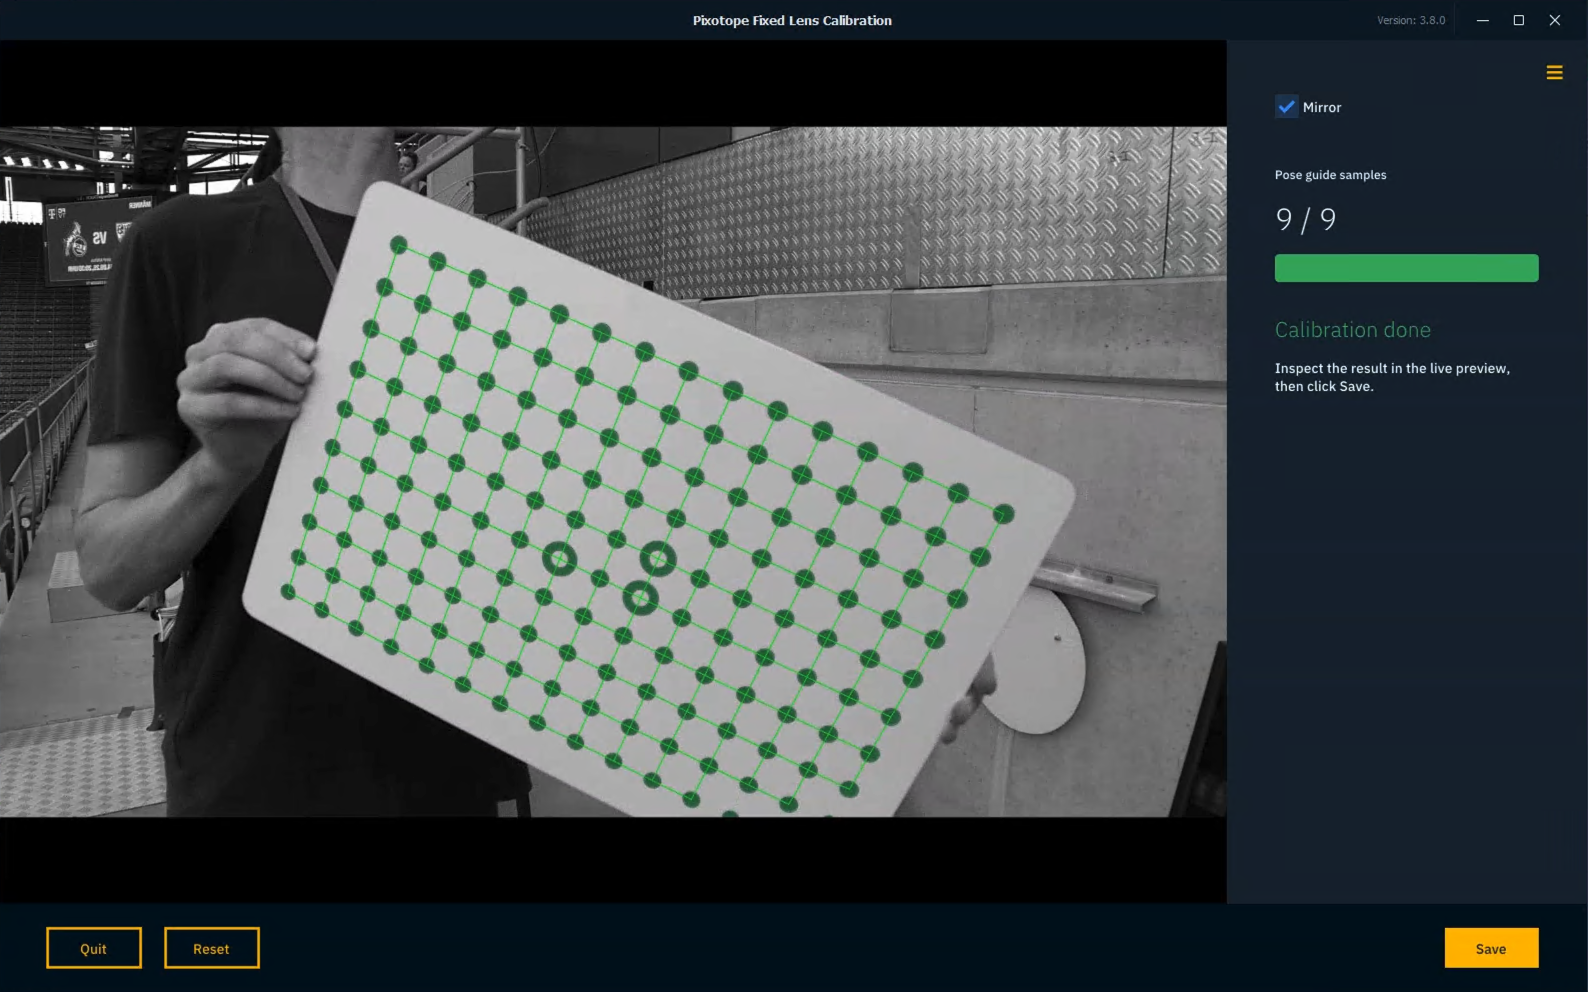
After completing 9 positions the board’s rectangle is gone, but its circles are now part of the overlay
-
Click "Save" and then "Finish"
-
The Fixed Lens Calibration tool is closed
-
The newly created lens file is selected in the Camera systems panel
-
|
Calibration board position is almost matching |
Calibration board is upside down |
|---|---|
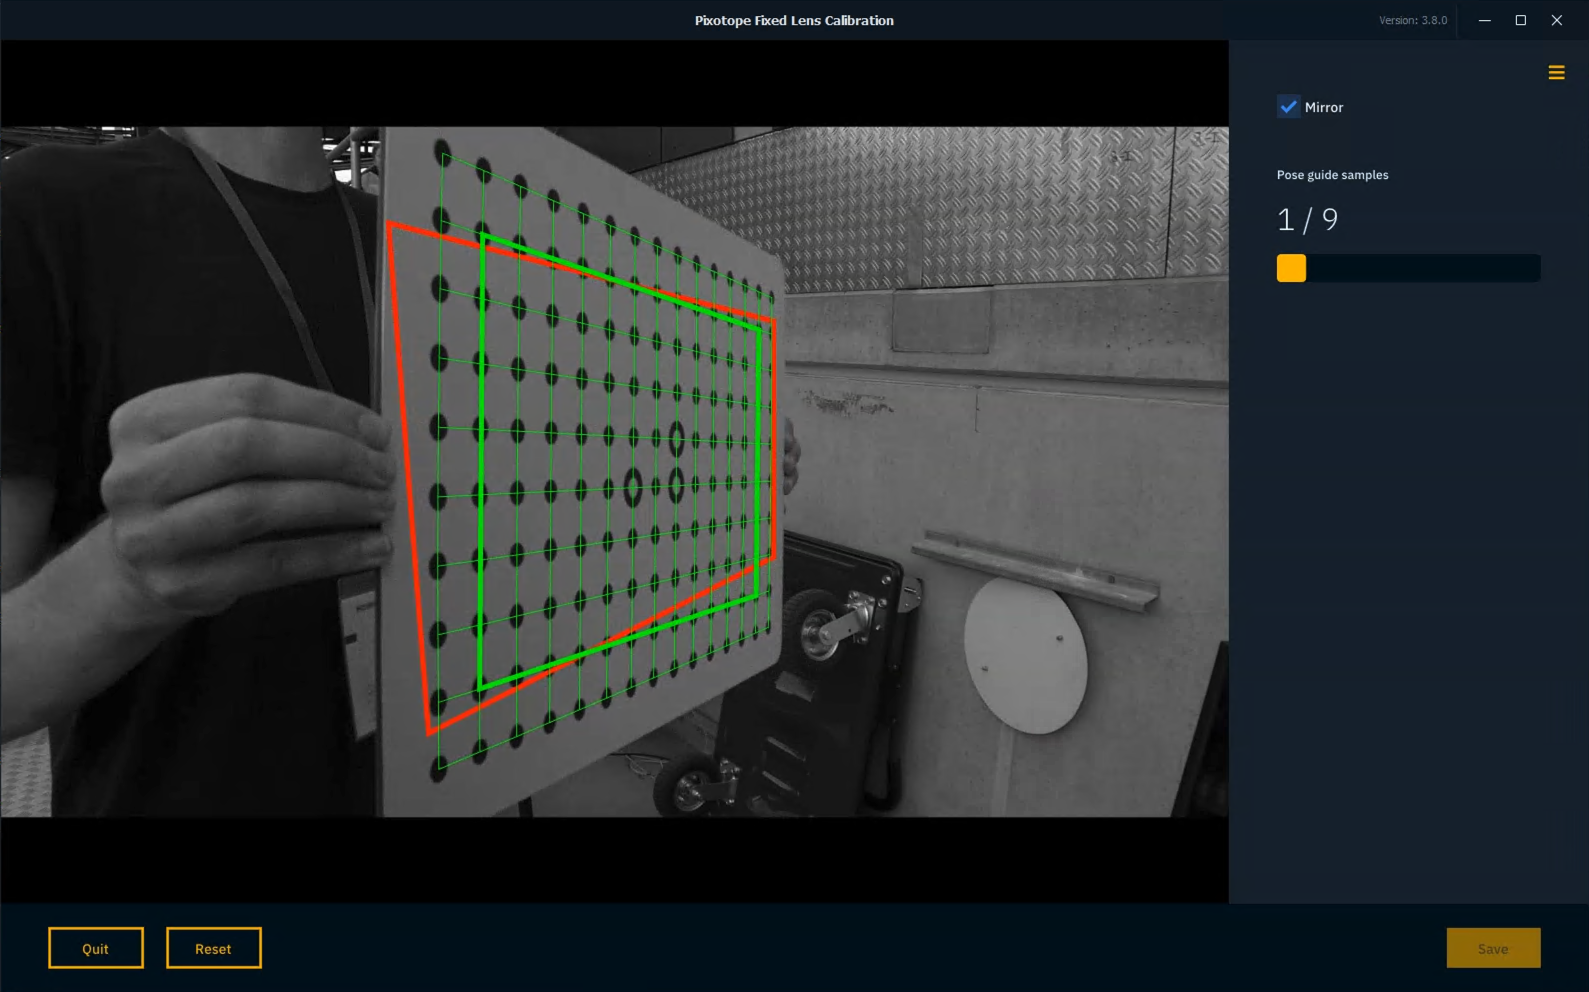
|
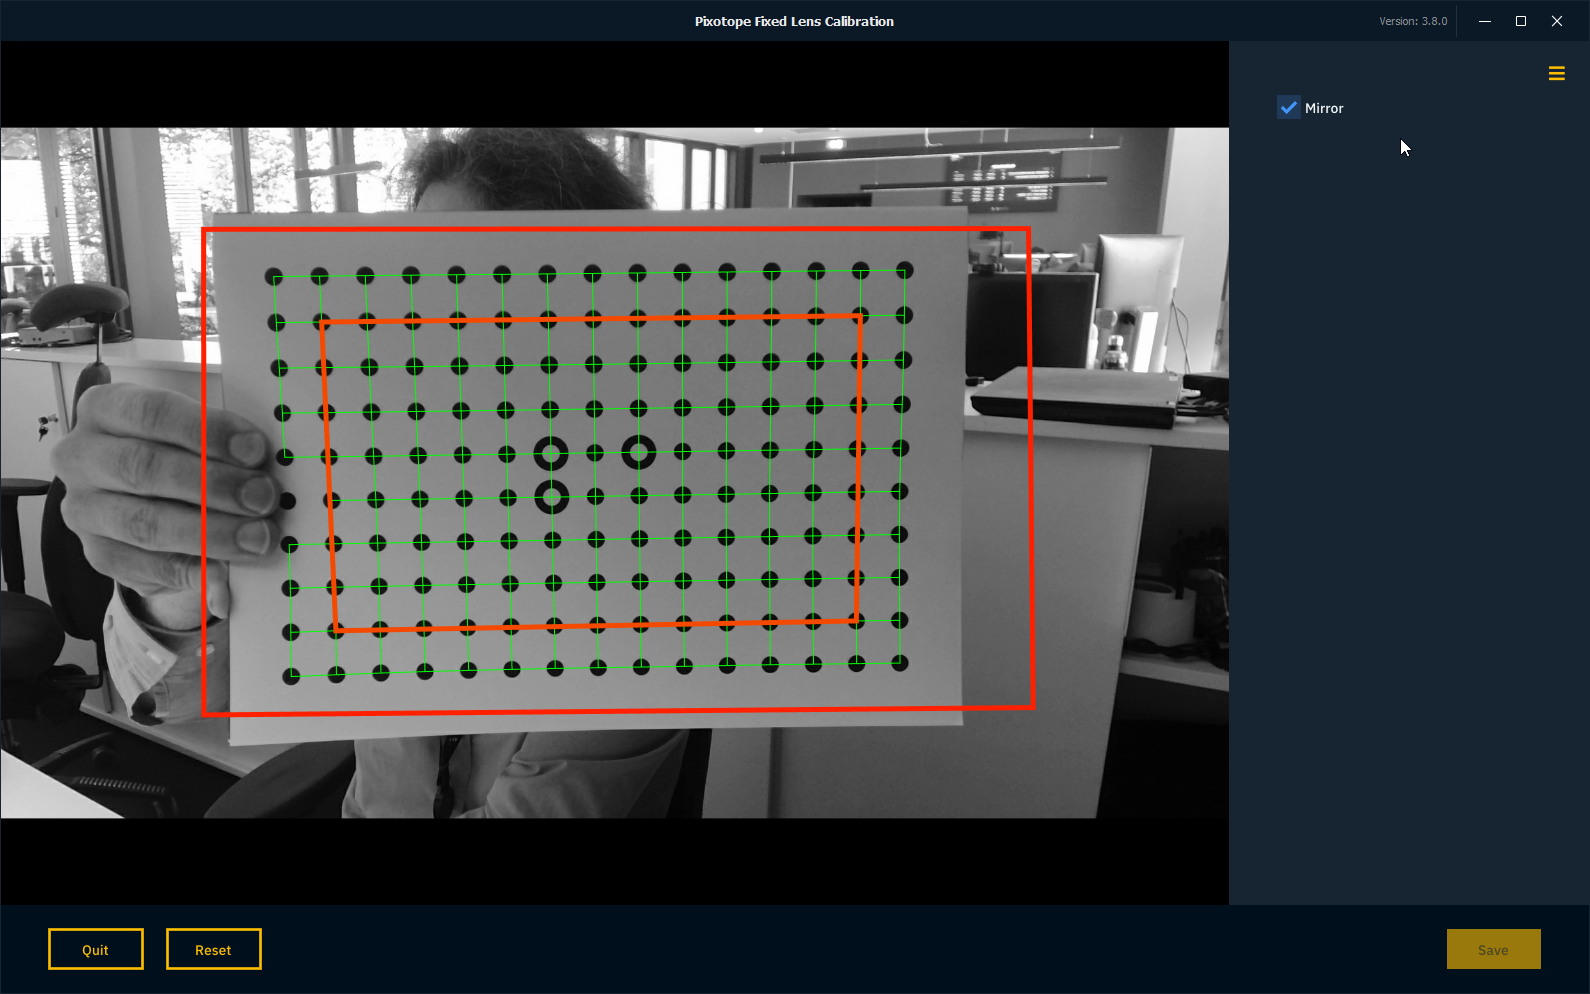
|
Add a tracking output
-
Go to the Routing panel to the machine that runs Zone
-
Add a Tracking output
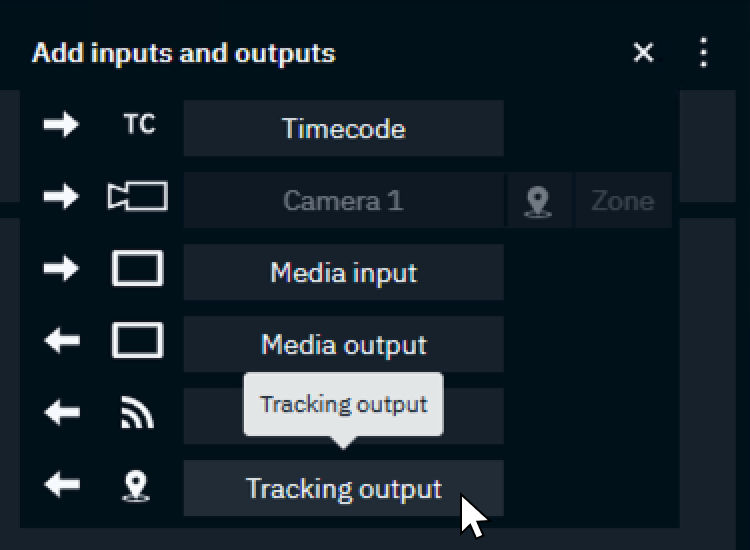
-
Set the Source to the Camera added above
-
Optional: Change the Tracking protocol if needed
-
Set to which machine/IP address and port the tracking data should be Send to
Use Camera input switching in case you have multiple camera sources you want to switch between. Learn more about how to Configure camera input switching
Initialize Zone tracking
-
Go to the Zone panel under Setup > Calibrate
-
Select the camera/machine to initialize on the top left
If one or more versions already exist
-
Click the "Initialize" step
-
Confirm that you want to Start over
-
Zone starts capturing keyframes automatically
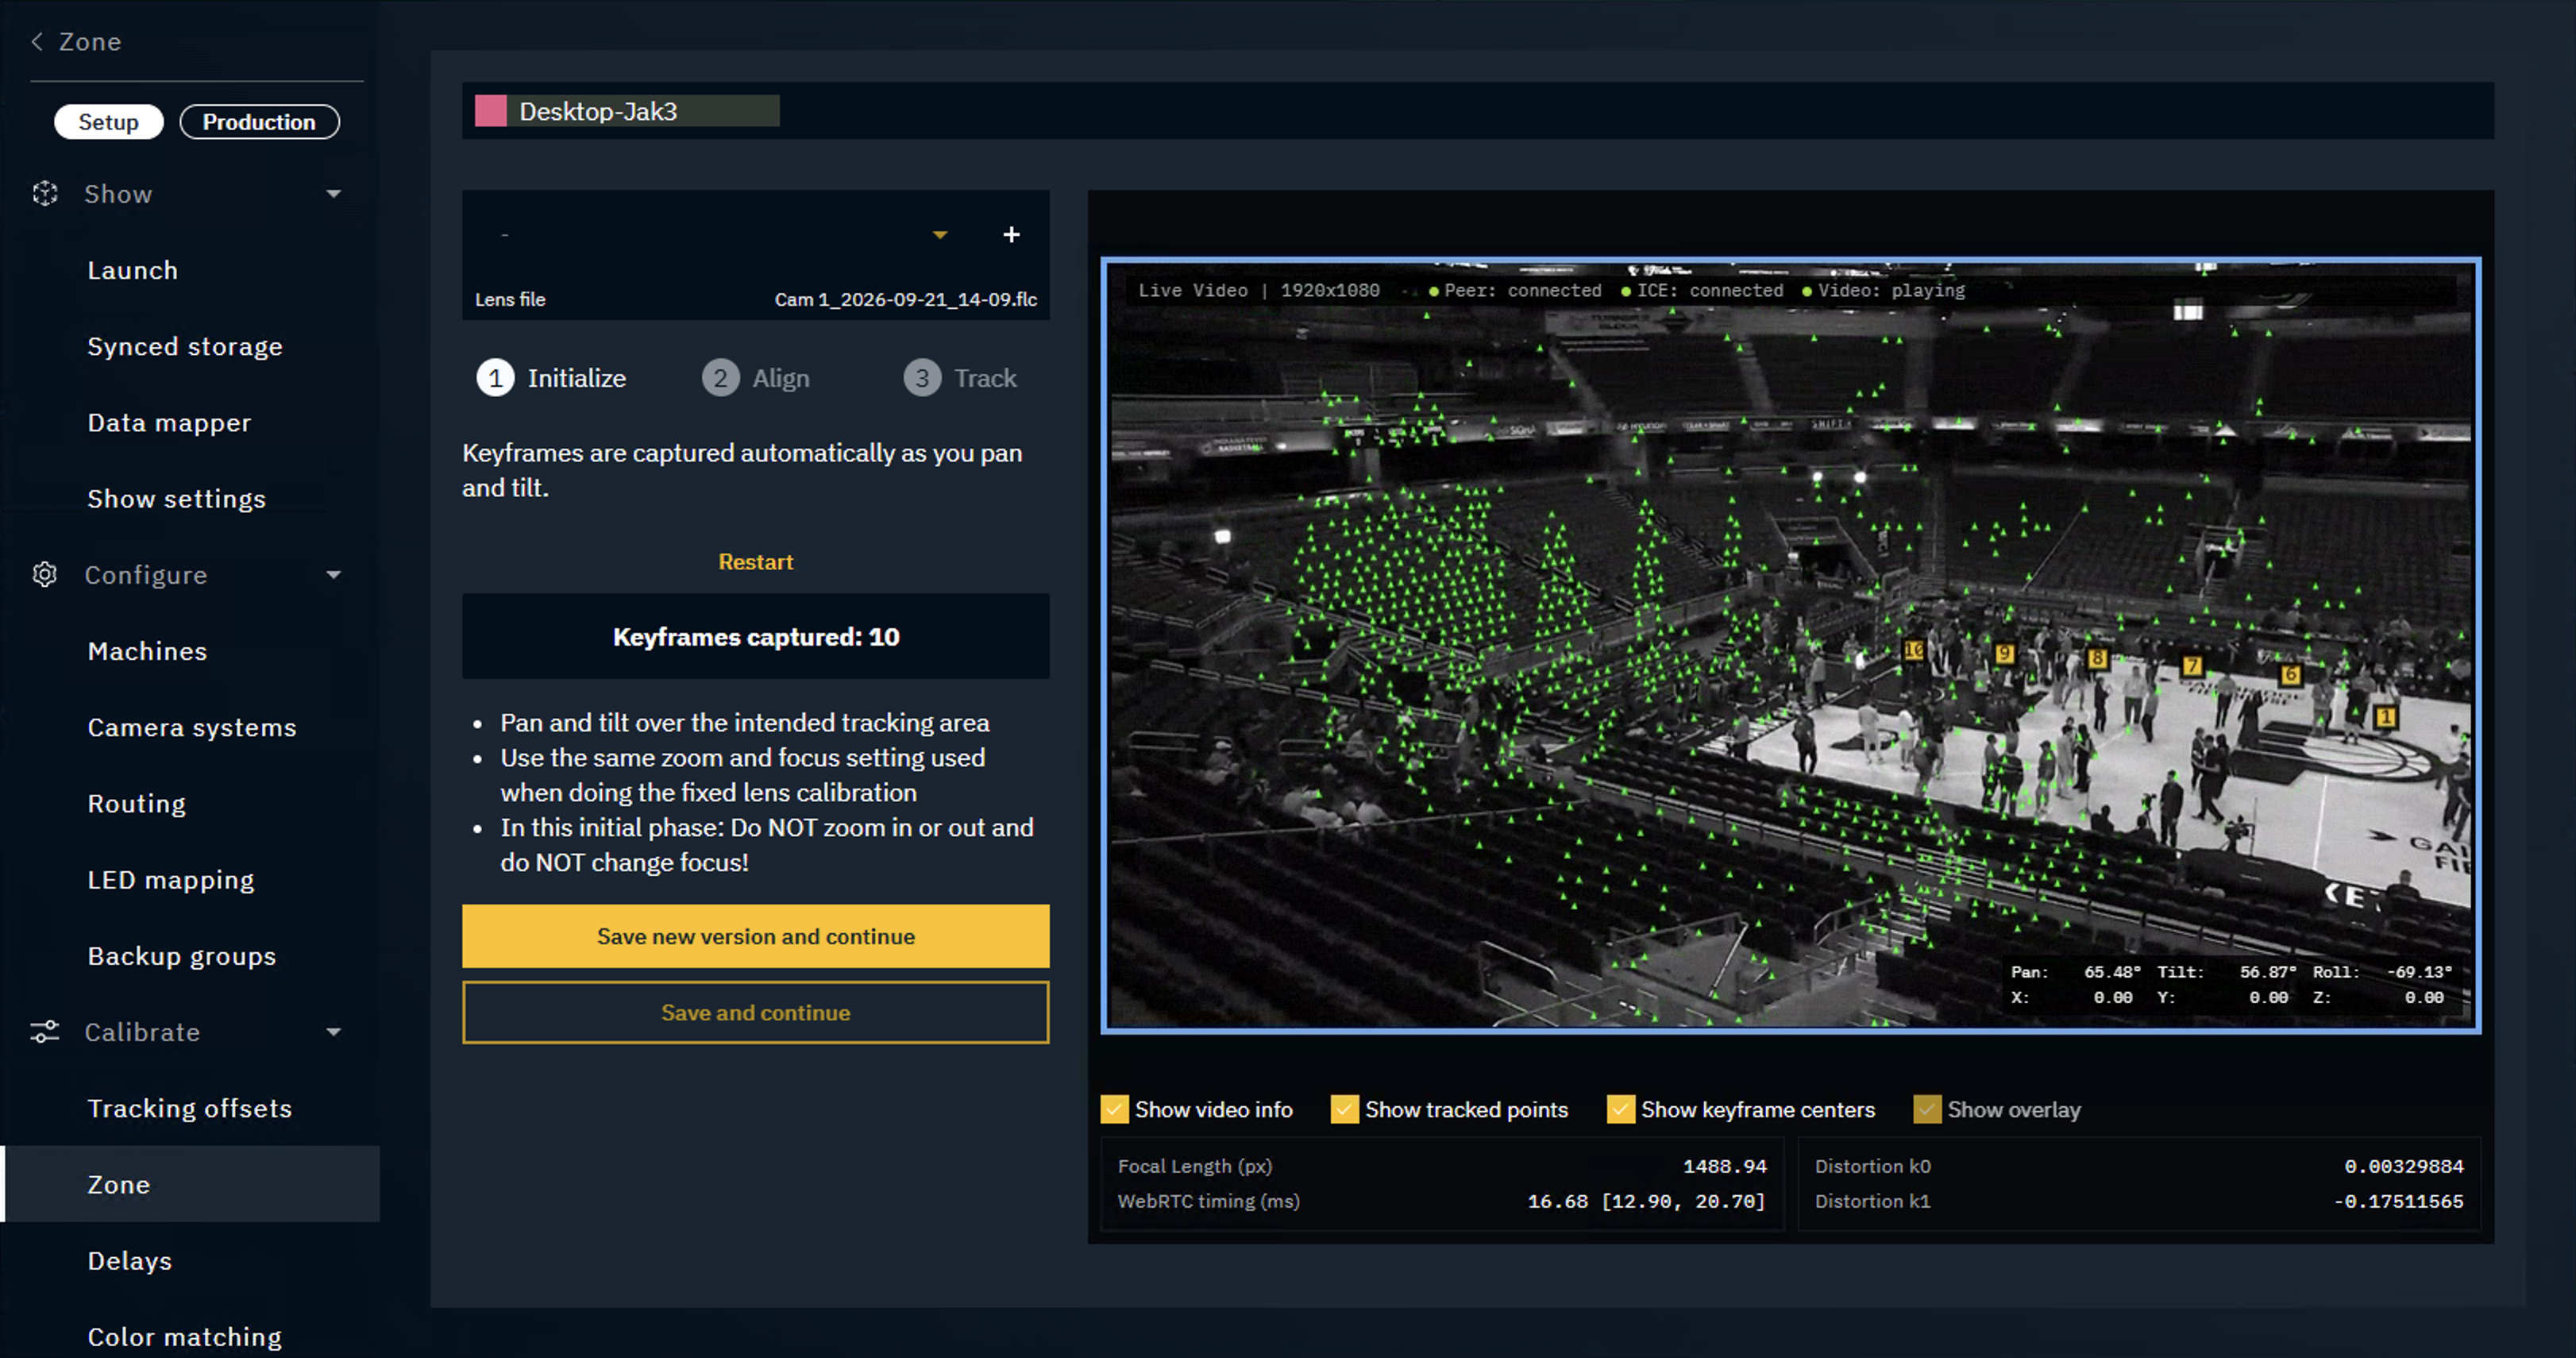
-
Pan and tilt over the intended tracking area
-
Use the same zoom and focus setting used when doing the fixed lens calibration
-
During the Initialize phase
-
Do NOT zoom in or out
-
Do NOT change focus
-
After having created an initial set of keyframes across the playing area
-
Click the "Save new version and continue" button
-
OR if an existing version should be overwritten, click the "Save and continue" button
-
-
The interface advances to the Align step
Zone builds the lens file data into its tracking. Once you've initialized a version, changing the lens file in the Routing panel has no effect. Initialize again to pick up the new file.
Align scene
-
Use the "Select keyframe" slider to select a keyframe showing all corners of the playing area
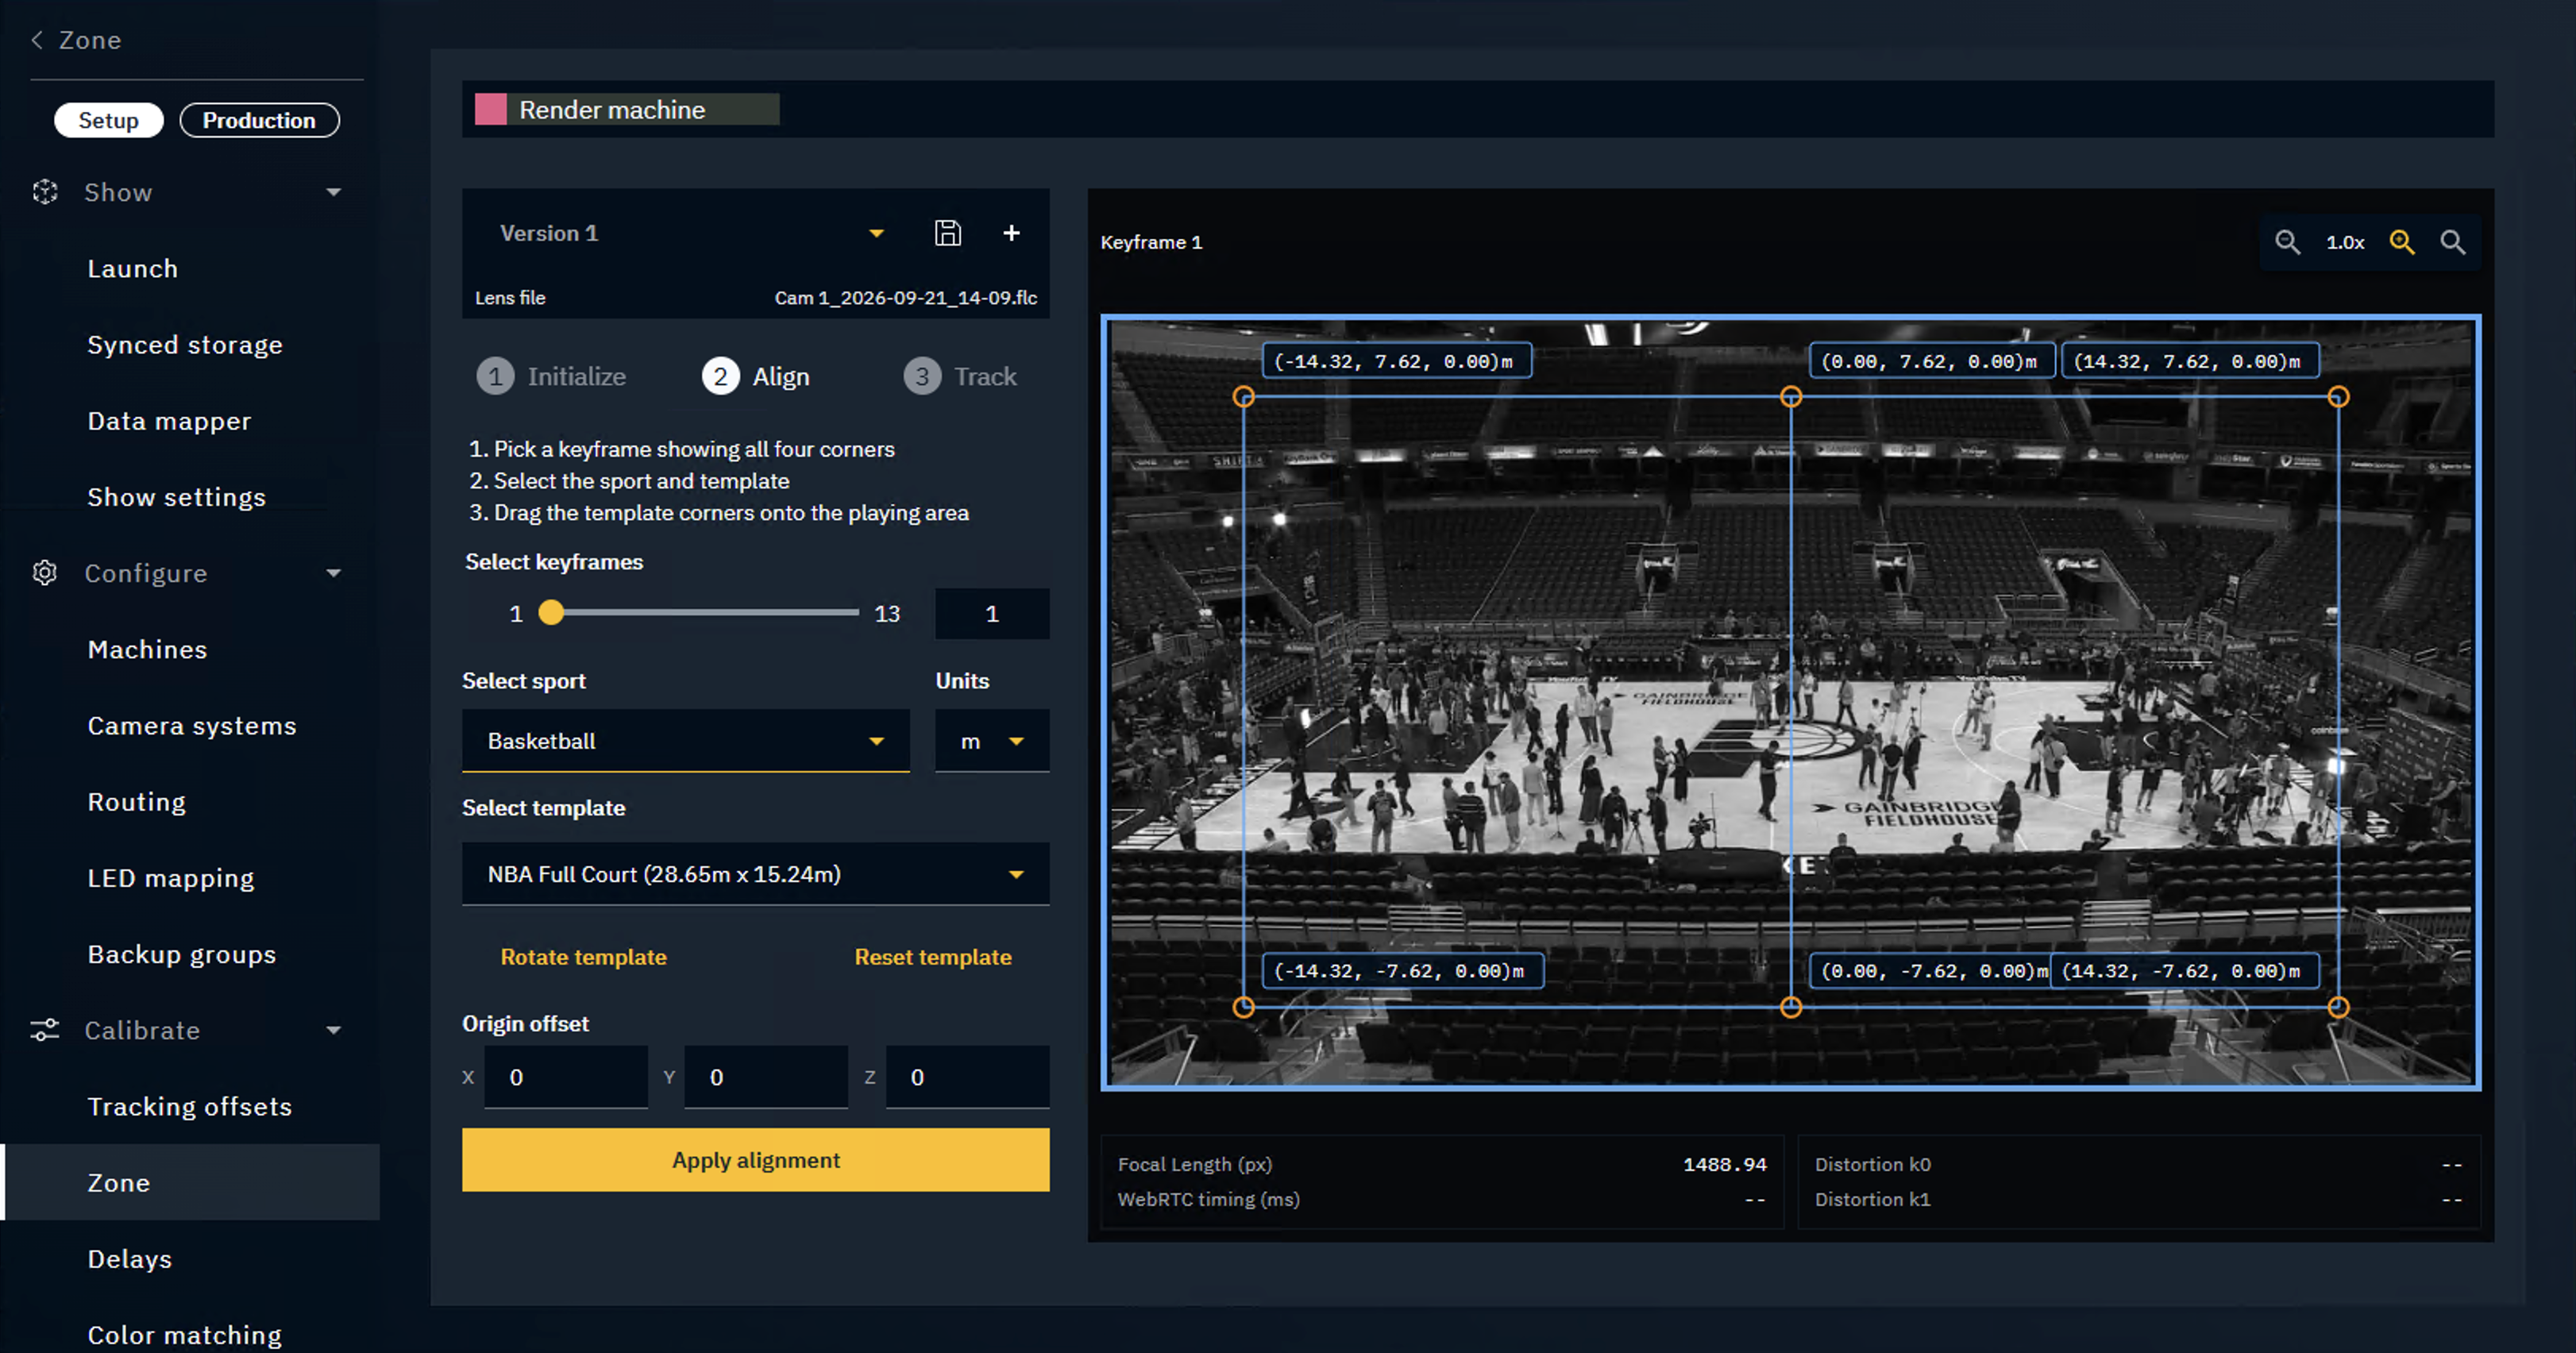
-
Select the sport and the template (playing area’s dimensions)
-
Drag the template corners onto the corners of the playing area
For more accurate placement, zoom in using the scroll wheel or the zoom icons on the top right.
Learn more about our available Zone sports templates
-
Optionally
-
change the unit from Meter to Feet
-
rotate the template
-
offset the origin
-
-
Click "Apply and continue"
-
The interface advances to the Track step
The Reset template button allows you to start alignment from scratch.
Track scene
-
Check the overlaid points which show the corners of the template
-
Click the "Save" icon on the version selector above
OR click the+icon to save a new version
By default, the system continuously extends the scene, adding keyframes as the camera sees new areas. These count as unsaved changes. Save to keep them.
Lock scene
To lock the scene and stop keyframe generation click the "Lock scene" checkbox. Save the version in case this setting should be remembered.
Recover tracking
If tracking was lost, for example after a crash zoom, the system tries to reorient itself automatically. If this fails click the "Recover tracking" button.
Update alignment
-
Click "Align" on the stepper and follow the Align scene instructions above