The START > Storage > Shows panel displays a list of your local shows (show files) and allows you to open and manage shows.
Learn more about Show files - where your SETUP is stored
You can
-
Create new shows
-
Import shows
-
Open shows
-
Rename shows
-
Duplicate shows
-
Open show location
-
Open linked project location
-
Delete shows
-
For Client role: If you are on a client machine, the displayed shows are from the server machine (read-only).
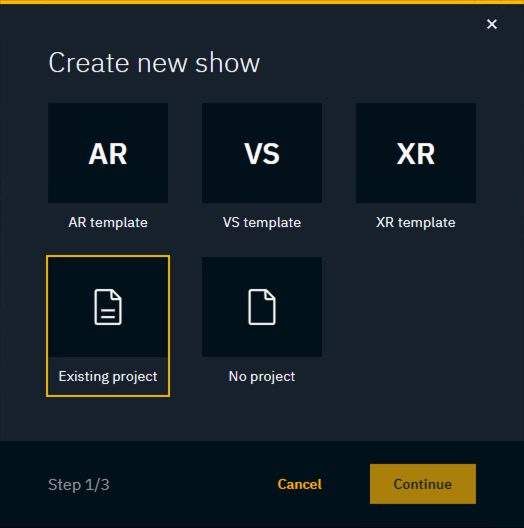
Create new show
Create a show from an existing project
-
Click "Create new show" on START > Storage > Shows
-
Select "Existing project"
-
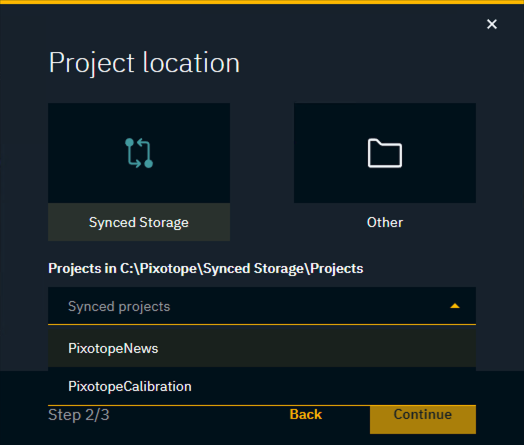
Choose the Project location
-
From synced storage
-
Choose from a list of synced projects (
Synced Storage/Projects)
-
-
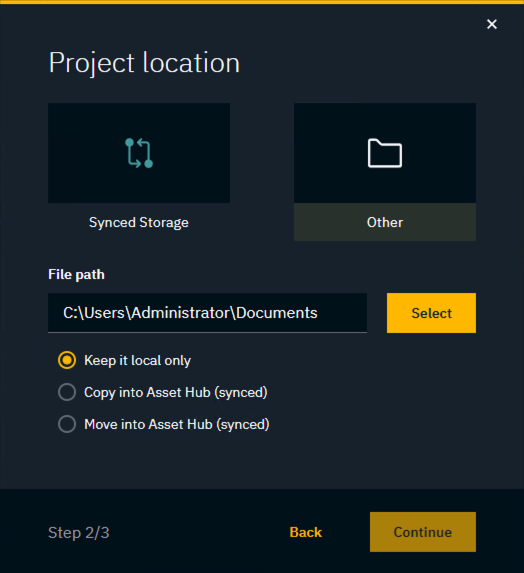
OR from another location
-
Click "Select" and browse to the
.uprojectfile of the project which should be linked -
Choose to
-
Keep it local only to not use Asset Hub for syncing
-
Move or Copy into Synced Storage whether to move or copy the project into
Synced Storage/Projects
-
-
-
-
Name your show and click "Create show"
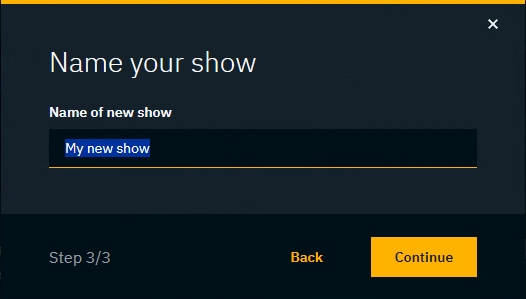
This creates a .pxshow file with a link to the existing project
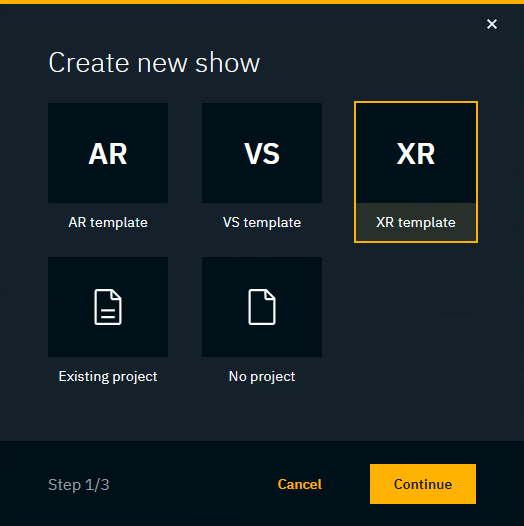
Create a show from a template
-
Click "Create new show" on START > Storage > Shows
-
Select on of the templates (AR, VS or XR)
-
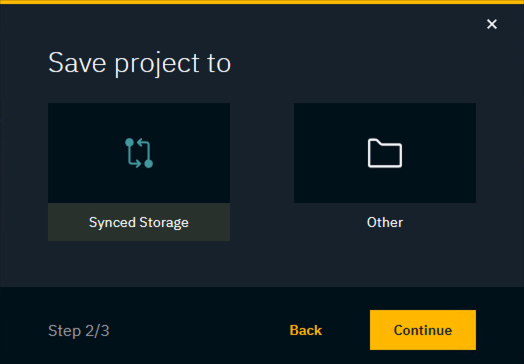
Choose where to save the project to
-
Choose Synced Storage, if your project should be synced
-
Choose Other, if the project should not be synced
-
Click "Select" and select the location where the new project should be created
-
-
-
Name your show and click "Create show"
This creates
-
a new project (folder) in
Synced Storage/Projects-
using a project name complying to the Unreal engine naming restriction
-
-
a
.pxshowfile with a link to the new project
Create a show without a project
This can be useful
-
when the Client machine has the original project
-
if you want to create a show with your own default settings
Of course you can always also remove all linked projects from an existing show.
To create a show without a project
-
Click "Create new show" on START > Storage > Shows
-
Select "No project"
-
Name your show and click "Create show"
This creates a .pxshow file without a linked project
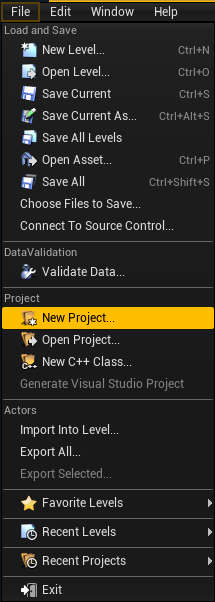
Alternative method of creating a project
From the "File" menu in the Editor
-
Choose "New Project"
-
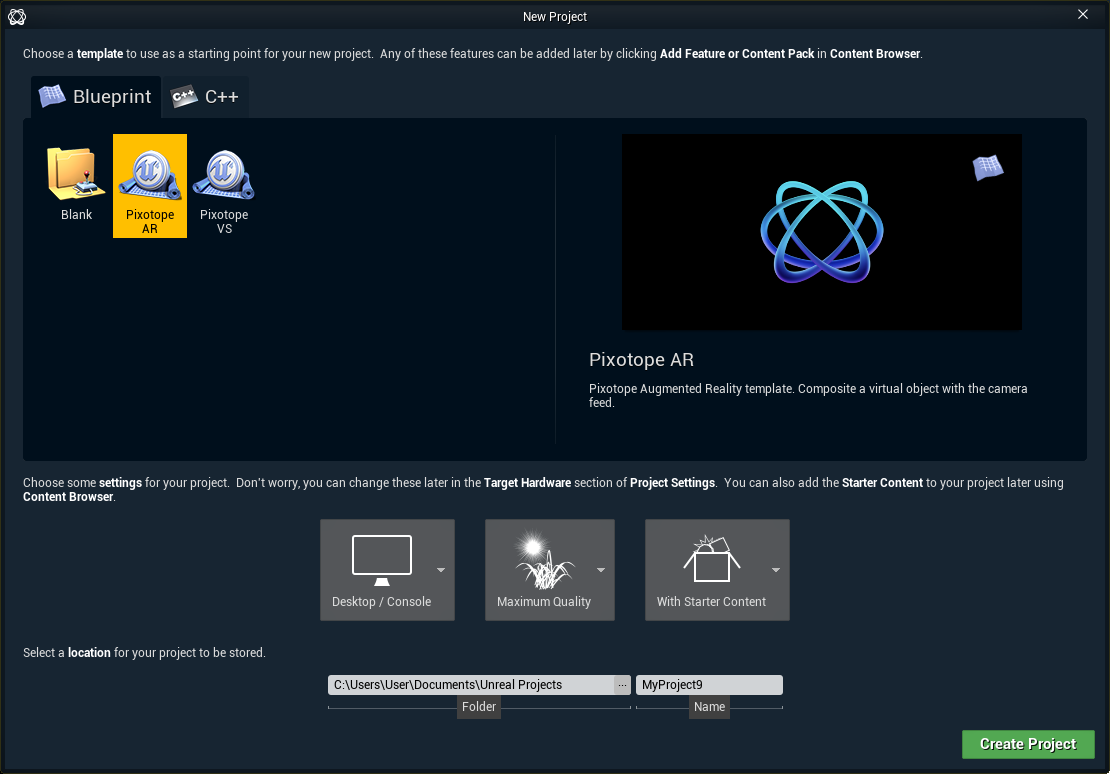
Choose the "Blueprint" tab
-
Choose a "Blank" project
-
Choose "Desktop/Console"
-
Choose "Maximum Quality"
-
Decide whether or not you want to include the starter content
-
Make sure the folder path is part of your Pixotope projects folder paths
-
Choose an appropriate name
-
Click "Create Project"
-
Next steps: See Create a show from an existing project above
Import show file
To import a show file to your local storage, manually copy the show file into [Installation folder]\Local storage\Show files
Open a show
-
Hover over the show you want to open and click "Open show"
For Server role: When a new show is opened, the show setup is loaded on all clients.
Rename, duplicate or delete a show
-
Hover over the overflow menu (3 dots) to the right
-
Select one of the options
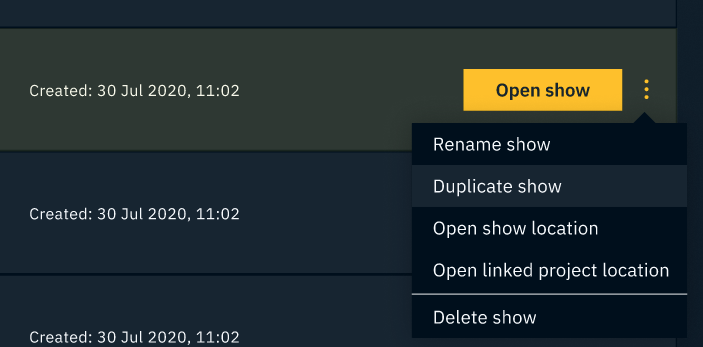
Rename show
Renames the show file.
NB: Cannot be performed on an open show.
Windows file name restrictions apply → https://docs.microsoft.com/en-us/windows/win32/fileio/naming-a-file
Duplicate show
Duplicates the show file.
Delete show
Deletes the show file.
NB: Cannot be performed on an open show.
Open show location
Opens a file explorer with the show file selected.
Open linked project location
Opens a file explorer with the .uproject file of the linked project selected.
Next steps
Continue to