Intro
The LED mapping panel is where you
-
Create and manage all digital twins of the current show
-
Create mappings about which tile is output where
-
to recreate the setup of your LED processor(s)
-
OR to define it here and then recreate that on the LED processors side
-
-
Define how 2D media elements will be projected across one or more bodies
-
Create your LED volume for manual twins and video walls to reflect your physical setup
LED volumes are not always created here. Bodies for Tracking Twins are generated in Pixotope Tracking, and Manual Twin bodies using Spline, Cube, or Single (with curvature) presets are created in Pixotope Editor. Once those bodies exist, come back here to create mappings and optionally set up 2D media.
Learn more about how to Create a Tracking Twin or a Manual Twin
Learn more about XR terminology
Create digital twin
-
Go to the LED mapping panel
-
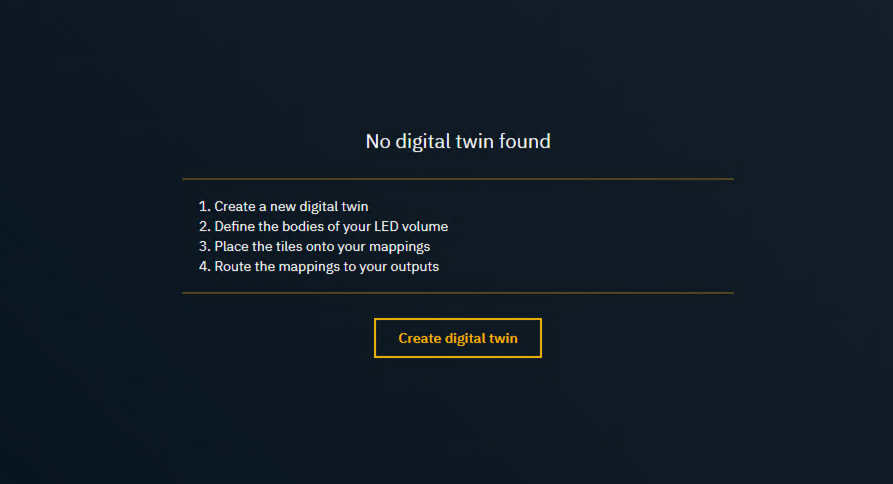
If there are no digital twins in this show
-
Click "Create digital twin"
-
Add digital twin
-
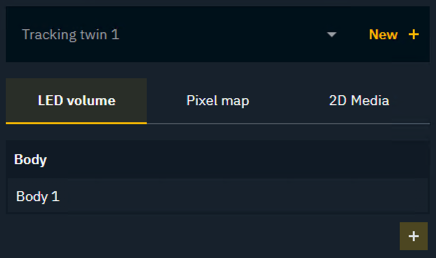
Click "New +" on the top right corner of the LED mapping panel
Manage multiple digital twins
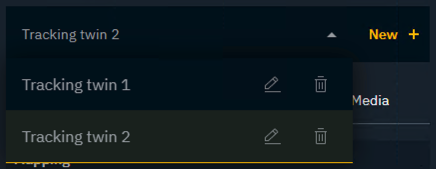
Switch active digital twin
-
Click on the digital twin drop down on the top right
-
Select another digital twin
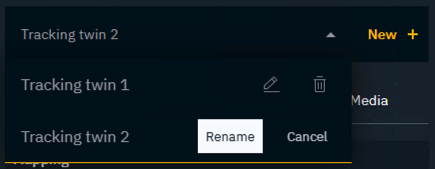
Rename digital twin
-
Open the digital twin drop down on the top right
-
Click on the
Editicon of the one to rename -
Change the name
-
Hit
Enterand confirm by clicking "Rename" or "Cancel" to discard the change
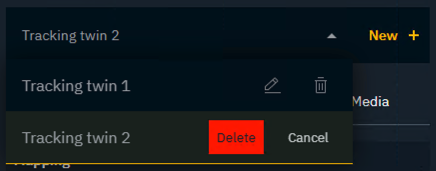
Delete digital twin
-
Open the digital twin drop down on the top right
-
Click on the
Deleteicon of the one to delete -
Click "Delete" to confirm or cancel the action
Configure LED volume
Create bodies
This section applies to video walls and simple manual twins only.
Bodies for Tracking Twins and Manual Twins with 3D presets (Spline, Cube, Single with curvature) cannot be modified here. They are created in their respective tools.
Learn more about how to Create a Tracking Twin or a Manual Twin
-
Switch to the LED volume tab
-
Click the
+icon on the bottom right of the list of bodies
Rename body
-
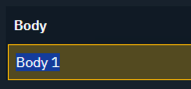
Double click the body name
-
Change its name and press
Enter
Update body configuration
-
Select a body
-
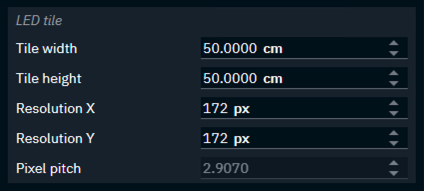
Set the LED tile dimensions
-
Modify the rows and columns of the body
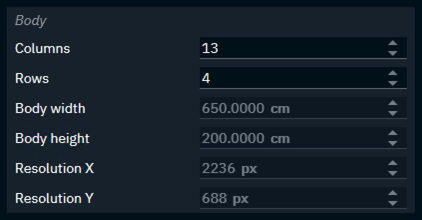
The placement on the canvas is only important when using 2D media (see below).
Having tiles with non-square pixels?
Use the Canvas > Width/Height to compensate for it.
Create mappings
Learn more about how to Create mappings
Configure 2D media
Learn more about how to Playback 2D media on the LED wall