Pixotope supports adding multiple additional video feeds as textures in your scene. You can for example, create virtual TV walls, monitors, or screens. Sources can be live media inputs routed through Director, or local files (images and video) played back directly from disk.
Using Media Inputs
-
Learn how to use Media inputs to set up virtual monitors and other video feeds for your scene
Setup in Director
To access Media inputs inside the Editor, they must be configured in Director:
-
Route a Media input in SETUP > Configure > Routing
Learn more about Setting up a show
Preview in Editor
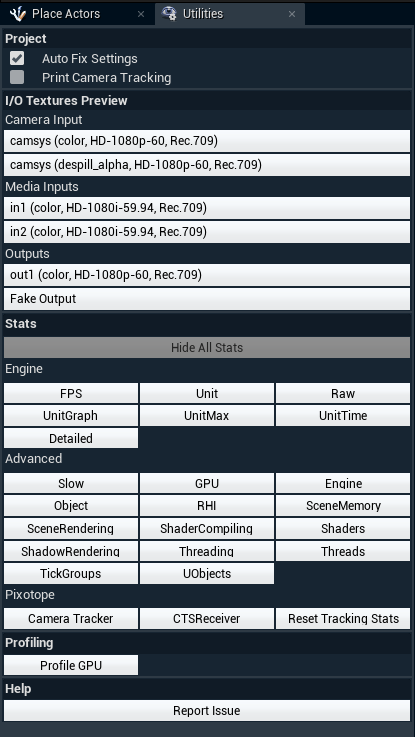
When correctly configured, the Media inputs can be previewed using the "Utilities" panel.
Add a Media Input actor
-
Add a Media Input Actor
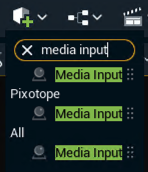
Learn more about how to Place Actors
Choose source type
-
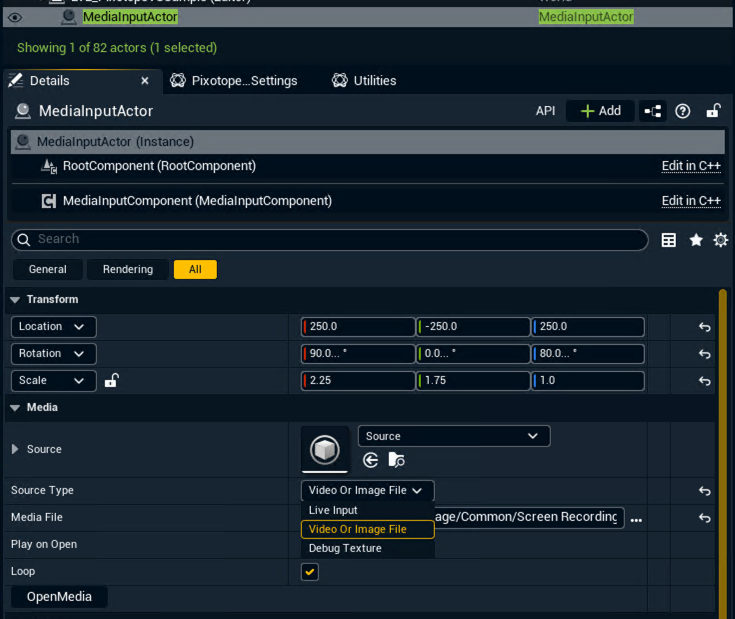
Select the “MediaInputActor” in the Outliner
-
-
Choose the Source Type in the Details panel (Media section)
-
Live input
-
Video Or Image File
-
Debug Texture
-
Route texture
Live input
-
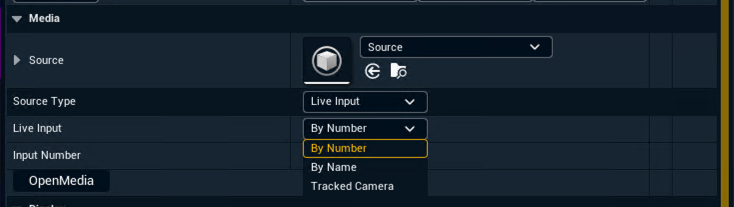
Choose how to select the media input
-
By name - uses the Media input name
-
By number - zero based index
-
Routed Media inputs are ordered alphabetically
-
-
Tracked Camera - uses the feed of the tracked camera
-
-
Select the Input name/Input number
-
Optionally change additional options
Video Or Image File
-
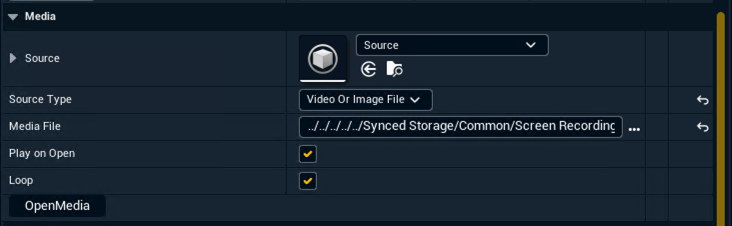
Browse for a file or enter a full path into Media File
-
Videos - MP4, MOV, MKV
-
Images - PNG, JPG, BMP, EXR
-
-
Click the "OpenMedia" button
-
The video starts playing unless Play on Open is disabled
-
The video starts again when it reaches the end, unless Loop is disabled
-
-
Use the "Play" and "Pause" buttons to check the video
Enter the full path to the file. Path aliases like %SYNCED_STORAGE% are not supported here.
To play, pause, seek or load a different file while the show is running, use the functions inside a blueprint or the Control panel. See Use in blueprints or Control Panel below.
Debug Texture
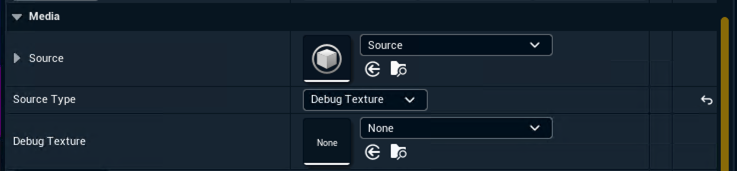
Select a texture that is an asset in your project from the Content Drawer
Adjust the appearance
The remaining sections of the Details panel control how the picture looks in your scene.
Display
-
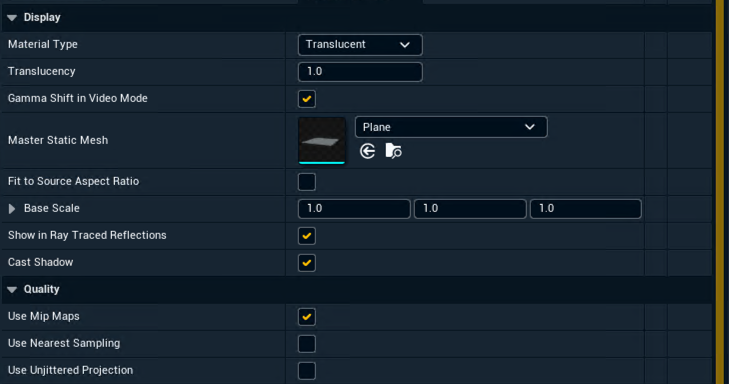
Master Static Mesh - the shape the picture is shown on. A flat plane by default.
-
Fit To Source Aspect Ratio - stretches the shape so the picture is not squashed. Use this instead of resizing the shape by hand every time the source changes.
-
Base Scale - the size of the shape before the picture's proportions are applied
-
Show In Ray Traced Reflections - shows the picture in ray traced reflections. Enabled by default.
-
Cast Shadow - lets the picture cast a shadow. Enabled by default.
-
Material Type - how the picture is blended into the scene
-
Translucent - see-through
-
Masked - cut-out
-
Opaque - solid
-
-
Translucency - how solid the picture is, from 0 to 1. Only used with the Translucent material type.
-
Gamma shift in Video Mode – in Video mode the picture is affected by the Unreal Engine filmic tonemapper (unless moved past post-processing). Enabling this option compensates for this so that the resulting output is in the correct gamma space. Enabled by default.
Quality
-
Use Mip Maps - gives a blurrier but less "grainy" result at long distances. Enabled by default.
-
Use Nearest Sampling - keeps the pixels sharp instead of blending them. Useful for pixel art and test patterns. Disabled by default.
-
Use Unjittered Projection - holds the picture steady and gives a much sharper result. It only works correctly on flat or almost flat surfaces, and it does not work with TSR or DLSS. Disabled by default.
And in World settings:
-
Move Media Inputs Past Tonemapping will make media inputs unaffected by post-processing and tonemapping. This requires them to have Use Unjittered Projection enabled.
Show a picture on your own mesh
To use a shape of your own instead of the actor's plane:
-
Add a Media Input component to your actor
-
Choose the source type and route the texture as described above
-
In the "Target Mesh" section, expand "Advanced" if your actor has more than one mesh
-
Mesh Tag - which mesh to show the picture on. Leave empty to use the first one found.
-
Material Index - which material slot on that mesh to replace
-
-
Click "Add Reflected Mesh" or "Add Caster Mesh" to let the picture appear in ray traced reflections or cast a shadow
-
The Media Input actor already does this for you. You only need these buttons on your own actor.
-
To drive your own material instead, use Get Texture in a blueprint.
Use in Control Panel
All the settings listed above can be read and set from a Control Panel.
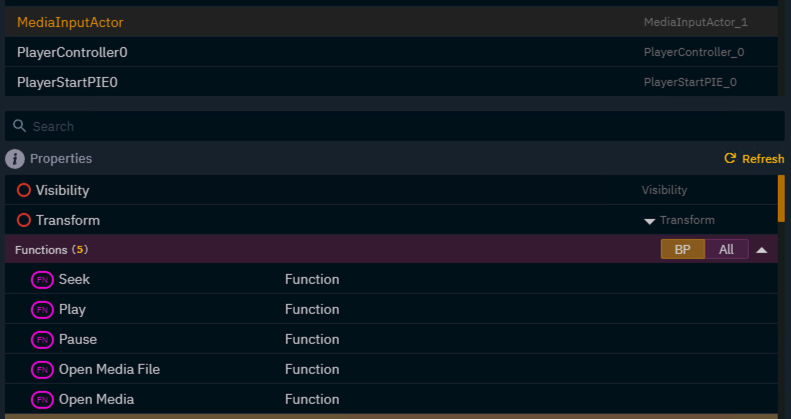
The Media Input actor's functions can also be assigned to a Control panel widget. Available functions:
-
Open Media - reloads the current file from disk
-
Open Media File - shows a different file, given its full path
-
Play - resumes a paused video
-
Pause - pauses the video on the current frame
-
Seek - jumps to a position in the video, in seconds from the start
The Seek function only works in PIE/Live, not in WYSIWYG
A common use is letting an operator choose a file during a show. Take the path from a text field in your Control panel and pass it to the Media File property.
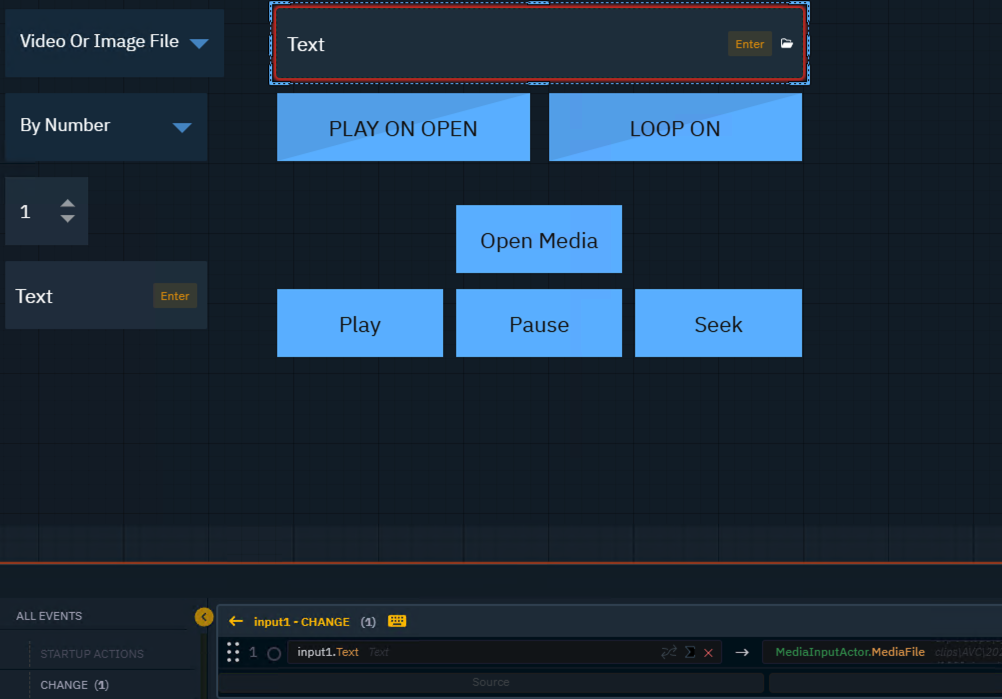
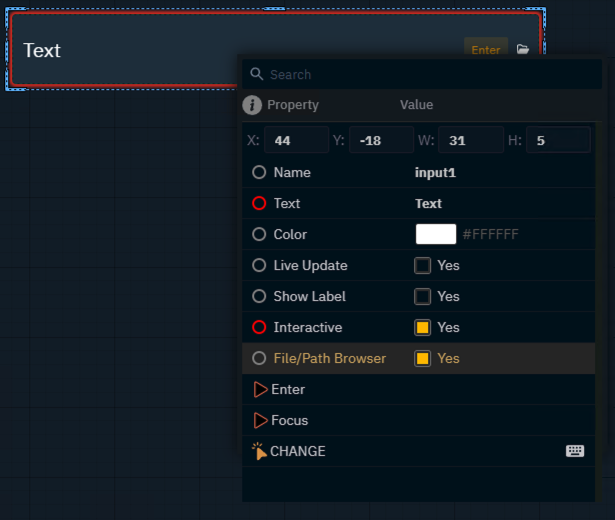
Enable the File/Path Browser property in a Text Input widget to get direct access to the Windows file browser and select the file. This will return the path to the file and send it to the Media File property in the scene.
Learn more about how to Add widgets and actions.
Use in Blueprints
All the properties and functions listed above are also available from a custom blueprint:
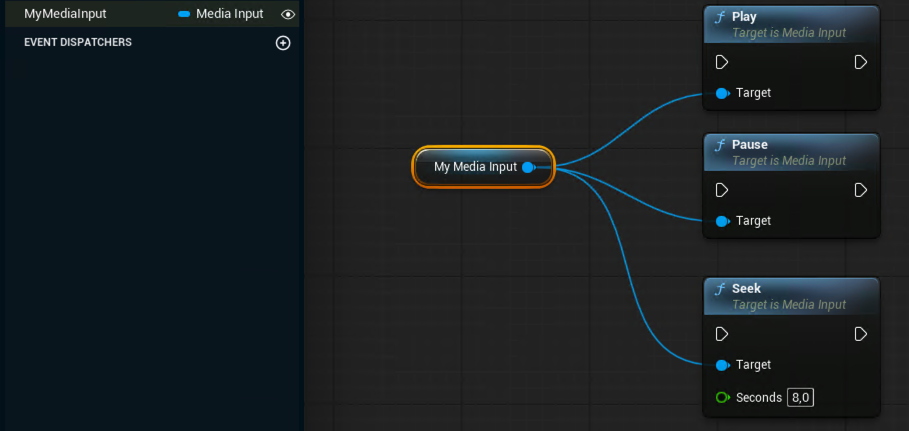
Reading the picture in a blueprint
Get Texture and Get Resolution belong to the media source. Call Get Media Source on the actor first, then call them on the result.
-
Get Texture - the picture being shown right now
-
Get Resolution - the size of the picture, in pixels
Reacting to a new picture
There is no blueprint event for when the picture changes. Enable Fit To Source Aspect Ratio on the actor to have the plane resize automatically.