Create new show
-
Click "Create new show" button on the Start > Storage > Shows panel
-
Select the Video wall template
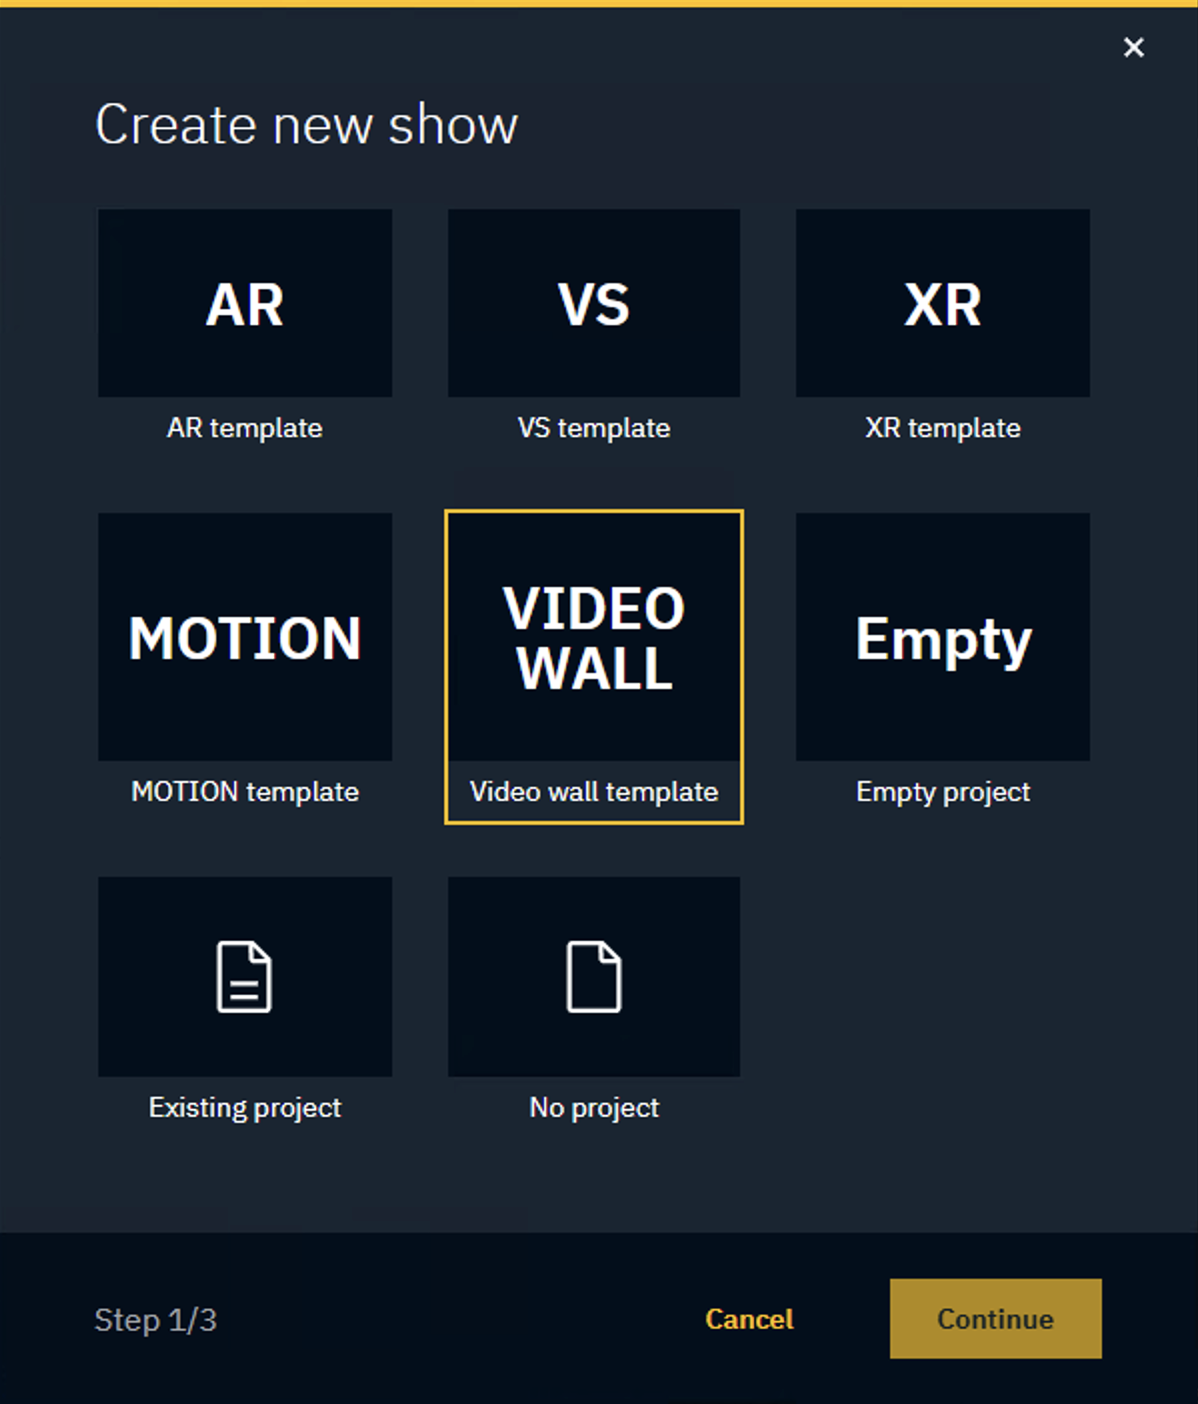
This creates a show file with a Video wall template project linked.
Use this template level for video wall-only setups. Combining a video wall with an XR 3D scene requires the XR template level.
Video wall project checklist
Launch the Video wall level
-
Click "Launch LIVE" on the LVL_VideoWall level in the Launch panel

Create bodies
Learn more about how to Configure LED mapping
For a video wall solution without support for XR there is no need to align the bodies and LED tiles in 3D space.
Create and route mappings
Learn more about how to Create mappings
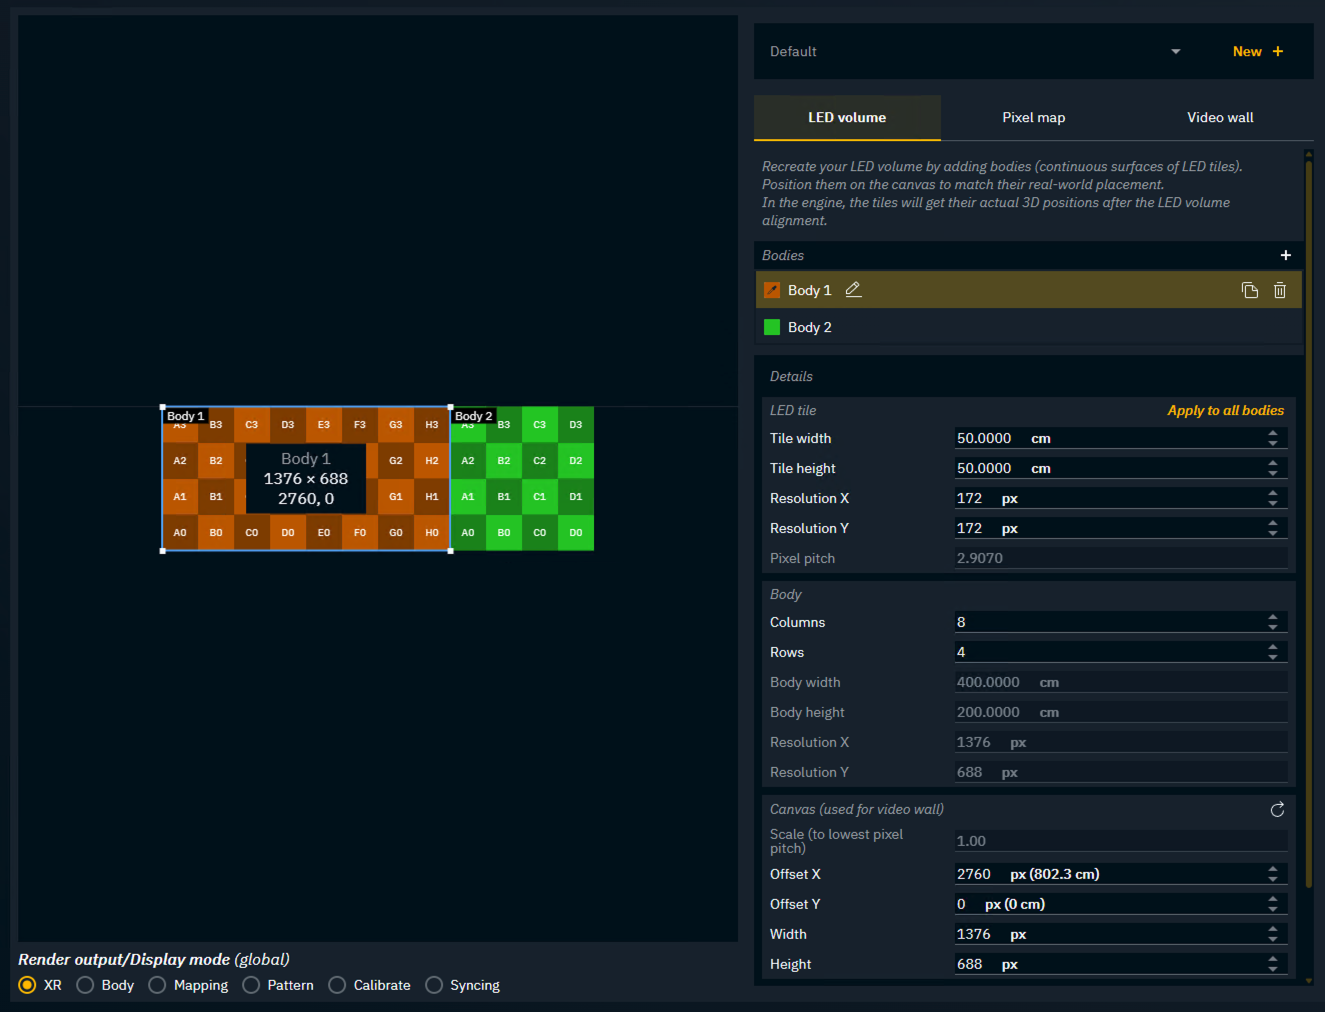
Arrange bodies on canvas
For the video wall to map across bodies, the bodies need to be arranged in a way the 2D content should be projected onto them.
-
Switch to the "LED volume" tab in the LED mapping panel
-
Select each body and arrange it on the canvas in a way it reflects how the video wall should map across bodies
Create video wall layout
The Video wall building blocks are
-
Layout - an arrangement of slots
-
Slot - a placeholder for content like Media input, Media file, Texture and Motion Design levels
Add layout
-
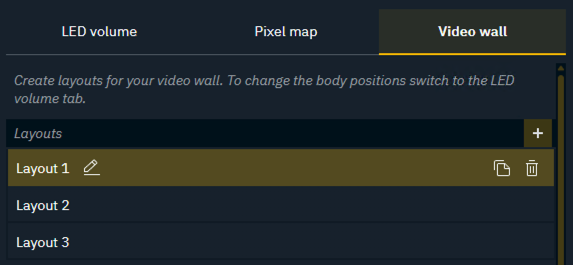
Switch to the "Video wall" tab in the LED mapping panel
-
A first layout already exists
-
To create more, click the
+icon in the Layouts section
Add slot
-
In the Slots section, click the
+icon -
A new slot is added and selected
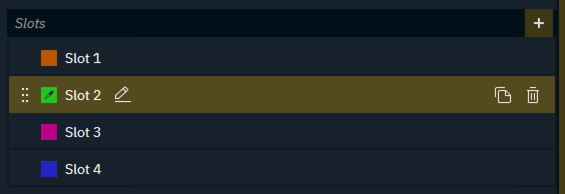
Order slots
-
Drag the slot in the Slots list to change their render order
Slots further up the list are rendered above.
Other common actions
|
Action |
How |
|---|---|
|
Rename |
Click the Edit icon or double-click the name. Edit it and press |
|
Change display color |
Click the color swatch. Edit the color, then click outside. |
|
Duplicate |
Click the Duplicate icon on the right side of the item. Duplicating a Layout also duplicates all its slots. |
|
Delete |
Click the Delete icon on the right side of the item, then confirm. Deleting a Layout also deletes all its slots. |
Set source
-
Select a Source type
-
Select a Source
|
Source type |
Source |
Options |
|
Media input |
Routed input media |
List of unique input names. Any machine that should play this Slots media input needs to have an input with that name routed. Learn more about how to Configure routing |
|
Media file |
Image or video file |
List of supported image and video files in the browsed folder. Video files start playing right away. The following options can be controlled:
Learn more about Supported media formats Make sure the same Media file exists on that path on all render engines targeted by the Slot. Learn more about how to Sync projects and other files in Synced storage |
|
Texture |
Texture |
List of available textures and render targets. The level needs to be running, to see a list of available textures. If it is not running, the texture name can be filled in manually. |
|
Motion design |
Motion design level |
Make sure to disable Enable Motion Design Overlay in Pixotope World Settings. |
Adjust slot on wall
-
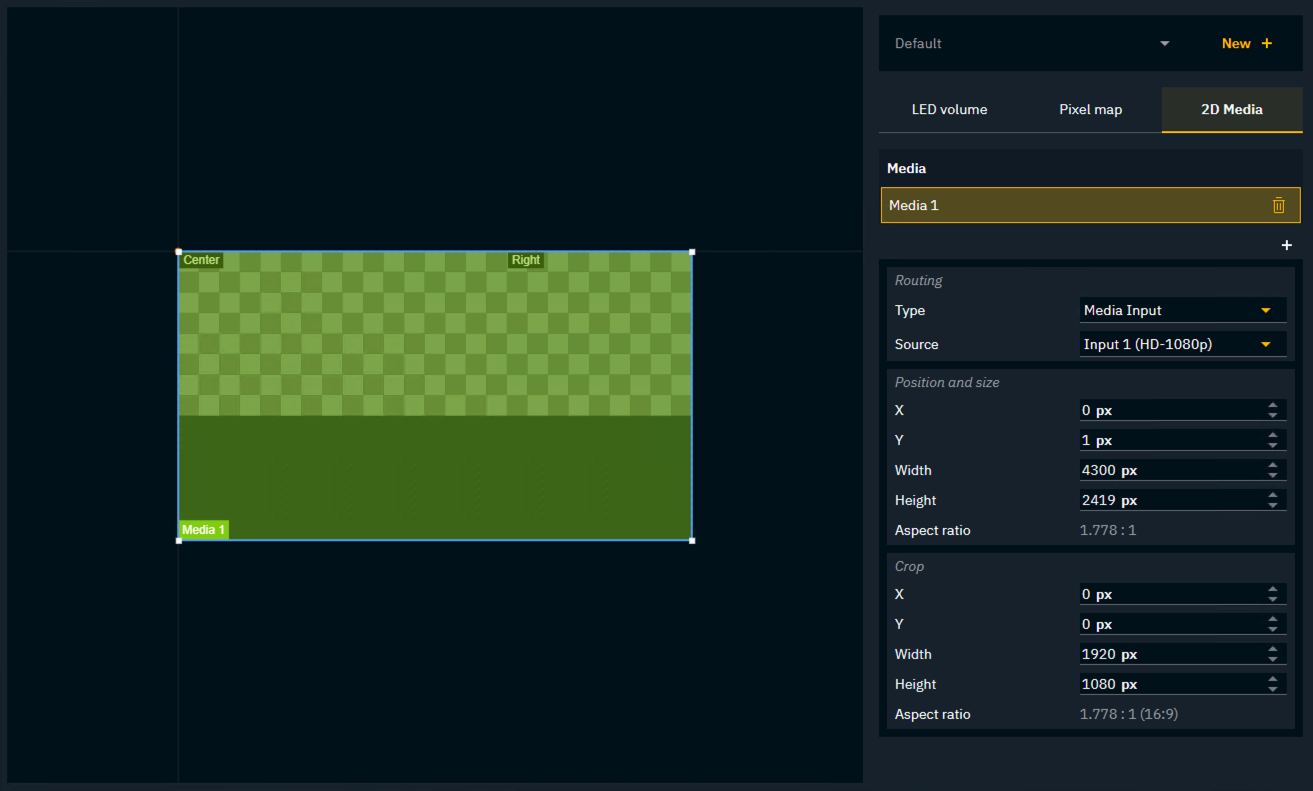
Position and scale the Slot using
-
the mouse on the canvas
-
OR the input fields to the right
-
OR the arrow keys (
ArrowKey: 1px,Shift+ArrowKey: 10px)
-
Use the Match source button to reset the width and height back to the one from the source.
Not all source types support reading the source resolution.
Hide slot
-
Uncheck Enable to hide the slot from being rendered
Adjust source framing
-
Select how the Source should fit inside the slot
-
Optional
-
set where the Source is anchored inside the slot
-
flip the image horizontally or vertically
-
|
Option |
Description |
|
|---|---|---|
|
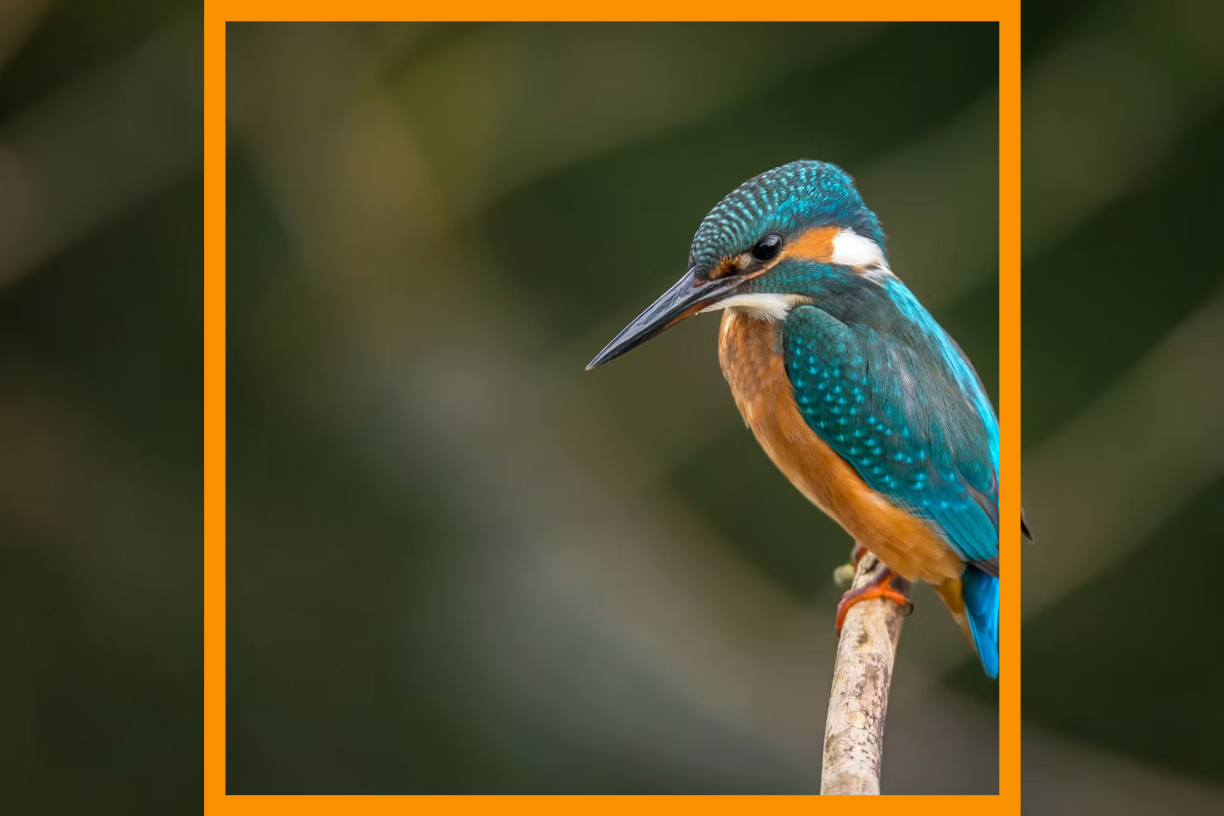
Cover* |
Scales the Source until it fills the whole slot, keeping its aspect ratio and cropping whatever falls outside. |
|
|
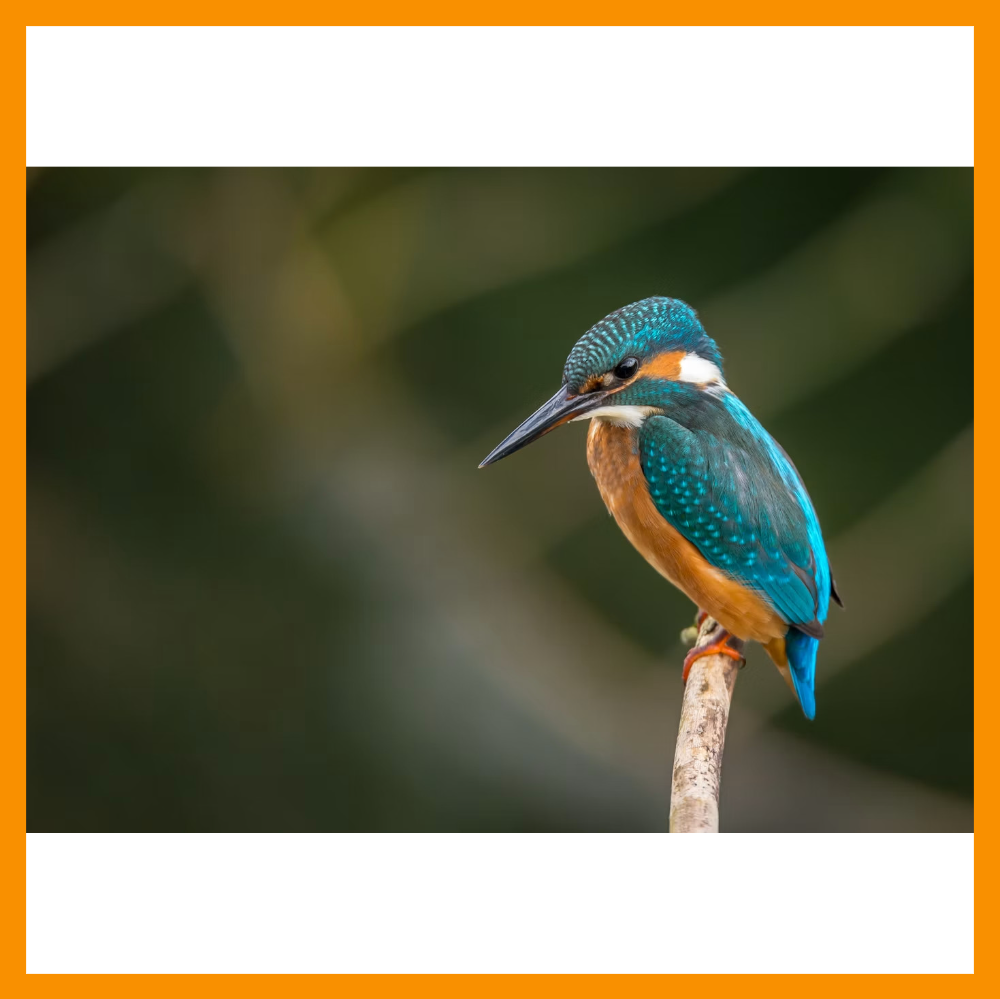
Contain* |
Scales the Source until it fits entirely inside the slot, keeping its aspect ratio and leaving transparent space along the shorter sides. |
|
|
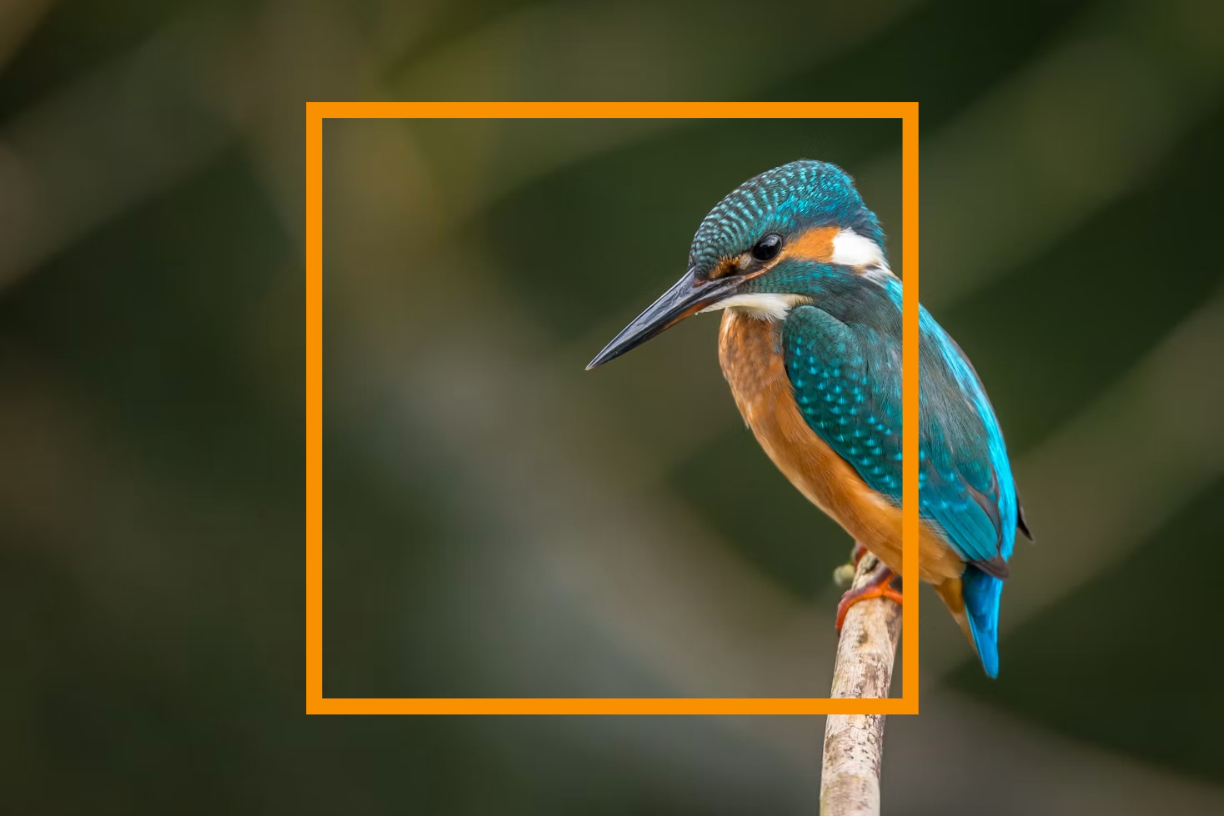
Real size* |
Shows the Source at its original pixel size, cropping it if it is larger than the slot and leaving transparent space if it is smaller. |
|
|
Stretch |
Scales the Source to fill the slot exactly. Distorts the Source if its aspect ratio differs from the slot's. |

|
|
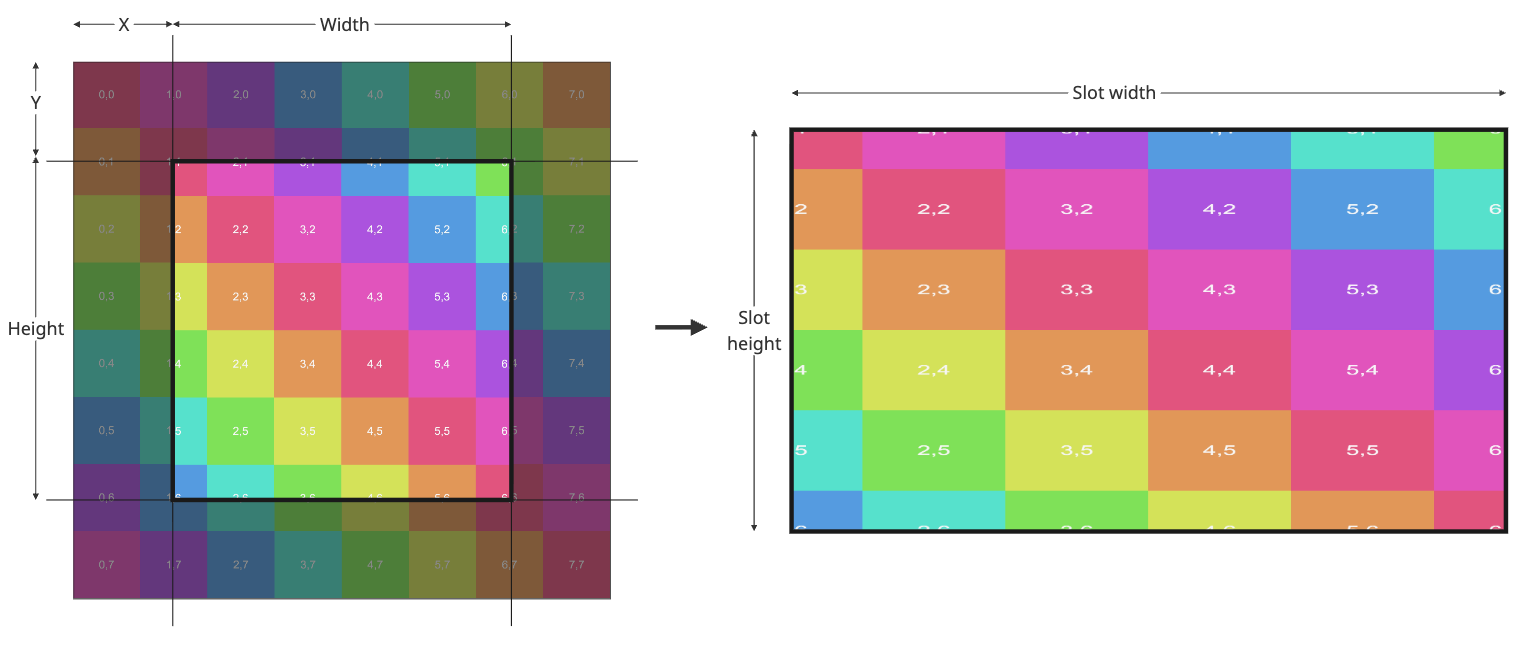
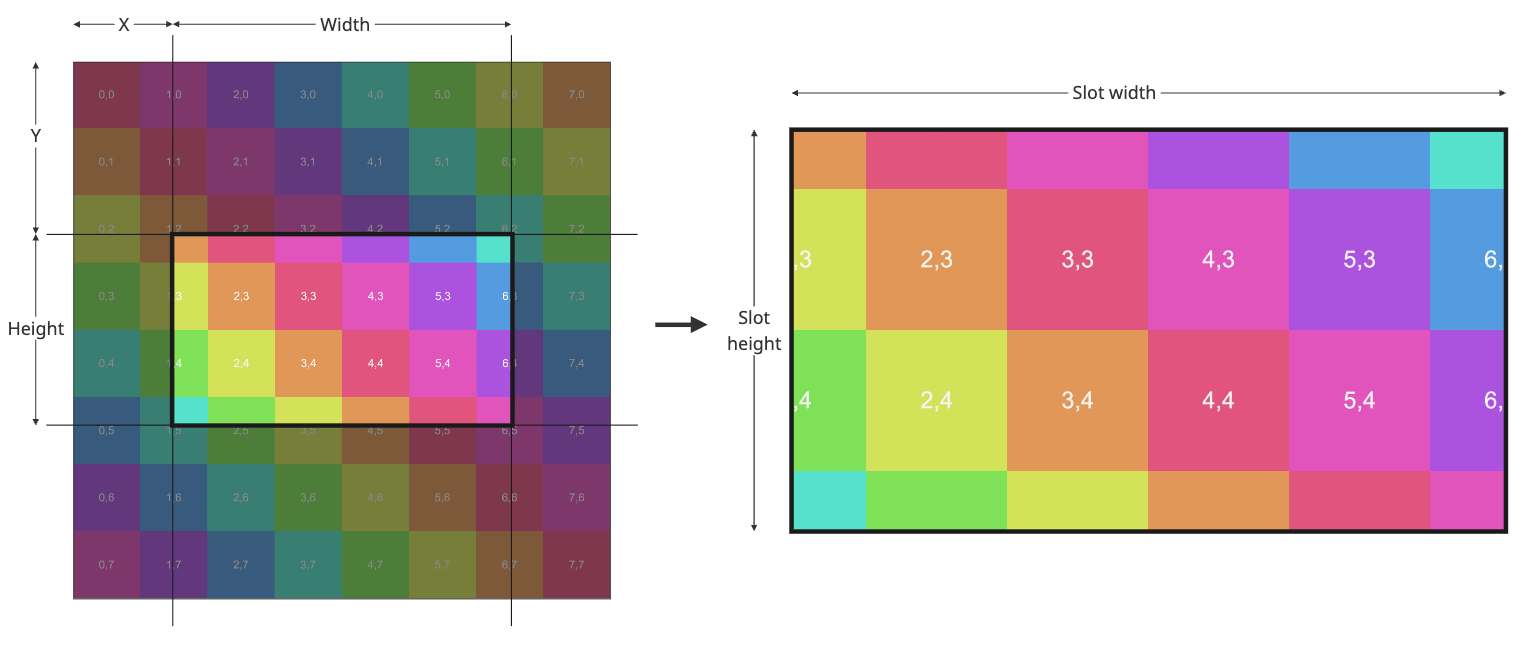
Custom |
Lets you define which rectangular area of the Source is shown.
|
|
* Lets you specify where to anchor the Source on the Slot
Use the Match source button to reset the width and height back to the one from the Source.
Note: Not all Source types support reading the Source resolution.
Set source transition
|
Option |
Description |
|---|---|
|
Cut |
Switches to the new content on the next frame, with no in-between. |
|
Fade |
Blends from the old content to the new one over a Duration that can be specified. |
|
Wipe |
Reveals the new content based on the selected Wipe source which is another slot.
When using a Media file as a Wipe source, enable its Reset checkbox. This way the mask clip is played from start when the transition is triggered. |
Advanced
When combining XR projected 3D content with video wall 2D media, the 2D media is, by default, rendered on top of the XR projected 3D content.
It is however possible to mark a video wall slot to be rendered behind the 3D content. This slot is then rendered to the wall only outside the camera frustum:
-
In Pixotope World Settings > XR set Outside Camera View to Render Color and enable Allow XR Media Below frustum.
-
In Pixotope Editor > Digital Twin XR > 4. 2D Media, set your Videowall Slot Object to be Before Walls
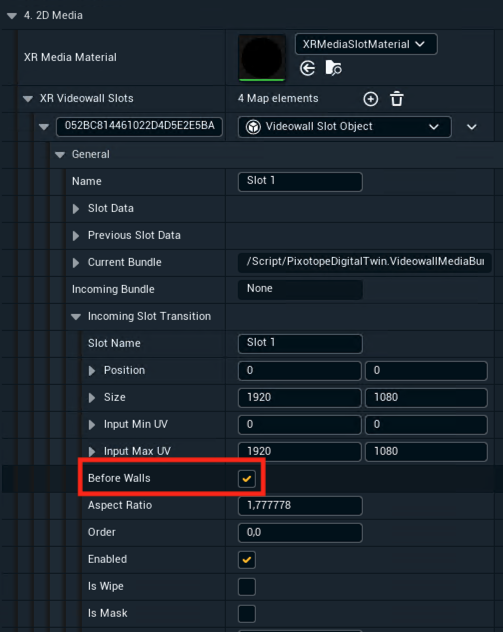
This is set per Slot and disabled by default.
Trigger content and layout changes
Changing content can be triggered from the control panel or the API by
-
changing the source of a single Slot in the active layout
-
changing to a different layout
Both play transitions if the old and new Slots have the same name. The actual switch happens after the incoming content has been prepared.
Learn more about How Video wall transitions are timed
Change content of a single slot
To change a single Slot, change the Source or Source type of a Slot in the active layout.
If the sources to transition between are from different types, one can just change the Source type as each Source type keeps its own Source value. This allows one to preconfigure sources of different types.
Change to a different layout
When you switch Layouts, the incoming Layout controls how the transition looks. Matching slot names transition from old to new content; others fade from or to transparent.
|
Do slot names match |
Transition |
|---|---|
|
Yes |
The transition which was set on the incoming slot defines how to transition from outgoing to the incoming Slot. Matching slots need to have the same position and size! If they differ, the slot jumps to its new rectangle at the start of the transition, then the transition plays. When renaming a Slot remember to also rename its matching slot in the other layout. |
|
No |
|
Trigger change from the Control panel
-
Go to the Launch panel in Director
-
Click the "Open control panel" button on the top right
-
Select PX - Control video wall
-
Click "Launch LIVE"
Learn more about the Control panel library
Trigger change from the API
Switching is driven by Set commands against the Store. Layouts and slots are identified by generated UUIDs, so these commands cannot be written by hand. Instead, capture the command the UI produces:
-
Open the API log tab in the Control panel
-
Filter on
Set -
Go to Director and perform the action in the LED mapping panel
-
Select a Source, change the Source type or switch the Layout
-
-
Back in Control panel, find the
Setcall in the API log -
Drag it onto the canvas and pick a button widget to trigger the same change later
Learn more about how to Replicate any Pixotope functionality - API Log
Renaming the Digital Twin breaks captured commands.
The Digital Twin name is part of the Store path. If the twin is renamed, every captured command that targets it has to be captured again/updated.