To control an event in Pixotope using the Control Panel in Director, you need to create a trigger in the Editor.
With the power of the Unreal Blueprint visual scripting system, there are almost no limits to what type of interactions, integrations and control you can make, but in this example, we will trigger a small animation.
-
Open the Pixotope Editor
-
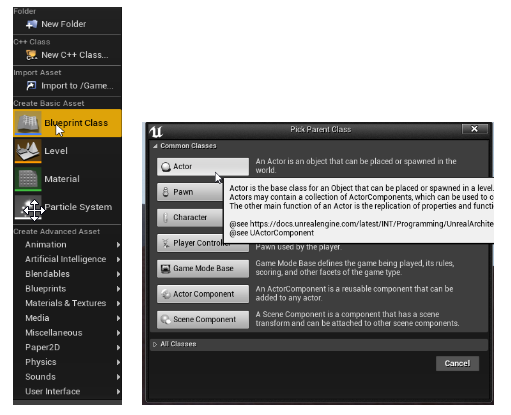
In the Content browser, right-click and create a Blueprint class actor
-
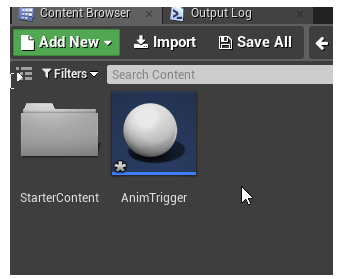
Let’s call it "AnimTrigger"
-
Choose "Save All" from the "File" menu to save the Actor
-
Drag and drop it into the Viewport. It is now available in the World Outliner.
-
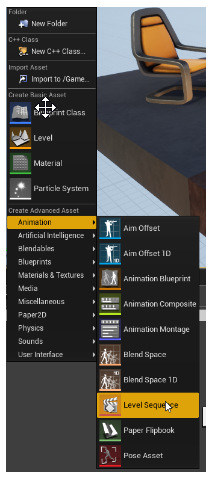
In the Content browser, right-click and create a Level sequence from the "Animation" menu
-
Let's call this "MyAnim"

-
Drag it into the Viewport as well
-
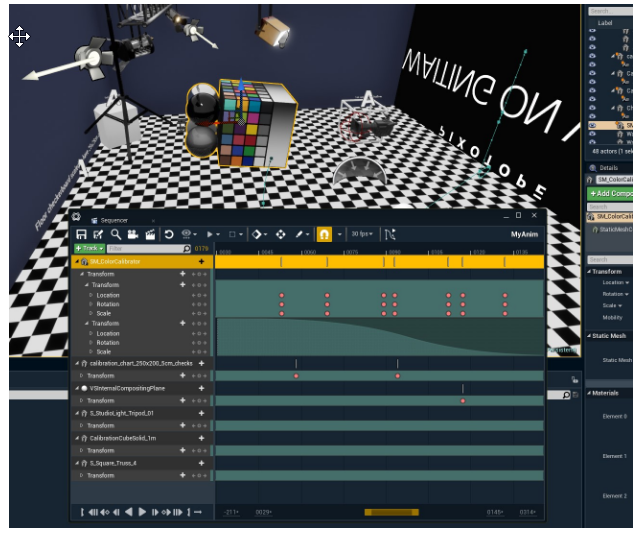
In the Content browser, double-click the "MyAnim" Level sequence. This opens the Sequencer. The Sequencer is one of the many ways you can animate content in Unreal. Here you can, for example, add keyframes to the transforms and make an animation
-
Drag a movable static mesh actor from the World Outliner into the Sequencer
-
Add keyframes by pressing "S" on the keyboard when the object is at the desired position in the viewport
-
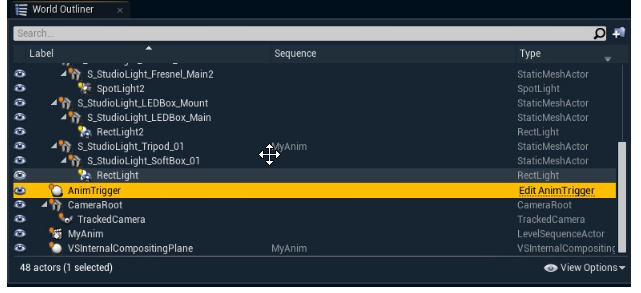
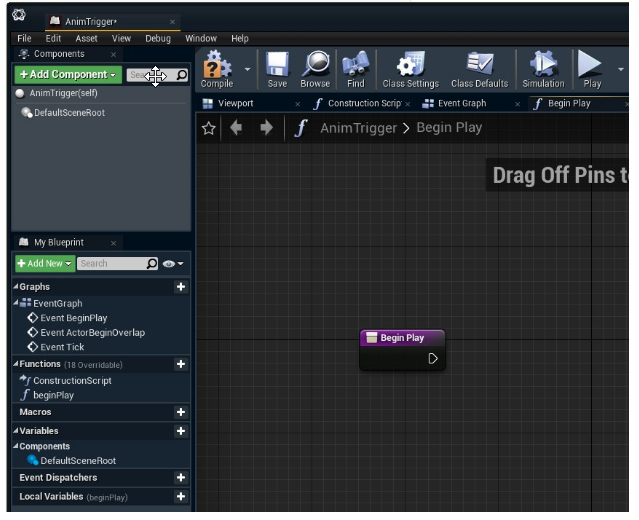
To trigger this animation from a Control panel in the Director, find our "AnimTrigger" in the World Outliner and click "Edit AnimTrigger". This brings up the Blueprint editor
-
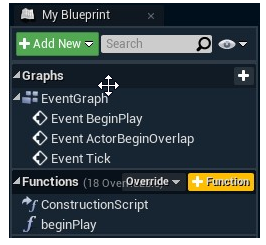
Click the "+Function" button to create a function that we can trigger
-
Add a function called "beginPlay"
-
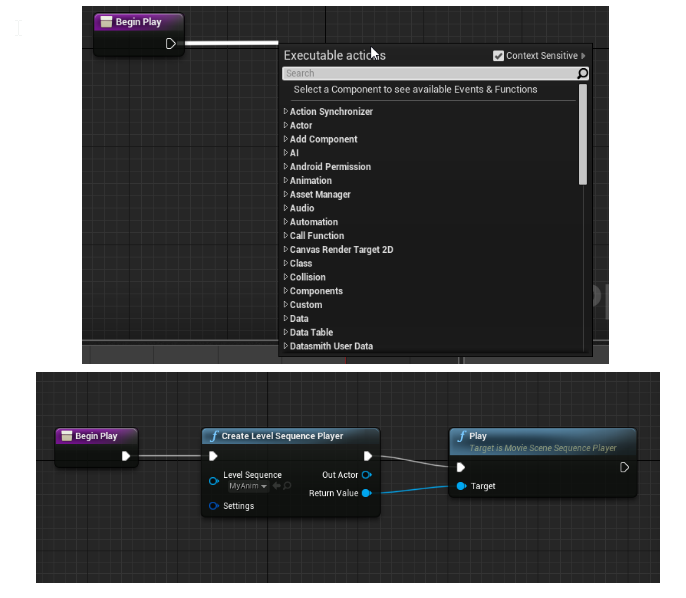
By dragging from the white "event" arrow we can add more nodes to complete our little function
-
Add a "Create Level Sequence Player" node
-
Select "MyAnim" on the "Create Level Sequence Player" node
-
Add a "Play" node
-
Connect the Return Value of the "Create Level Sequence Player" node to the Target on the "Play" node
-
Click "Save and Compile!"
-
Go to Director
-
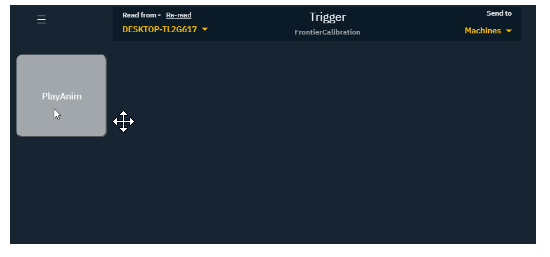
Create a new control panel with a Trigger widget that points to this function
See how to Create a Control Panel -
Add a trigger from the Toolbox
-
Click "Edit action" of the newly created trigger
-
Click "Add target"
-
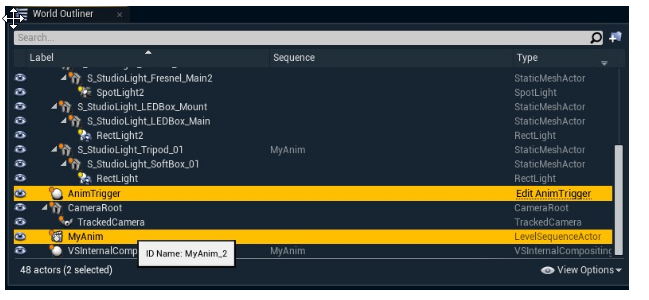
Select the "AnimTrigger" function
The unique name (ID Name) might have a suffix added, for example: "AnimTrigger_2" -
Select the "beginPlay" function
-
Click "Select"
-
Click "Apply"
-
Click "Save" to save your Control panel
-
In the Editor, go to Play mode
NOTE: This particular function requires you to be in Live or Play mode to trigger. It will not trigger in WYSIWYG Editor mode. -
Try out your animation