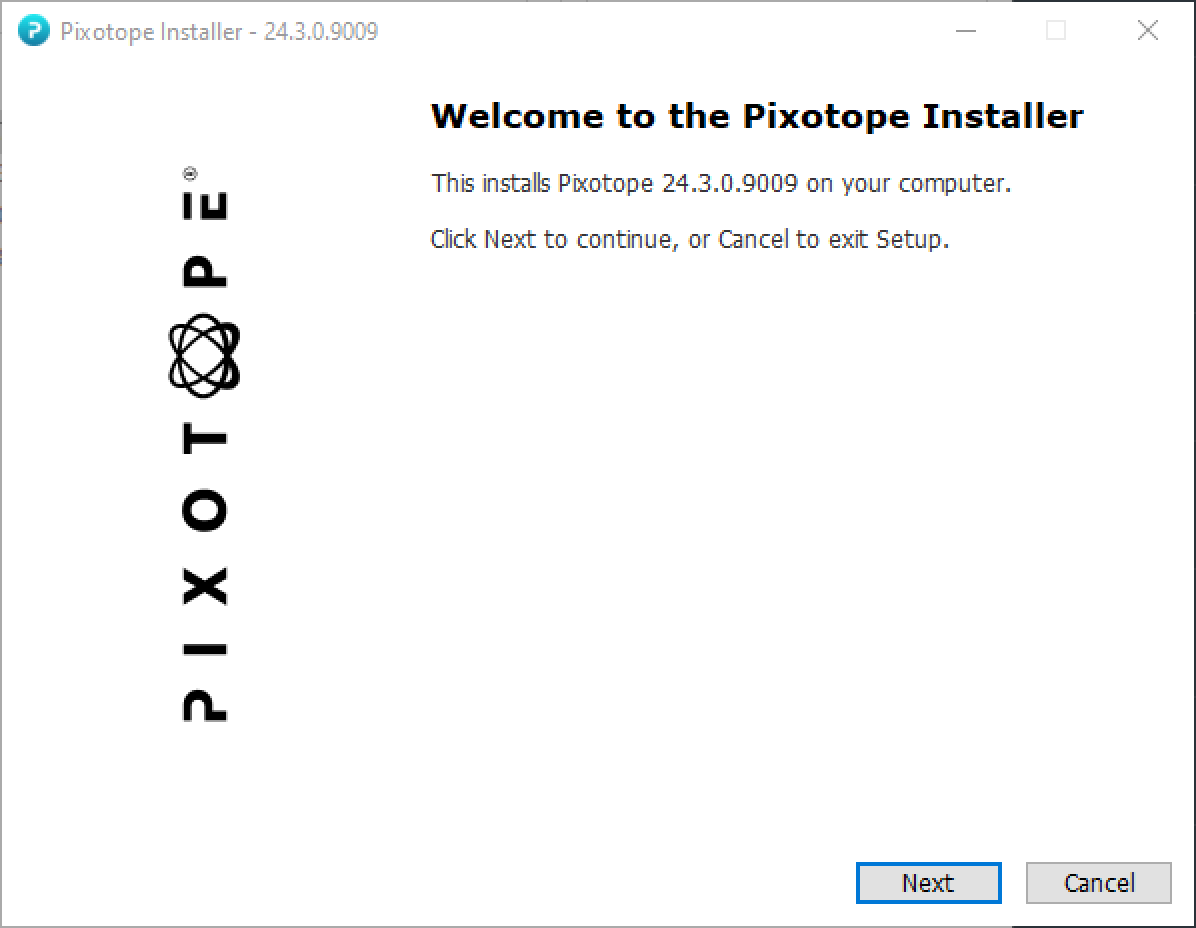
Install different versions of Pixotope in parallel
It is possible to install different versions of Pixotope in parallel.
Note: Remember to create copies of your projects, if the new Pixotope version ships with an upgrade of the Unreal Engine version.
Hardware and software setup
System setup
Check out the hardware and software requirements before starting the installation.
Recommendations
-
Have the latest Windows updates installed
-
Pause updates while you are in production (you can pause updates for a specified period of time in the Windows Update settings)
-
-
Disable the Windows game bar - https://www.windowscentral.com/how-disable-and-remove-game-bar-windows-10-creators-update
-
Disable any third-party program that adds any overlay
-
Do not install any tweaking or overclocking programs
-
Clean-install the Nvidia display drivers without Geforce Experience - Nvidia driver installation
-
For performance-critical setups: Make sure your hardware has sufficient cooling, since CPUs/GPUs start thermal throttling around 85-90 degrees, which will cause stuttering and hitching
Network setup
We recommend using static IP addresses in a production environment. You can, however, also use DHCP.
An internet connection is required for initial activation of the license and for Online license mode.
Learn more about license modes
Ports required
|
Port |
Protocol |
Usage |
|---|---|---|
|
80 |
TCP |
HTTP - for CRL (Certificate Revocation List) validation |
|
443 |
TCP |
SSL - for license activation on https://prod.pixotope.cloud/ |
|
8567 |
UDP |
Tracking Server to Editor |
|
16201-16225 |
TCP |
Data hub and DRM communication |
|
16210 |
TCP |
Director in the browser |
|
16211 |
TCP |
Control panel |
|
38860 |
TCP |
When using Ncam SDK tracking |
Port conflicts
In the event of a port conflict, we recommend that you stop any processes that are blocking the ports used by Pixotope.
To check which processes are using the port:
-
Open Resource Monitor > Network tab > Listening Ports
For Active Directory setups
Add the following system path to the environment variable PATH:
C:\Windows\System32\WindowsPowerShell\v1.0

Firewall Configuration
In addition to the required ports, the following domains must be accessible through your firewall:
|
Domain |
|---|
|
*.cloud.trackmen.net |
|
*.pixotope.cloud |
|
*.pixotope.com |
|
*.production-pixotope-cloud.s3-accelerate.amazonaws.com |
|
*.zendesk.com |
If you have any problems running Data hub or accessing other Pixotope workstations in the network, make sure you have:
-
disabled the Windows firewall OR made above domains accessible
-
set the network profile to private
-
shut down any system optimizers or any software that manipulates the data flow
-
check the installation path for non-ascii characters (see the Language support section below)
Language support
Pixotope supports the usage and displaying of characters for most languages out of the box.
For full support of Chinese, Japanese or Korean characters (for display or in file/installation paths) the following Windows setting needs to be enabled:
-
Go to Windows Settings > Time & Language > Language > Related settings: Administrative language settings > Change system locale...
-
Enable “Beta: Use Unicode UTF-8 for worldwide language support”
Download software
-
Log in to Pixotope Cloud → Pixotope Cloud
-
Go to Downloads and choose a product section
-
Choose a version
|
Name |
Full installer |
No-Engine installer |
|---|---|---|
|
Product section |
Pixotope |
Apps |
|
Size |
~5GB |
~800MB |
|
Purpose |
For Render or Artist machines |
For Control or Server machines or machines running Pixotope Reveal |
Run the installer
Unzip the Pixotope installer zip file and run the Pixotope installer located in the root folder.
Windows User Account Control might ask you for permission to make changes to your device.
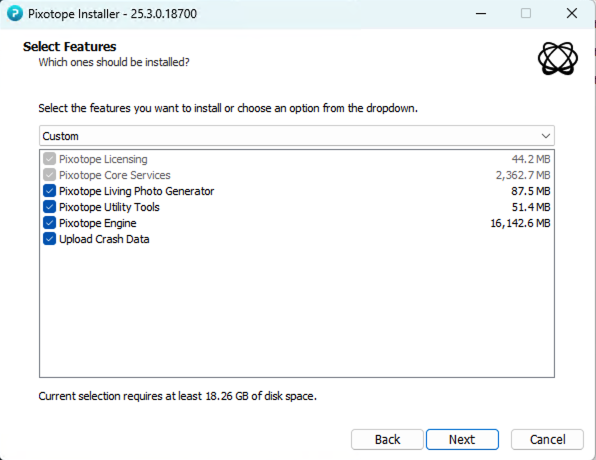
Select features
Erizos Agent and Plugin
For more details checkout Using Pixotope CG
Automatically upload crash data
By agreeing to Automatically upload crash data, you help us improve Pixotope. If a Pixotope service crashes and the machine is online, it would send crash data to us. Be aware that this might contain information such as computer name and IP address.
To get in touch with Customer support please report issues the usual way.
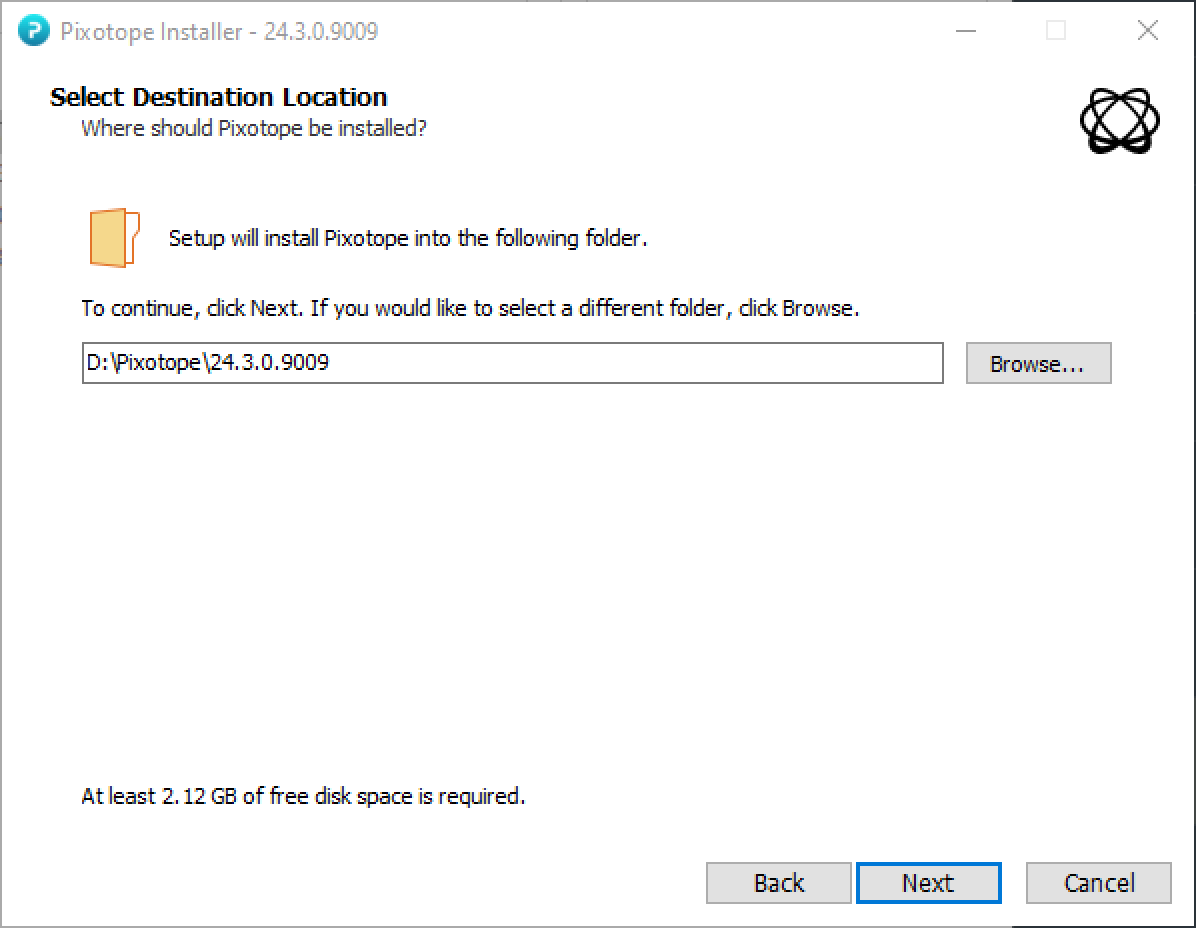
Select an installation folder
By default, Pixotope Suite will be installed in the folder:
C:\Pixotope\[Version number].[Build number]\
To install Pixotope on a different hard drive, keeping the same file path structure shown above, just change C:\ to for example D:\. This will install it on:
D:\Pixotope\[Version number].[Build number]\
Do not install into the “Program Files” or “Program Files (x86)” folder.
For file paths with non-ascii characters see the Language support section above
Migrate data
In case a previous version was found in the same installation folder, you could copy over
-
Machine settings
-
Show files
-
Lens files
-
XR Color profiles
-
Synced storage history (for Server and Stand-alone)
from your previous install into the new one.
This step can also be done manually by copying the following from the previous install into the new installation
-
Local storage
-
Services\AssetHub\runtime

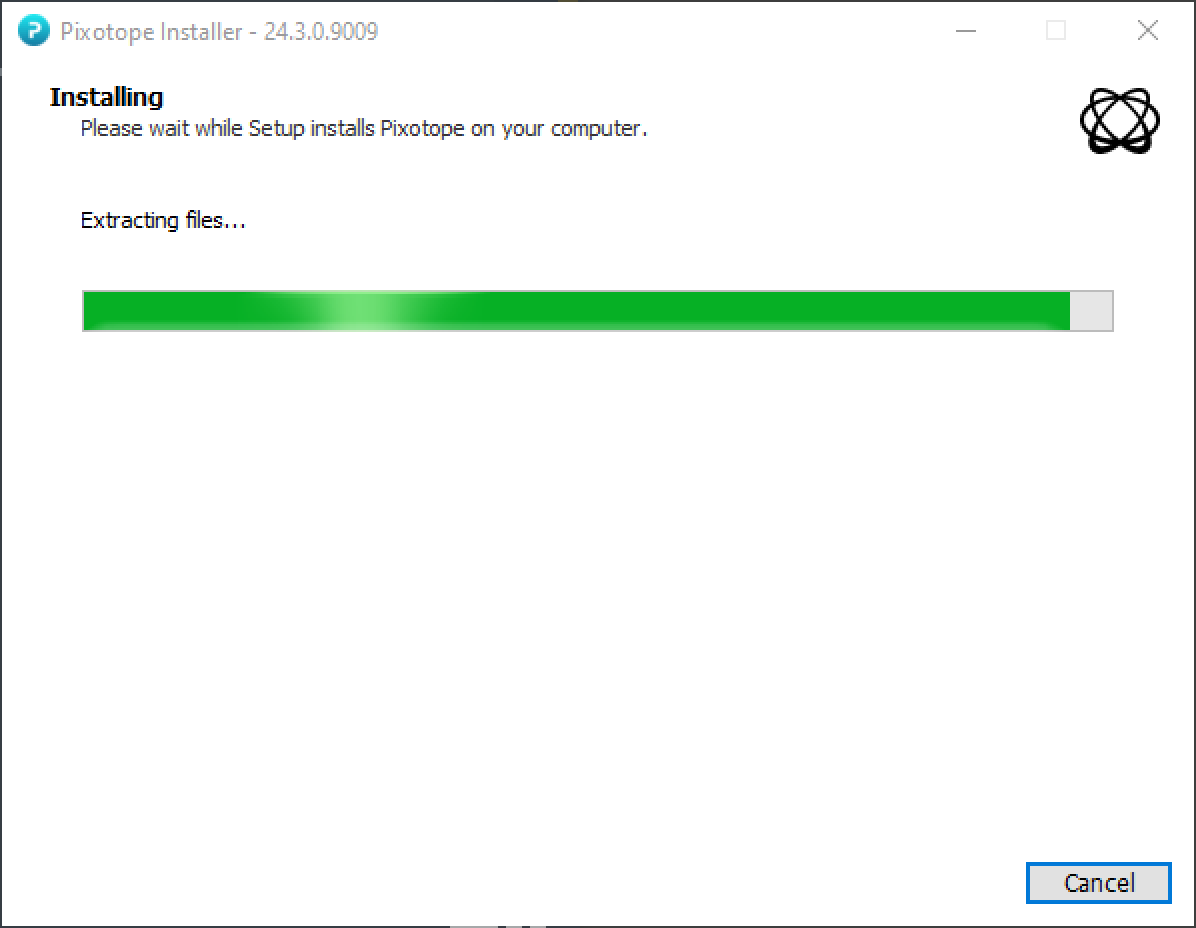
Start the installation
This will take several minutes. Please make sure that you do not interrupt the process.
Network install
Needs an existing Pixotope network with Pixotope Graphics 25.3 or later!
Network install allows you to install and launch a new Pixotope Graphics version on all connected machines.
-
Download the new installer
-
Open the PX - Network install control panel from the control panel library
Learn more about the Control panel library
-
Right click the downloaded installer
zipfile and copy its file path
-
Paste the file path into the Installer path field in the control panel
-
Make sure that Pixotope Graphics is running on all connected machines
-
Click "Start network install”
-
The process is started
-
In case of an error it would show
success:falsein the Response field
-
The network install process executes the following steps:
-
The file is unzipped to Synced config
-
The folder is distributed via the Asset Hub
-
On all machines
-
The new version is installed
-
The current version is closed
-
The new version is launched
-
Next step
Continue to Starting Director