Pixotope allows you to create custom remote-control panels, which run:
-
in a web browser on your Pixotope network
You can control:
-
all properties and functions of Pixotope Engine objects
-
all aspects of Pixotope Director which are controlled via the Pixotope API
Learn more about available widget types
Want to give feedback?
This is another step on the journey where we would welcome your input and thoughts. If you are interested in sharing your use cases do not hesitate to give feedback.
Control Panel
-
In this tutorial we explore the Pixotope control panel. We look at how to create it, an overview of the control panel editor UI and how to set up widgets to control your scene.
Create a control panel
-
Go to PRODUCTION > Show > Launch
-
Click "Create new control panel"
-
Give it a descriptive name
-
Choose the project, if there are more than one linked project available
-
-
The control panel is opened in your default browser
Learn more about the Control Panel - Interface and its Keyboard shortcuts
Learn more about where control panels are stored
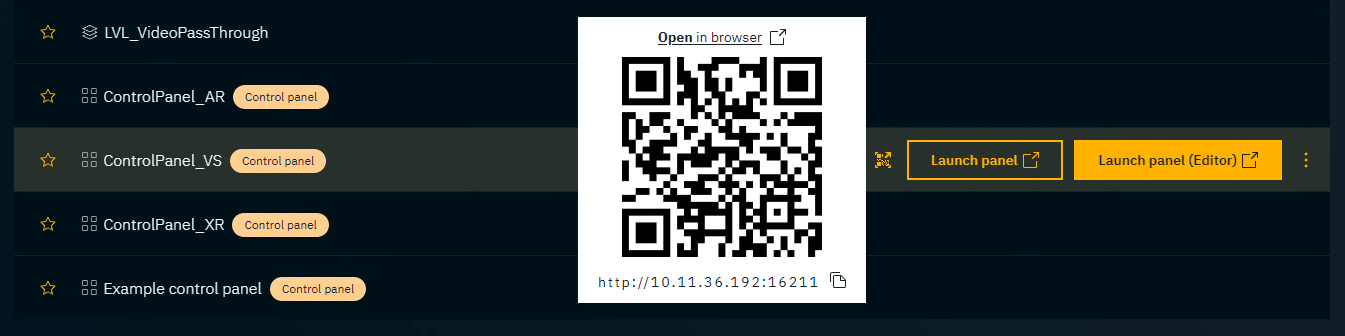
Open a control panel
-
Go to PRODUCTION > Show > Launch
-
Hover over the control panel you want to open and click "Launch panel (Editor)"
-
The control panel is opened in your default browser
Want to open a control panel from the Control panel library?
Open a control panel via URL
Open a control panel via Gateway (machine-independent URL)
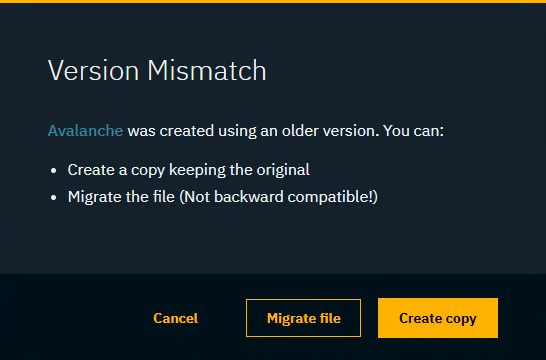
Migrating old control panel files
In case you are opening an old control panel file you can
-
Migrate the file
-
This overwrites the old file which can not be undone!
-
-
Create a copy
-
This keeps the original and creates a copy
-
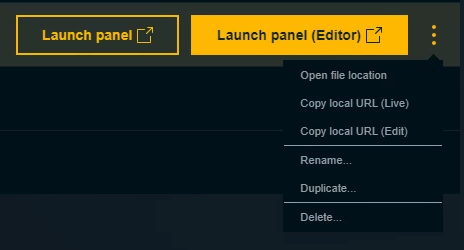
Duplicate, Rename, Delete a panel
Use the overflow menu to duplicate, rename or delete a control panel.
Every control panel is stored in its own folder together with potential image assets.
Find the property to control
Learn more about how to Find the property to control
Link the property to a widget
Learn more about how to Add widgets and actions
Edit and layout widgets
Learn more about how to Edit and layout widgets
Go live
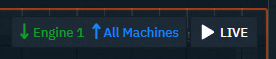
Select Read from - Send to engines
By default Read from is the first engine in the list and Send to are All machines (running engines).
-
Click the read from send to header
-
Select the Engine group to send to

-
Optionally select Remember selection when saving. This way your selection is remembered the next time the Control panel is opened
Learn more about the Read from - Send to header
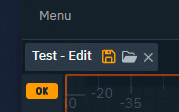
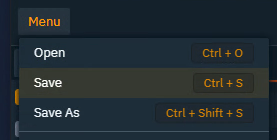
Save a control panel
-
Click on the save icon in the tab header
OR open the Menu and select "Save"
OR pressCtrl+S
To avoid losing data
-
we store the 10 last saved versions in a Version history, which is accessible via the history icon in the header
-
we warn you before you close or reload the tab
-
we try to recover the last unsaved version in case Director, which serves the page, crashes
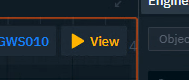
Preview Live mode
-
Press
Ror the "View" button in the tab header on the top right-
The yellow border is removed
-
You cannot add or move widgets
-
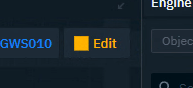
Exit Preview Live mode
-
Press
Ror the "Edit" button in the tab header on the top right
Live mode
This mode removes any ability to edit the control panel including switching between Edit and Preview Live mode
-
Go to PRODUCTION > Show > Launch
-
Click on "Launch panel"
-
OR use the QR code
-