This will allow you to render media from file or input flatly on top of an LED wall.
Use standard media components
When doing XR rendering it is possible to use standard Pixotope media components and render flatly on a plane or something else in the scene, as is common in Pixotope VS and AR.
Pros
-
Works the same as in a VS or AR scene, so it can easily be used in either setup
-
Can be translated in the world in any desired way
-
Naturally blends between XR walls and Set extension
Cons
-
The video is affected by TAA (not pixel perfect sampling)
-
If the XR geometry is not perfectly flat
-
it is confusing and unintuitive to align
-
it is not always possible to place without any video distortion
-
If the Cons outweigh the Pros, continue with the steps below.
Setup 2D media playback for XR
A Digital twin (either manual or automatic) must be setup first.
Learn more about how to Add a digital twin
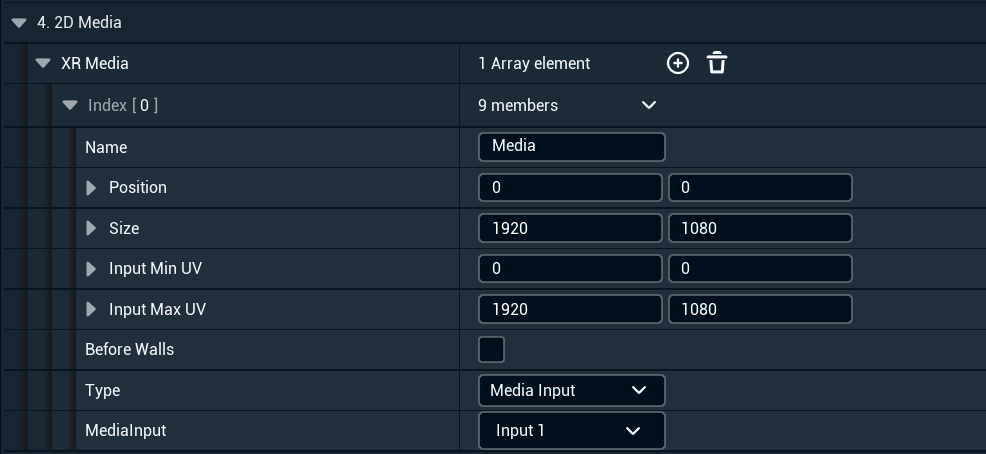
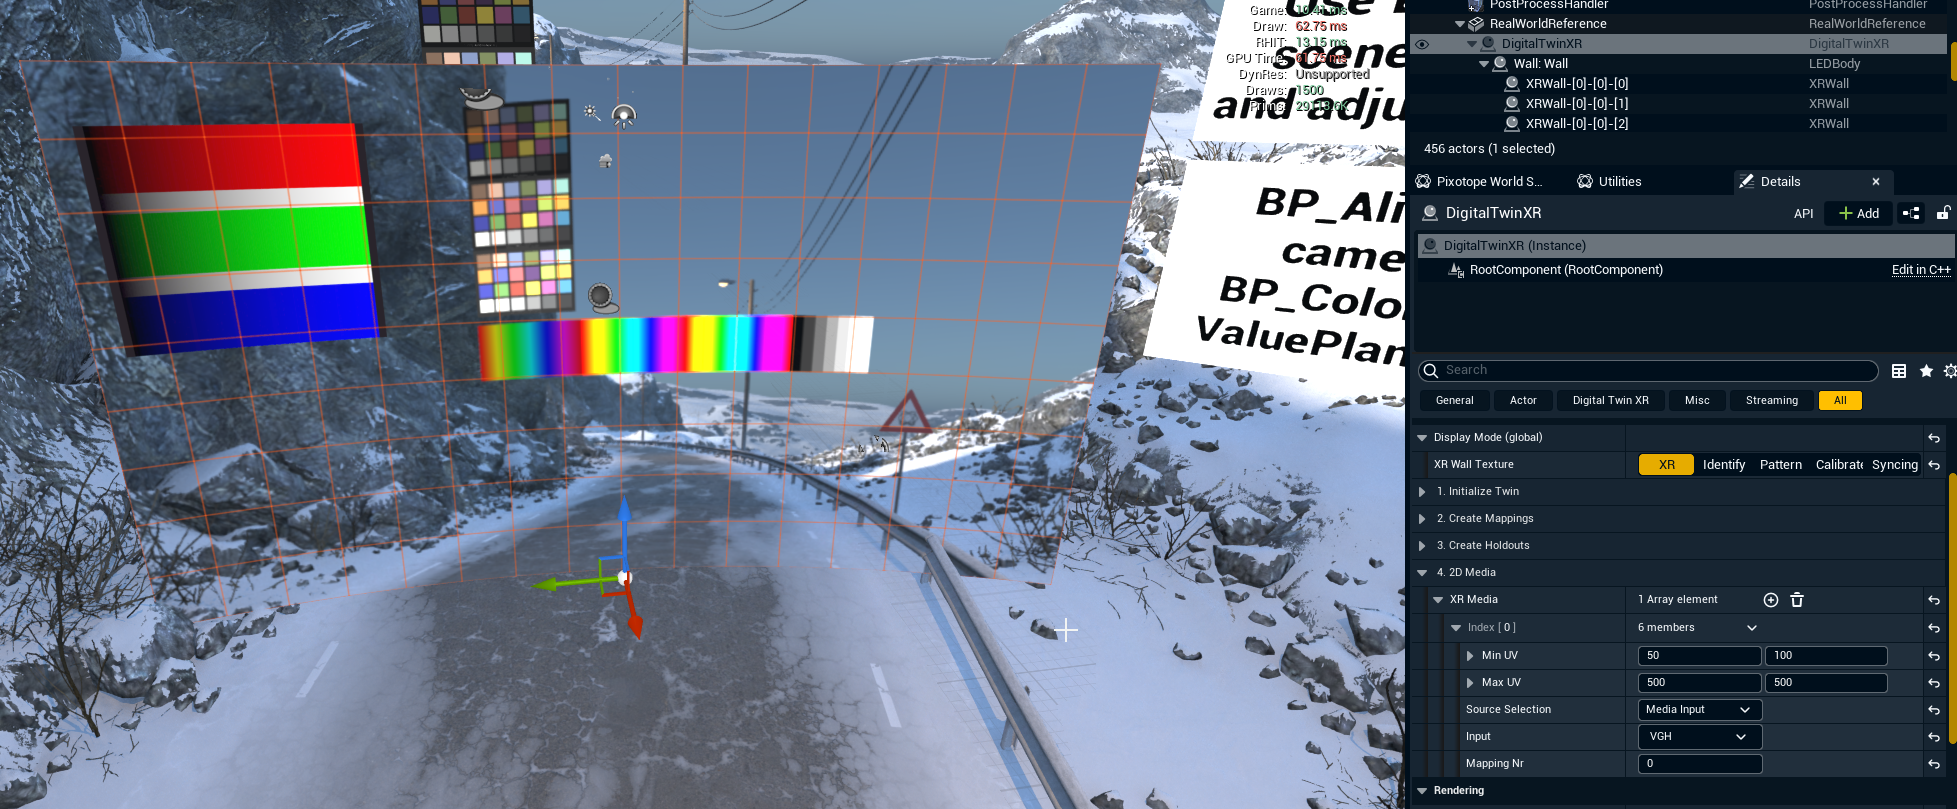
Select the Digital twin and go to 2D Media in the Details panel
-
Media Type can be either a UE texture (which could be driven by a UE media player), a Motion Design level or a Pixotope Media Input
-
Position (in pixels) defines where on the body (or bodies) the media should be displayed
-
Size defines the max area (in pixels) the media will occupy on the wall
-
Min and Max UV specify the coordinate mapping of the media within the area set by size and position
For example, a 1920x1080 source video and set Min UV to (0, 0) and Max UV to (960, 540) would display the top-left quarter of that source media within the area defined by Size and Position.
-
Before Walls sets the 2D media to appear outside the camera frustrum when Outside Camera View is set to Render Color in the Pixotope World Settings
Multiple Bodies
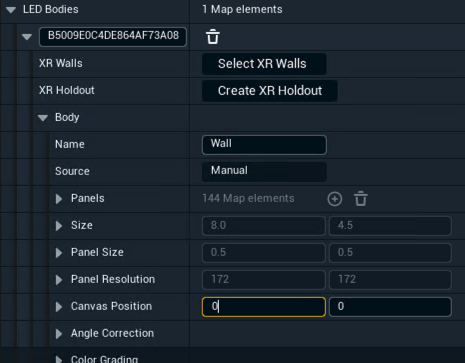
It is possible to play back 2D media across multiple XR bodies. To do so, bodies must be mapped onto a shared canvas.
-
Use Canvas Position to place each body on the canvas.