Prerequisites
Install Erizos Plugin
-
Go to Pixotope Cloud > Downloads and, for the latest release, click on the "Tools” button on the top right
-
Download the Erizos Pixotope Plugin installer and install it.
-
Go to
C:/Program Files/Erizos/Pixotope Plugin/and copy both folders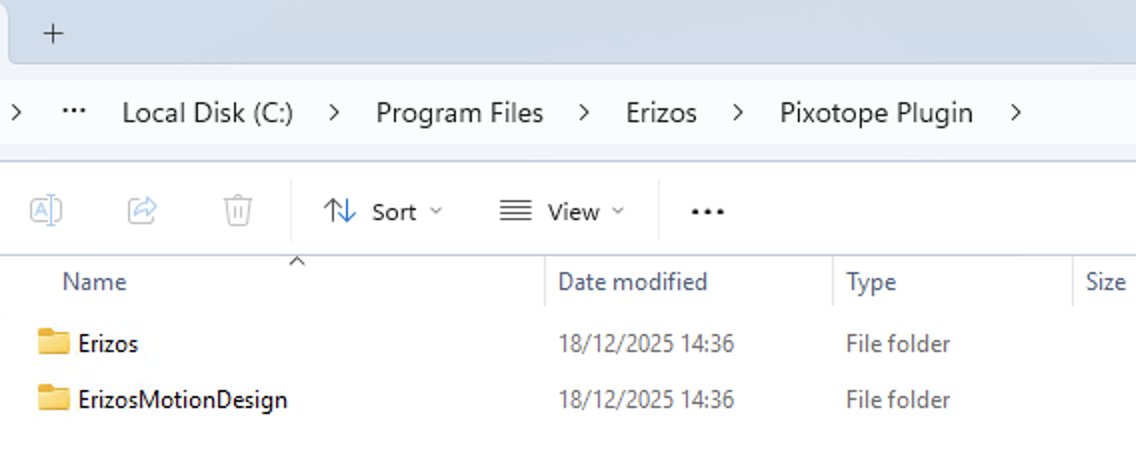
-
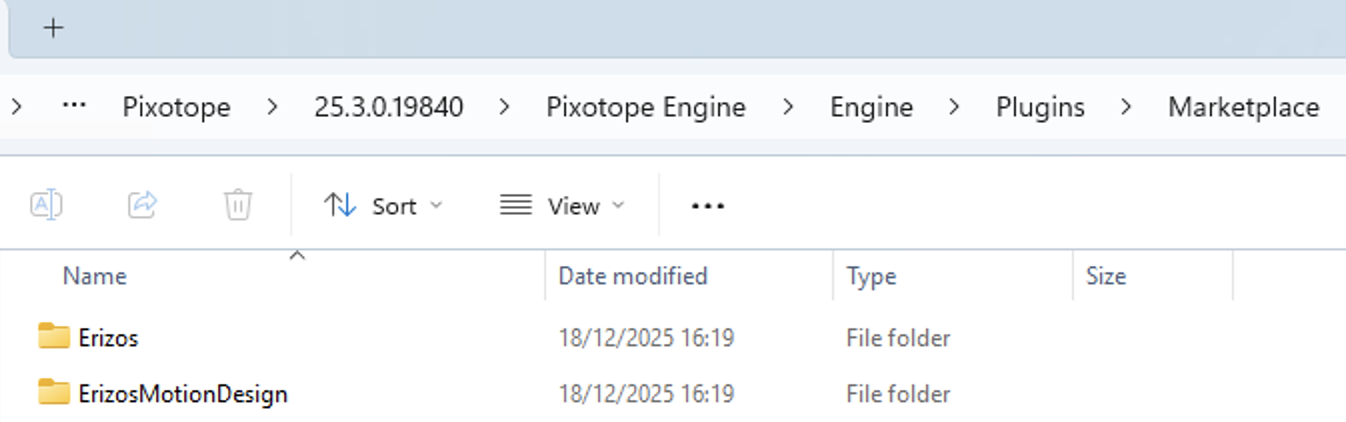
Go to
[Pixotope installation folder]/Pixotope Engine/Engine/Pluginsand create a new folder called Marketplace -
Paste the above folders in it
Learn more about how to Install Pixotope
If you have created the project from Director using the Motion template, below steps are not needed.
Enable Plugins
-
Click on Edit > Plugins in the Pixotope Editor
-
Enable
-
Erizos Tools for Motion Design
-
-
Restart the Editor
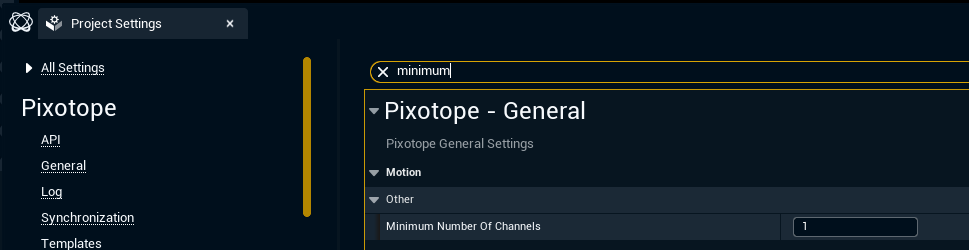
Define the number of channels
The project needs to have as many Broadcast channels as output channels will be used for any production using this project.
-
Click on Edit > Project settings in the Pixotope Editor
-
Search for Pixotope > Motion > Other Minimum number of channels
-
Set its value accordingly (between 1 and 3)
If the project will be used sometimes in single-channel, and sometimes in multi-channel productions, set the value to 3.
Create Motion level structure
The Motion workflow requires the following level structure
|
Name |
Motion Design enabled |
Notes |
|---|---|---|
|
|
No |
Includes Control Motion Design actor from Erizos Motion Design Tools plugin, in which the Motion Design levels are referenced. Used when importing templates into Erizos Studio. |
|
|
Yes |
Referenced in |
Create Main level
This is the level that
-
will be used to import all Motion Design levels containing templates through the Erizos plugin from using Erizos Studio
-
will be played from/which Erizos Studio will launch Live
-
Create and open a new empty level
-
We call it Main, but it can be named anything
-
-
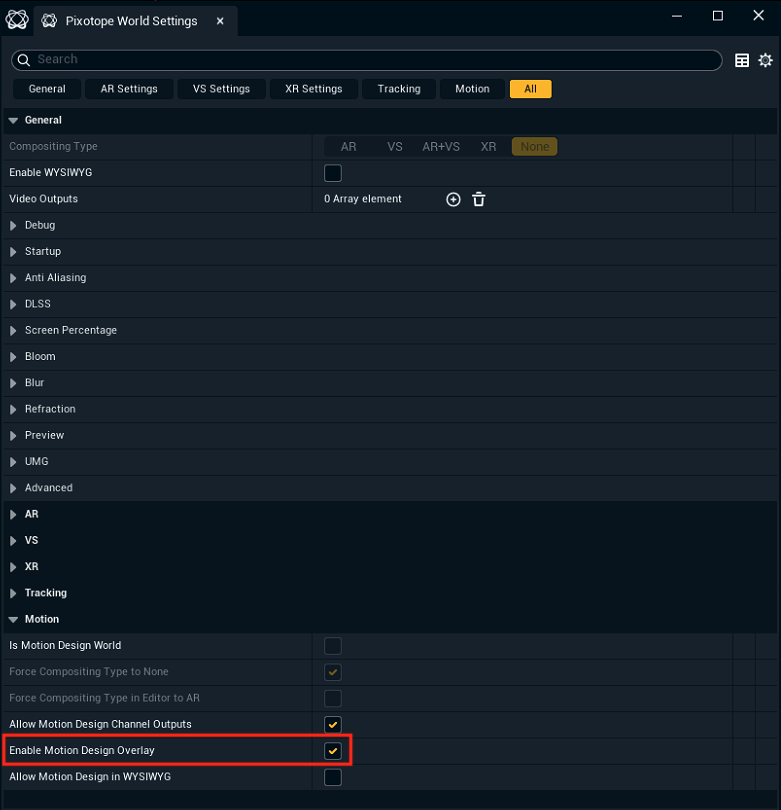
Add a Control Motion Design actor to the scene

-
Go to Pixotope World Settings > Motion Design and make sure the Enable Motion Design Overlay checkbox is checked
-
Save this level
Do NOT enable Motion Design on this level!
Make sure that the main level is never turned into a Motion Design level. A level for which Motion Design was enabled once and saved will unfortunately not work as a Main level even when disabling Motion Design again.
Create MD_YourTemplate level
This is the level that contains a template. Create one of these Motion Design levels per asset that you will turn into templates, expose properties from, etc.
-
Create and open a new empty level called MD_[templateName]
-
Click on the Motion Design button on the top right to turn that level into a Motion Design level
-
The icon will now show up with a Pause symbol
-
-
Save the level
Connect your Main level and your MD_YourTemplate levels
-
Open your Main level
-
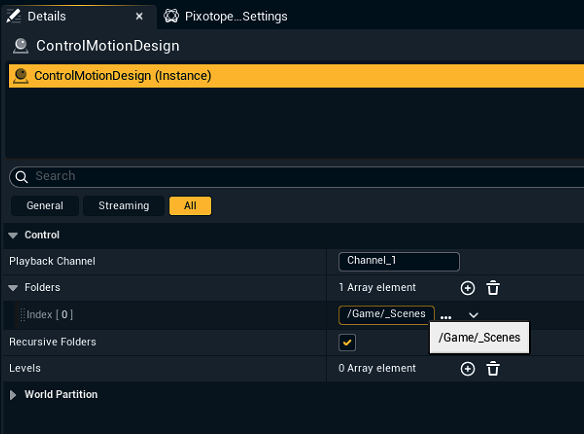
In the normal Outliner, select the ControlMotionDesign actor
-
Go to the Details panel
-
In Control > Playback channel, type "Channel_1"
-
In Control > Folders, click on '+' to add entries to the array and, in each of them, select a folder containing the templates (Motion Design levels)
-
Alternatively, you can add the Motion Design levels one by one in Control > Levels following a similar process

Next step
Continue to Choose a rendering option